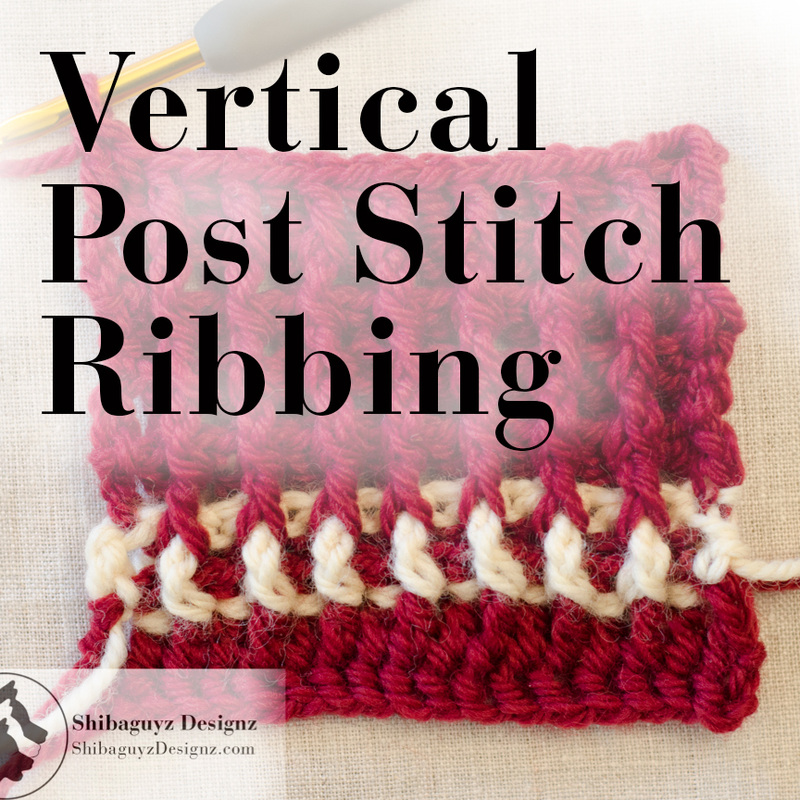
How to make Reversible Vertical Post Stitch Crochet Ribbing
What is it? First, let's give a quick definition of ribbing. Simply put, Ribbing is a series of raised ridges – called wales – and contrasting low troughs. That said, there are a number of ways to create combinations of wales and troughs using crochet stitches. In fact, we have: Reversible Vertical Post Stitch Crochet Ribbing One-Sided Vertical Post Stitch Crochet Ribbing Horizontal Post Stitch Crochet Ribbing Horizontal tbl Crochet Ribbing We will be covering ALL of these in future Technique Tuesday articles but, for today's Reversible Vertical Post Stitch Crochet Ribbing tutorial, we are creating a reversible vertical post stitch ribbing with wales on both sides of the fabric through the use alternating Front Post Double Crochet Stitches and Back Post Double Crochet Stitches. Remember: Post stitches are worked around the post of a crochet stitch creating a stitch that is raised to the front or the back of our working row depending on whether we work a Front Post Crochet Stitch or a Back Post Crochet Stitch. Reversible Vertical Post Stitch Crochet Ribbing creates a series of wales and troughs that are made vertically in relation to the working direction of our crochet fabric. That is, we start at the top or bottom of the fabric and create wales and troughs by working rows of alternating Front and Back Post Stitches. These alternating Front Post Crochet Stitches and Back Post Crochet Stitches build off of one another in successive rows creating the vertical wales and troughs – Ribbing! For a quick review of crochet post stitches check out these tutorials: Front Post Double Crochet Stitch Tutorial Back Post Double Crochet Stitch Tutorial then come right back! We'll wait… Okay… back now? Good… let's carry on… Click "Read More" link below for the full post.
0 Comments

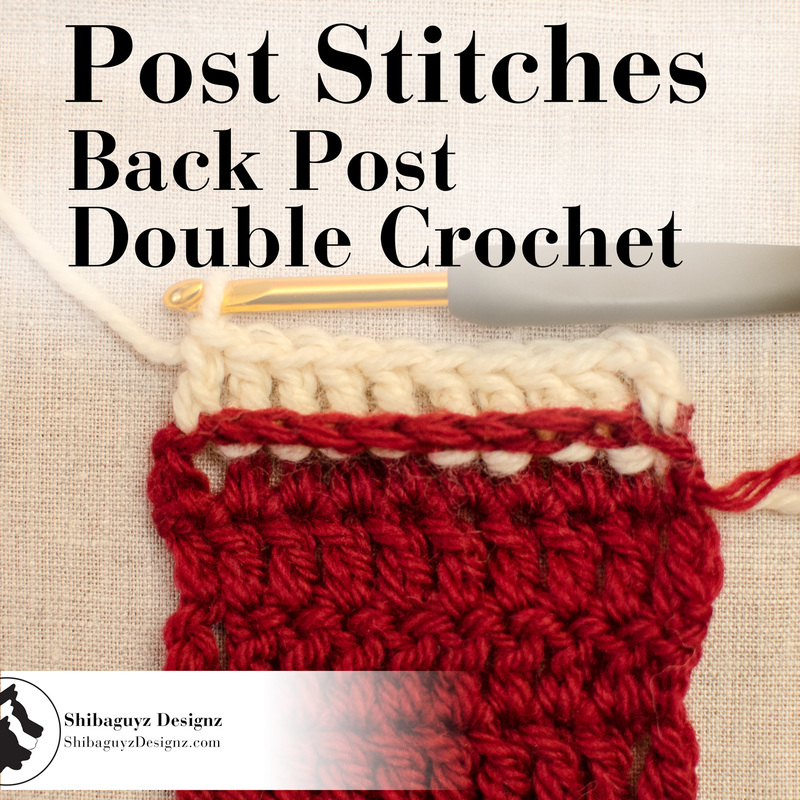
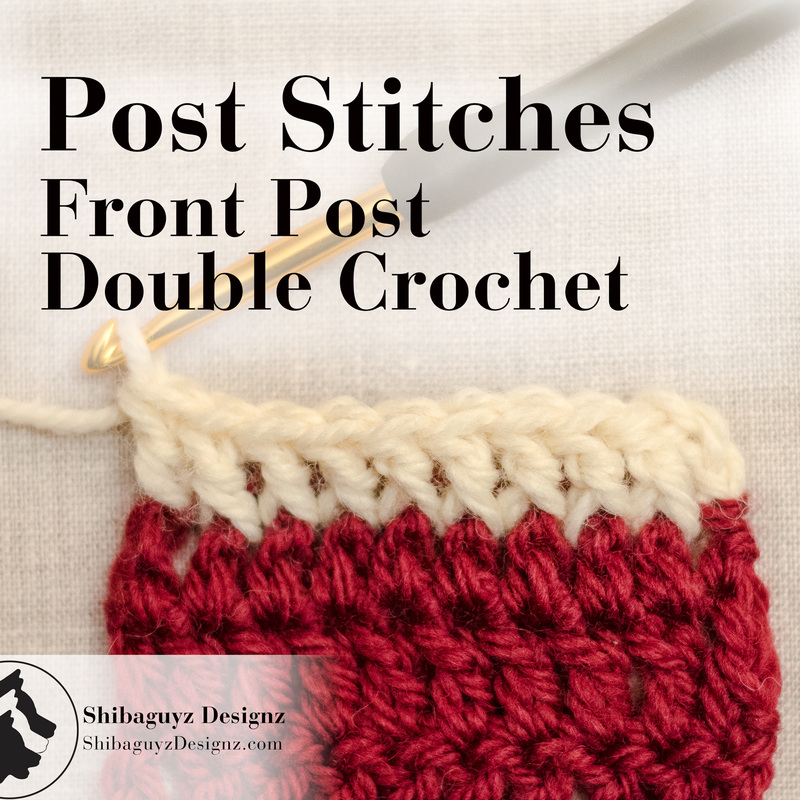
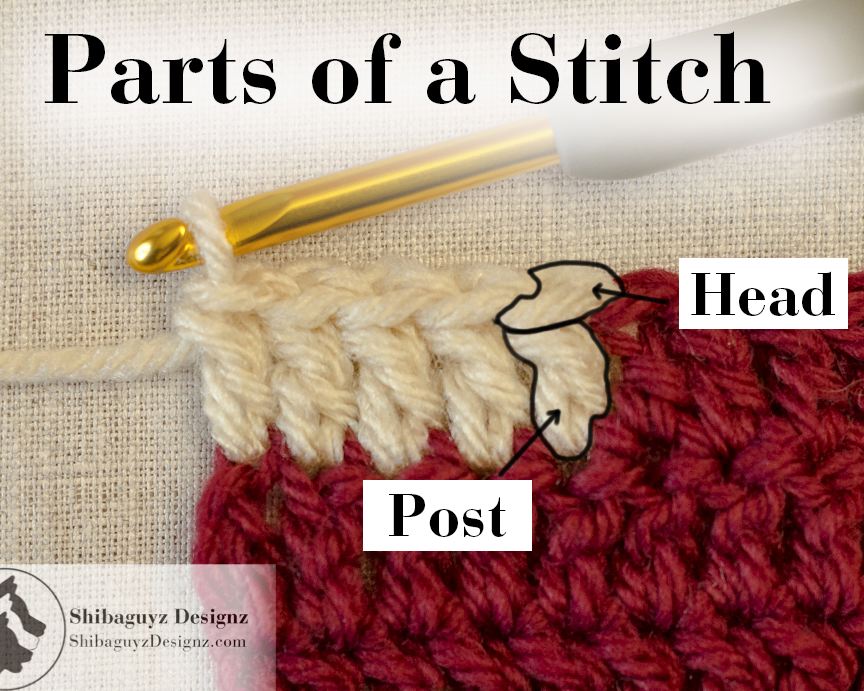
What is it? Last week, we started our discussion about post stitches with a brief overview of what a post stitch is. You can find that post here: Technique Tuesday - Post Stitches: How to make the Front Post Double Crochet stitch. Let's do a quick review… Post stitches are just like any other crochet stitches only the stitches are worked around the "post" of a crochet stitch rather than through the loops of the "head" of a crochet stitch. Click "Read More" link below for the full post.
How to Make the Front Post Double Crochet Stitch
What is it? Let's talk briefly about what a Post Stitch is… Post stitches are just like any other crochet stitches only the stitches are worked around the "post" of a crochet stitch rather than through the loops of the "head" of a crochet stitch.
Click "Read More" link below for the full post.
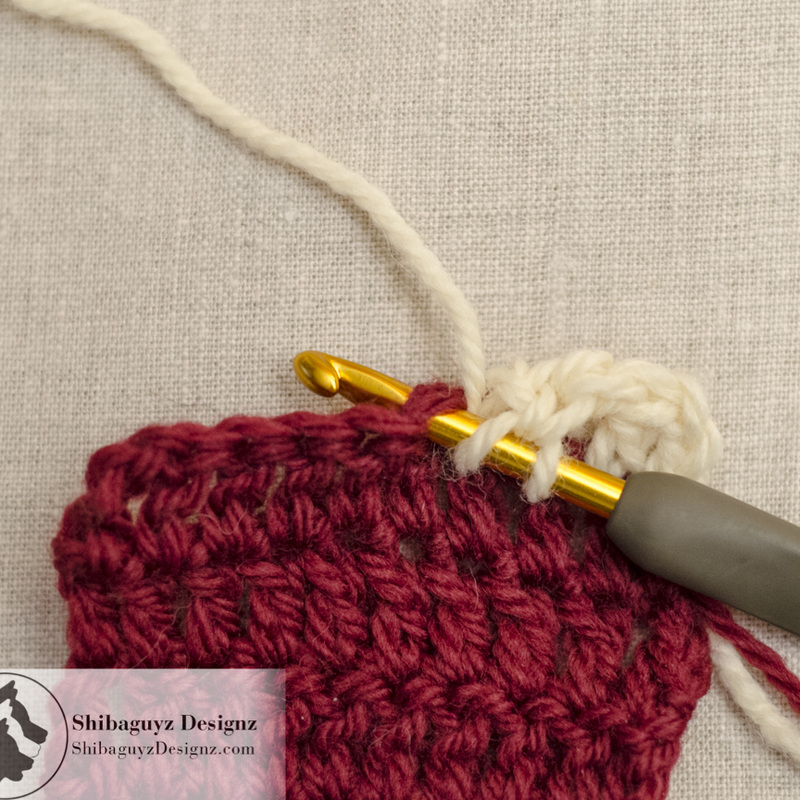
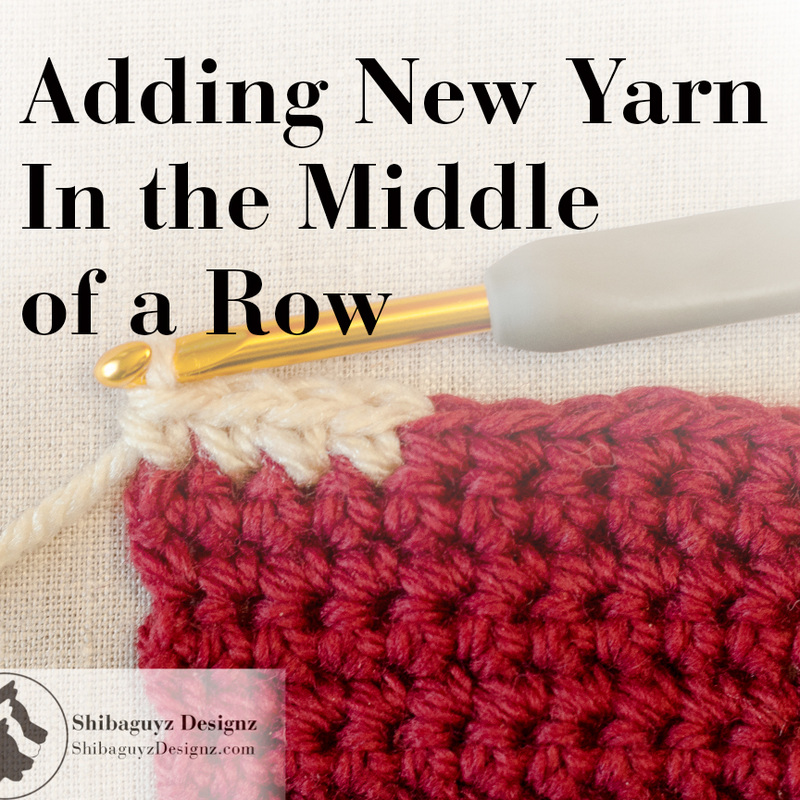
How To Add New Yarn In The MIddle Of A Row Of Crochet Stitches Technique Adding New Yarn In the Middle Of A Row
Now, my personal preference is to always change to a new working yarn at the ends of rows. Unfortunately, when I am working with a limited supply or with a particularly pricey yarn, that isn't an option. Click "Read More" link below for the full post.
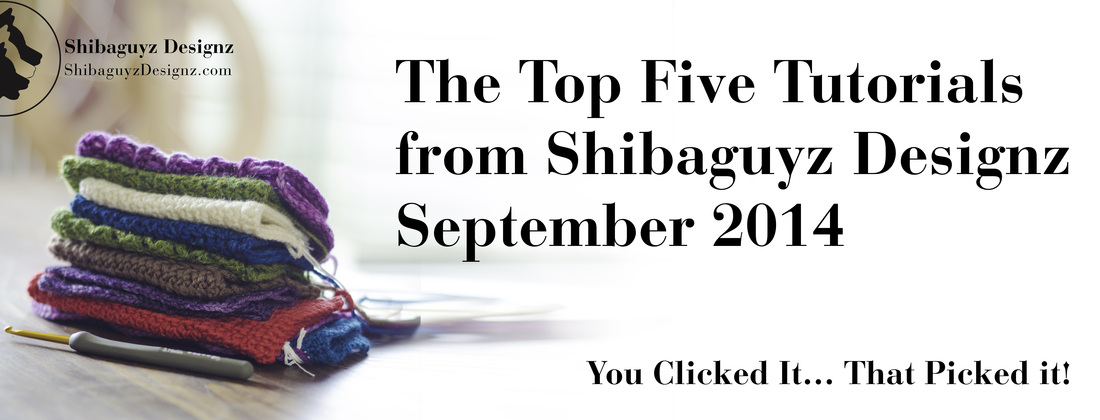
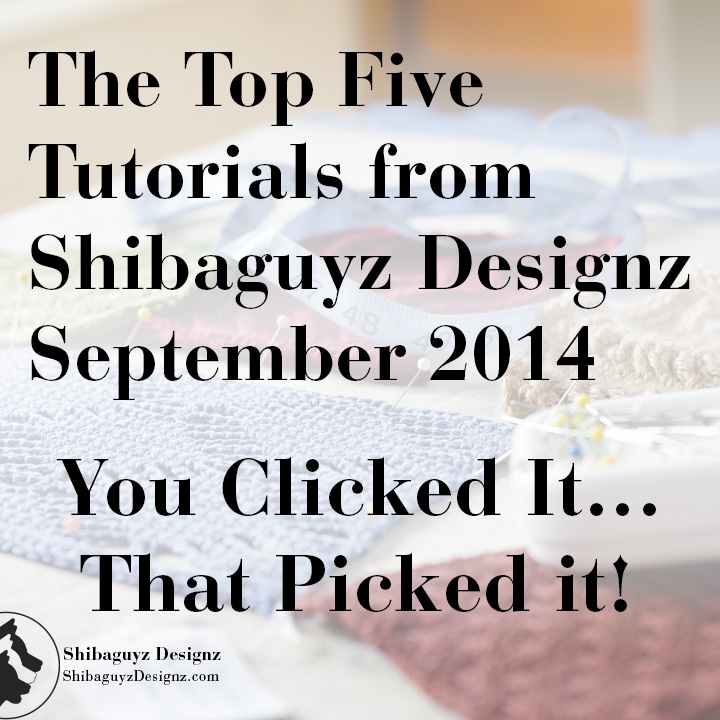
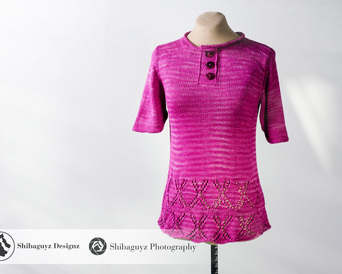
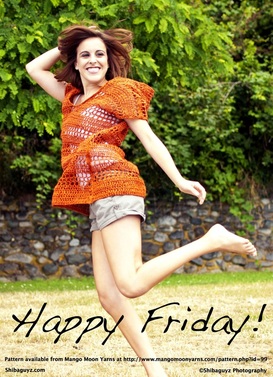
The Top 10 Most Popular Pages on Shibaguyz Designz for The Week Of September 7-13, 2014You clicked it… that picked it! These are the top 10 articles, tutorials, and patterns from the pages of Shibaguyz Designz. Click on the title or the preview photo to see the full page. Thanks for coming around this week… see y'all next week!
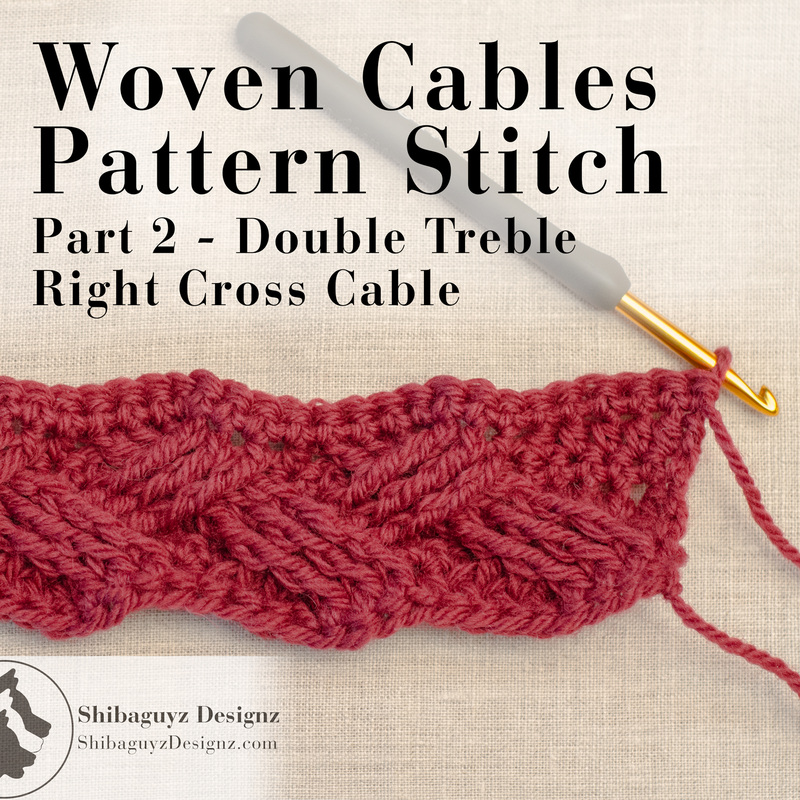
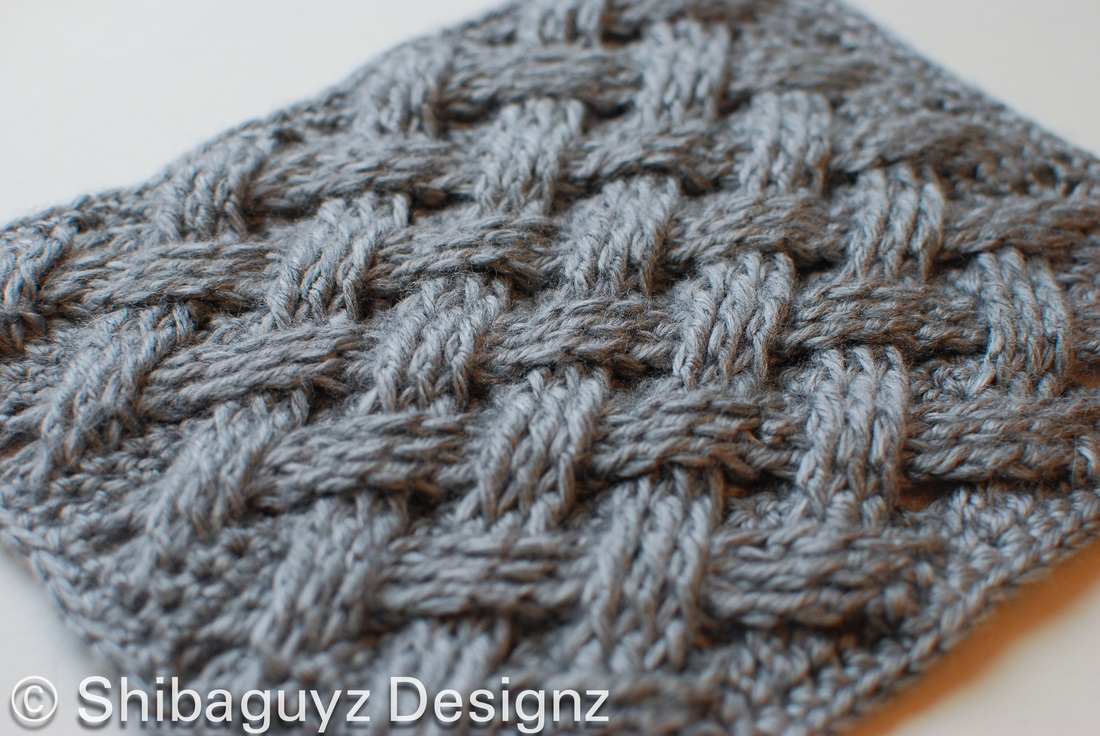
Technique Tuesday – Woven Cables Pattern Stitch Part 2: Double Treble Right Cross Crochet Cable9/9/2014 How To Make The Double Treble Right Cross Crochet Cable for the Woven Cables Pattern Stitch Technique Double Treble Right Cross Cable (Dtr R Cross)
What is it? The Double Treble Right Cross Cable is a crochet cable stitch worked over seven stitches. Click "Read More" link below for the full post.
Technique Tuesday - Woven Cables Pattern Stitch Part 1: Double Treble Left Cross Crochet Cable9/2/2014  How To Make the Double Treble Left Cross Crochet Cable for the Woven Crochet Cables Pattern StitchTechnique Double Treble Left Cross Cable (Dtr L Cross)
What is it? The Double Treble Left Cross Cable is a crochet cable stitch worked over seven stitches. Click "Read More" link below for the full post.
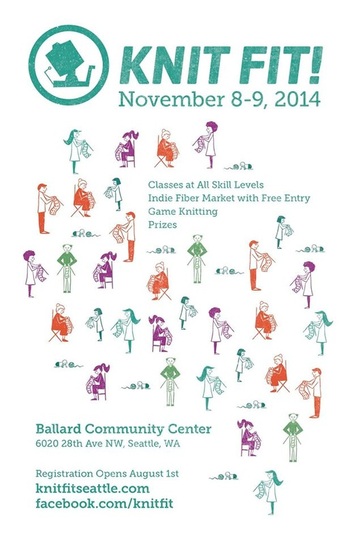
We, Shibaguyz Designz (Designer), do solemnly grant you (Maker), permission in perpetuity (that means for forever) to make any and all projects from any and all of our patterns past, present, and future (again, forever) in any color you deem necessary to please your personal tastes or those tastes of the person you are making said project for. This permission applies without regard to the color of the project pictured in the pattern since that color is, mostly, the choice of the Designer (us) based on Designer's (us again) personal preferences or is based on the color preferences of our editor ("them"). Further, these same permissions shall apply for all time (FOR-EH-VAR!) to personal choices of yarn content, yarn brand, type of hook or needles used, whether or not you think the model is attractive, or any other variant of choices possible. 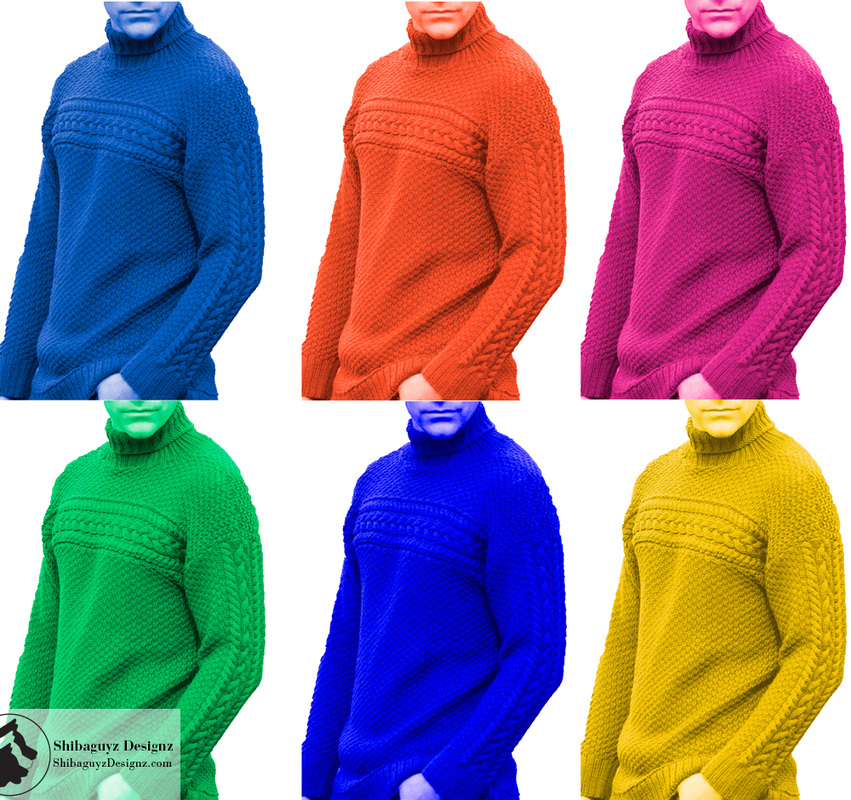 These permissions shall apply forever and ever and ever and always and anyone who says otherwise is a doo-doo head (that's official legal jargon there, folks) and we will send a herd of demented wombats after them for saying so (hey… it could happen). With these permissions, go forth and create, experiment, and make with joy and wild abandon according to your personal preferences and tastes because that's what makes YOU a FAB person and you should strut your FAB stuff (more technical legal stuff there) as often as possible. Sincerely, S&J Shibaguyz Designz  Class Details and Registration Information for Shibaguyz Designz Classes at Knit Fit 2014NOTE: This post was updated on October 22, 2014 to reflect the new date for the Motif Madness class. All information in this post is correct as of October 22, 2014. - S&J  It's that time again… Back to School! Okay… not exactly THAT kind of school but it is time to head back into the classroom and build those stitching skills! As a designer, I spend most of my time in the studio, sketching, writing, and… well… doing designy things (yes… I made up another word…). When Jason isn't in his studio, he is always running off to shoot photos of some event or someone marking a momentous occasion with a photo session. As teachers, we get to interact with crocheters and knitters who look to us to help them build their skills. Whether they are hobby stitchers or looking to become designers, it is always a thrill for us to take a classroom full of students on a journey during a class session. Fortunately, we have the opportunity to teach at some great events and Knit Fit right here in Seattle is one of our favorites. This year we are honored to be teaching for the third year at Knit Fit and we have two FAB classes to share with y'all. This year, we are proud to be offering a student favorite: Fashion, Fit, Form, & Function; as well as a new-to-Knit-Fit class: Motif Madness. Here is a little about each class and the links to register.
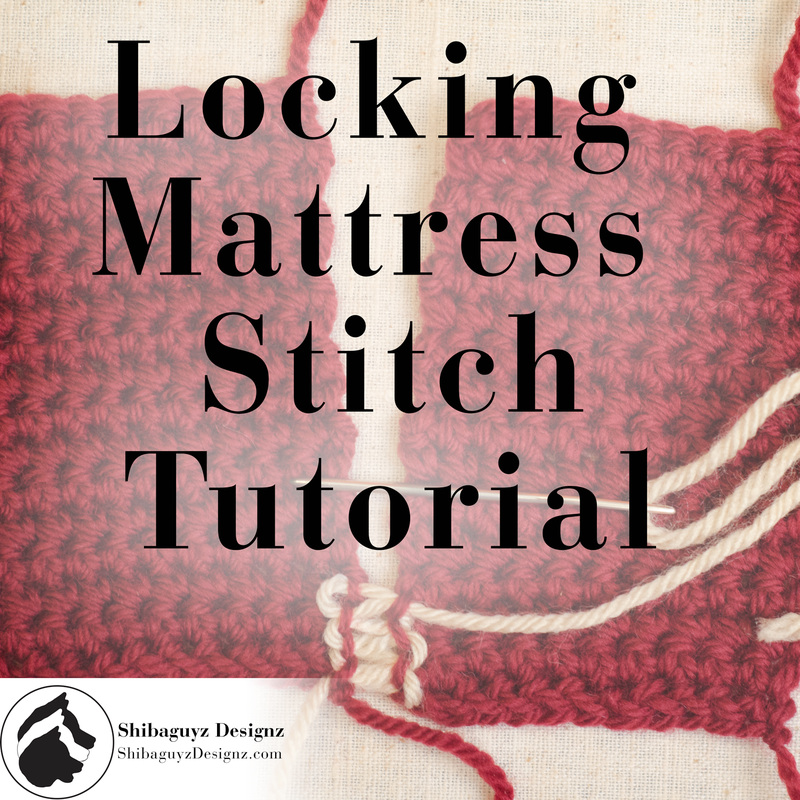
Registration is open NOW and classrooms do fill up from time to time so be sure to get your registration in early to reserve your space. You can register for our classes by clicking on the photos above and then clicking on the "REGISTER NOW" link. Or, go to http://knitfit.info and register from there. We do love teaching and we always have a lot of fun in class. We hope you can come be a part of the learning process with us! See you at Knit Fit! Stitch On! S&J We hope you enjoy our articles and posts here on Shibaguyz Designz and hope you will share them with other stitchers. Take a minute to look around and check out our other posts as well as our patterns and books in our online shop. Here are a few suggestions for you we thought you might like. Just click on one of the photos below to open the link! Enjoy! 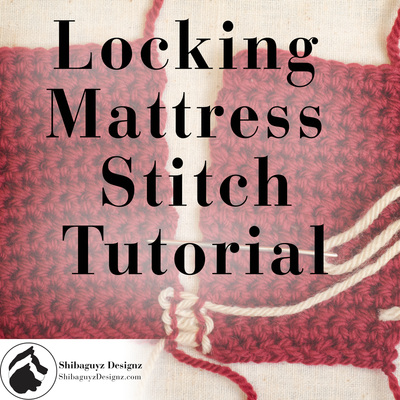 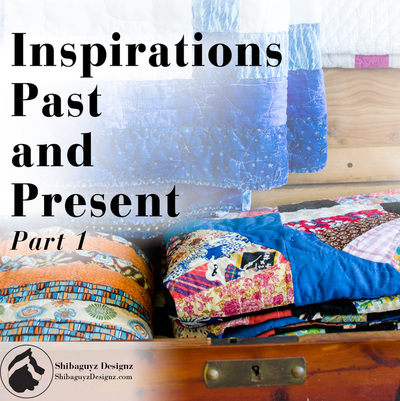 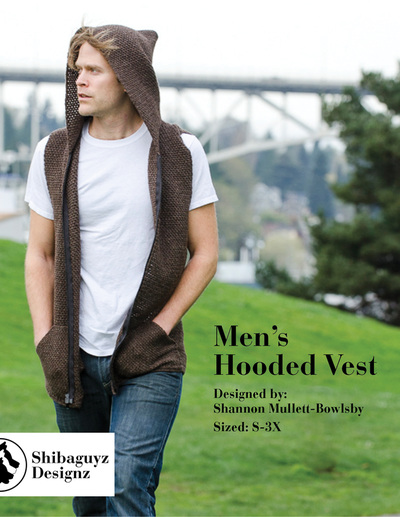 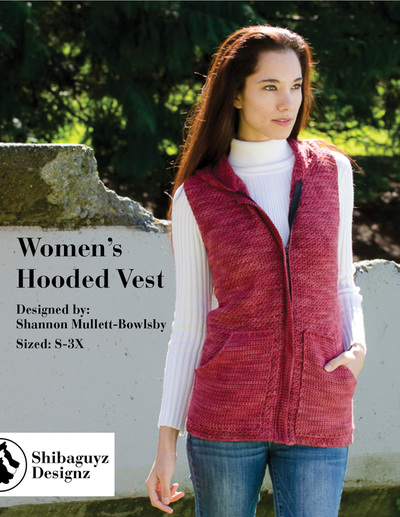 We'd love to hear from you! Leave a comment to this post and catch up with us on Ravelry, Facebook, Twitter, and Pinterest by clicking on one of these icons. How To Make the Locking Mattress Stitch for Crochet Fabric TECHNIQUE Locking Mattress Stitch (for Crochet Fabric) NOTE: Although the Locking Mattress Stitch works FAB with both crochet and knitted fabrics, today's Technique Tuesday article will be addressing the use of this seaming technique with crochet fabrics. Look for a future article for seaming knit fabrics using the Locking Mattress Stitch.
Why use the Locking Mattress Stitch? The Locking Mattress Stitch leaves a nearly invisible seam in crochet and knitted fabrics. It's really that simple. The seam is sewn using minimally invasive needle work and the stitches snug together in a neat and tidy way that leaves a seam on the inside of the fabric with no noticeable bulk and leaves the outside of the fabric looking… well… seamless! (Pun intended… thanks.) Click "Read More" link below for the full post.
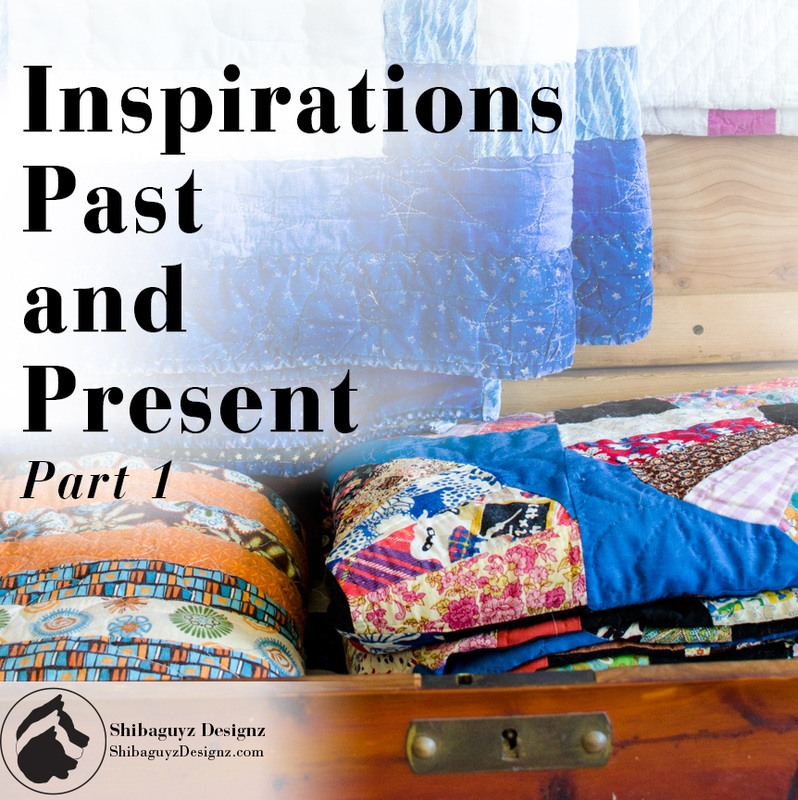
This post ended up as part 1 in an emotional journey documenting their work and paying our respects to the women, both past and present, whose hands created these functional pieces of home decor that ended up being venerated as artwork in our home today. More than that, they have become reminders to us of the values of the craftspeople who have come before us and have created a standard by which we now create our work in our design studios. How To Make the First Double Crochet Stitch TECHNIQUE First Double Crochet (First-dc)
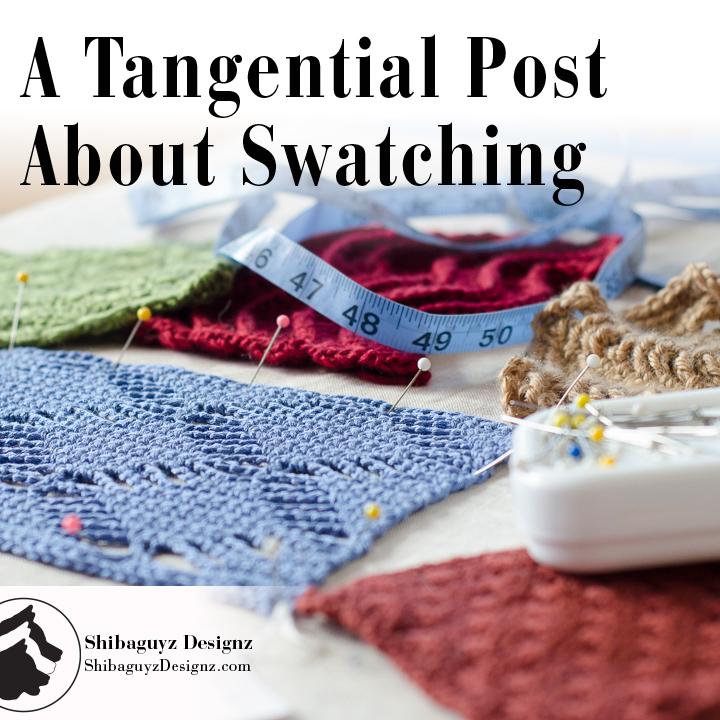
We've all seen the instructions at the beginning of a row of double crochet stitches that says: Ch 3, dc in next st. For me, this left a lot of questions in my mind.  It only takes a quick glance back through our posts here on our blog or on our Facebook or Ravelry pages to know that I swatch… a lot!
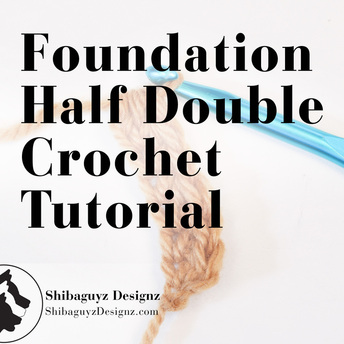
I've said it before and I'll say it again. Swatching isn't just about testing your gauge (although that is a HUGELY important reason to swatch), it is also about testing the fabric you are about to make. If I haven't worked in THAT stitch pattern using THAT yarn with THAT size hook or needle… there's gonna be a swatch. 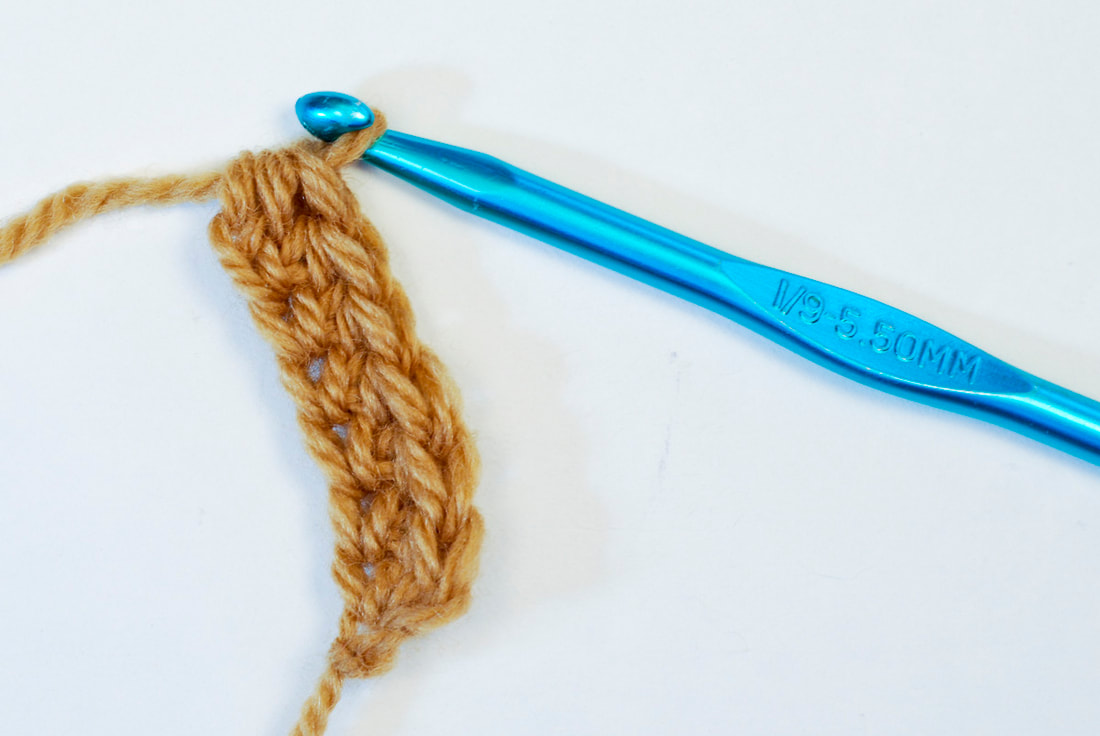 Foundation Half Double Crochet (Fhdc) WHAT IS IT? The Foundation Half Double Crochet stitch technique (abbreviated Fhdc) is an alternative to the instructions at the beginning of a crochet pattern that tell you to chain a certain number of stitches. This technique simultaneously creates a row of "chain" stitches AND a row of half double crochet stitches (abbreviated hdc) without making two passes. Basically, it takes the place of two rows of stitches: the "chain" row that makes up the beginning base and the next row of half double crochet that is worked into that row of chains.
Once you've practiced a bit with this stitch and create it comfortably, take a close look at the "chain" part of the stitch as you are making it. You will see how the "chain" is not, in fact, a chain at all but a clever doppelganger of the chain. It serves the purpose of looking like a base row of chain stitches but it is made in such a way that it is more elastic. Which brings us to our next point…
I started off writing this post as the next section in our Blocking University series. What happened was the following tangent about swatching.
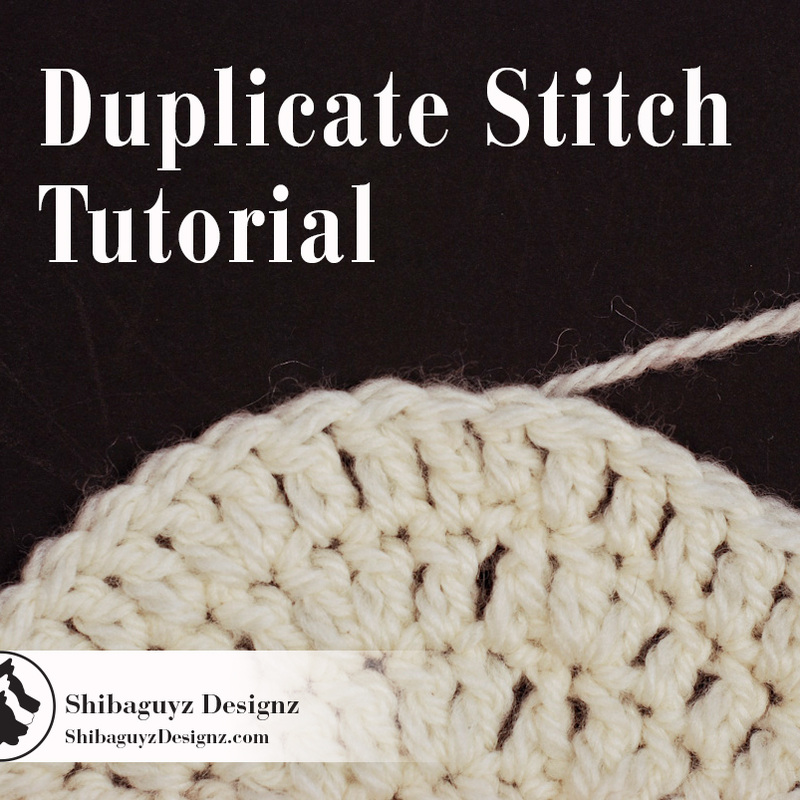
The first blocking we encounter in a project is blocking the swatch. That, of course, means you must first make a swatch. Yes… make a swatch… (This is where things started to go… in another direction…) Don't think I can't hear you rolling your eyes at me! Since this subject of swatching is tangential (if only slightly so) to our main course topic of blocking, we thought we should just get the issue out of the way first thing. (Mind you, at this point, I still thought I'd write a paragraph or two about swatching then get on with blocking.)  Technique Duplicate Stitch What is it? The Duplicate Stitch technique is used to join the last stitch of a round to the first stitch of a round by creating a "duplicate" top on the skipped stitch it is worked over. The tail of the yarn is woven over the first stitch of the round in such a way that the front and back loops of that first stitch are duplicated. This creates a clean finish for the final stitch of a round and makes a nearly invisible join. Why use the Duplicate Stitch? Duplicate Stitch is a FAB method for finishing or binding off circular crochet and knitting projects. Who amongst us has not gotten to the end of a crochet motif and been a little stumped by what to do to finish off that last stitch? How to make it look neat and clean without looking like we just reached the end of our project and tied a big ol' knot in it?
The bottom line is, anywhere we work in the round or in a spiral and end with an open tube of some sort (hats, sock and sleeve cuffs, hems), we need to fasten off or bind off in such a way that the edge of our finished project doesn't look like it was gnawed on by a demented badger.
The Right Tools for the Right Job 
 Technique Foundation Single Crochet (Fsc) What is it? This technique simultaneously creates a row of "chain" stitches AND a row of single crochet stitches (abbreviated sc) without making two passes. Basically, it takes the place of two rows of stitches: the "chain" row that makes up the beginning base and the next row of single crochet that is worked into that row of chains.
The most common question we are asked is about what inspires me as a designer. Sometimes the answer is difficult to articulate and I shrug my shoulders and say "Everything!" By answering that way, I'm not trying to be flippant… The truth of the matter is, I can't help but be inspired by the people and places I'm surrounded by every day. The music we play in our studios; the colors, shapes, and structures I encounter on a daily basis; the textures and shapes we see on our meandering around this amazing area we live in… all of these influence me. Rather than trying to put it into words, we have paired up some of the images Jason captures on our journeyings with our designs. Look for more of these in the coming months. We will post more sets as the mood… or the inspiration… strikes. Enjoy.

On the Blog
 We're not going to beat around the bush about this because we're just to dang excited. Let's get right to the Big Announcement:
From the Martha Stewart American Made website: Each year Martha Stewart Living honors a group of makers, craftspeople, small-business owners, and innovators from across the country in four key categories, crafts, design, food, and style. They are recognized for their dedication to creative entrepreneurship and to building successful businesses and communities. These individuals earn the title of American Made Award Winner. 
 So your project is finished but it didn’t turn out exactly like you thought it was going to. In fact, this object you are holding in your hands is a little lumpy (in all the wrong places), the fabric is tight and might feel like it could stand up on its own, and it really doesn’t look anything like the sample in the picture on the pattern. If your FO (finished object) is a garment, it might be a bit misshapen and, hey, why is this sleeve a different length than the other one? And what person in their right mind would call THIS a size large?? GAH!! WHAT DID I DO WRONG??? Frustrating, right? We know… |
AuthorShannon and Jason Leave us a tip to help us do what we do!


Archives
September 2022
 

 Categories
All
     |


 RSS Feed
