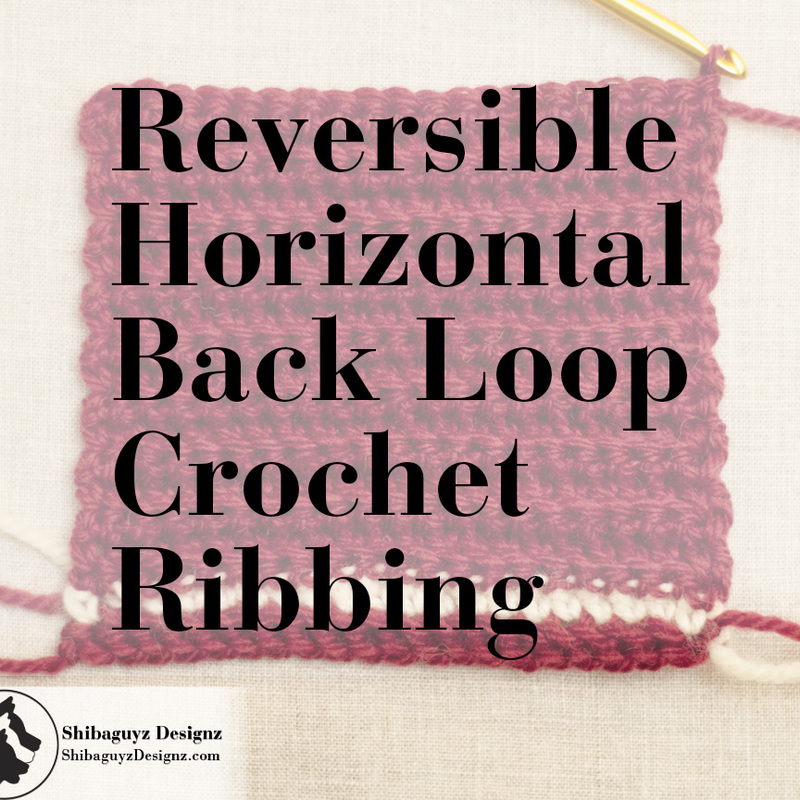
How To Make Reversible Horizontal Back Loop Crochet RibbingWhat is it? Reversible Horizontal Back Loop Crochet Ribbing is the only non-post stitch technique for making Crochet Ribbing. Reversible Horizontal Back Loop Crochet Ribbing looks the same from both sides and is constructed horizontally by working ONLY in the Back Loops of the crochet stitches of each row. As the name indicates, Reversible Horizontal Back Loop Crochet Ribbing is made horizontally which means the wales (the raised ridges) and the troughs (the contrasting lower lines) are created by working from side to side in relation to the way we normally see ribbing – in vertical lines. The Reversible Horizontal Back Loop Crochet Ribbing technique for making crochet ribbing is very different from the previous methods we have covered here for making crochet ribbing. Reversible Horizontal Back Loop Crochet Ribbing is made by working every row of stitches in the Back Loops ONLY of the previous row of crochet stitches. Working in the Back Loop only of the stitches leaves the front loops standing out against the surface of the crochet fabric with makes the lines of wales needed to create ribbing. While we have used Slip Stitch, Single Crochet, and Half Double Crochet stitches for making Reversible Horizontal Back Loop Crochet Ribbing, today we will be demonstrating with Single Crochet stitches. For your first attempts, Single Crochet Through the Back Loop (sc tbl) will give you the best results. That said… DEFINITELY try Half Double Crochet Through the Back Loop (hdc tbl) then try Slip Stitch Through the Back Loop (sl st tbl). You will love both results although, sl st tbl does take a little practice and some patience to master… maybe we'll cover that one in a post all by itself… later… Click "Read More" link below for the full post.
1 Comment
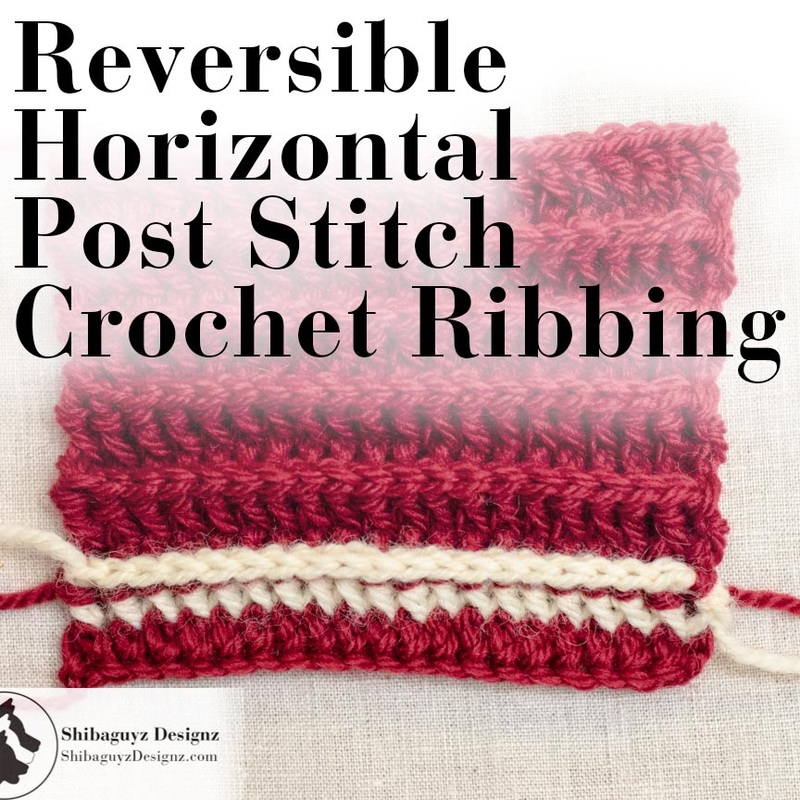
A Sneak Peek of Designer Crochet, the NEW Crochet Pattern Book from Shibaguyz DesignzIf you have been anywhere near our Twitter, Facebook, Ravelry, Google+, Tumblr, or Instagram feeds (I think that's all of 'em… yeah… I think…) anytime in the past year, you know we have been working enthusiastically on our new book of crochet patterns. While we are still working on final edits (in fact, we have a meeting with your editor later this afternoon), our publisher, Lark Publishing, has just posted a preview of our book on their blog. WOOHOO!! Penned by editor, Connie Santisteban, the preview includes a FAB description of the patterns in Designer Crochet: 32 Patterns to Elevate Your Style. While Designer Crochet will be officially published in April 2015, it is available for pre-order NOW via the link in the post. Oh… and, of course, there are FAB sneak peek photos to get your fingers and hooks all revved up and ready to go. Yes, the photography is by none other than our very own Jason Mullett-Bowlsby of Shibaguyz Photography. WOOHOO! Check out the post at the link below for some Designer Crochet eye candy: Spring Preview - Designer Crochet: 32 Patterns to Elevate Your Style by Shannon Mullett-Bowlsby Stitch On! S&J Come look us up on Facebook, Twitter, and Pinterest by clicking on one of these icons. Technique Tuesday Moved For This Week OnlyWe know… y'all came here today looking for our usual Technique Tuesday tutorial post. Well, we've had to move Technique Tuesday to Thursday this week. We got a little caught up in editing our NEW book of crochet patterns, Designer Crochet, and the time just got away from us. Fear not! We're only moving Technique Tuesday this one time this one week. We'll be back on Tuesday next week like usual and all will be right with the world. As a consolation prize, here is a sneak peak of Designer Crochet (that new book of crochet patterns we have been editing) from our publisher's website. Our editor, Connie Santisteban, gives you a brief description of the crochet patterns in Designer Crochet and shares exclusive sneak peek photos AND there is a preorder link with a FAB preorder price for y'all. WOOHOO!! Click the link below to be whisked away to the Lark Publishing blog and see this FAB sneak peek and preorder link. Sneak Peek of Designer Crochet by Shannon Mullett-Bowlsby of Shibaguyz Designz Oh yeah… you can still get your Technique Tuesday fix by clicking on the Tutorials category over there in the right-hand column of our page. To make it even easier, here's a direct link: Shibaguyz Designz Tutorials Category Thanks for stopping by! See y'all back here on Thursday for Technique Tuesday… ummm… Technique Thursday? How about Temporary Technique Thursday?? Anyway… see you on Thursday. And enjoy the exclusive sneak peek of Designer Crochet! Stitch On! S&J Come look us up on Facebook, Twitter, and Pinterest by clicking on one of these icons. How To Make Reversible Horizontal Post Stitch Crochet Ribbing
Click "Read More" link below for the full post.
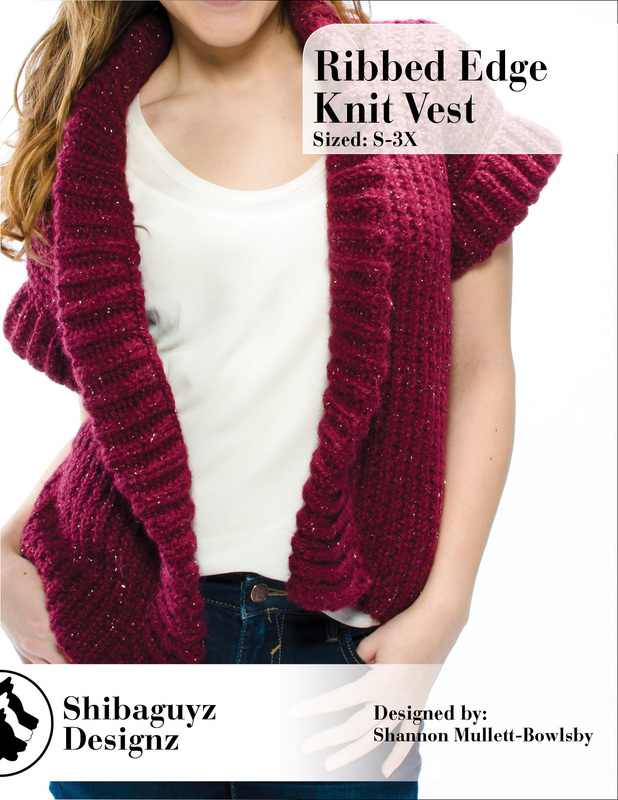
Women's Ribbed Edge Knit Vest knitting pattern by Shibaguyz Designz
About the Yarn
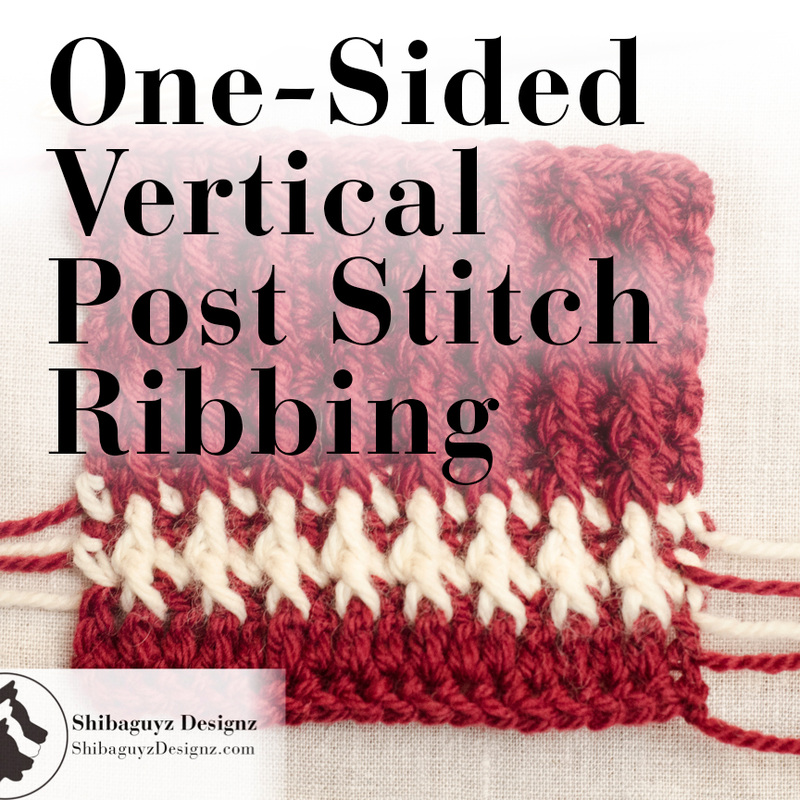
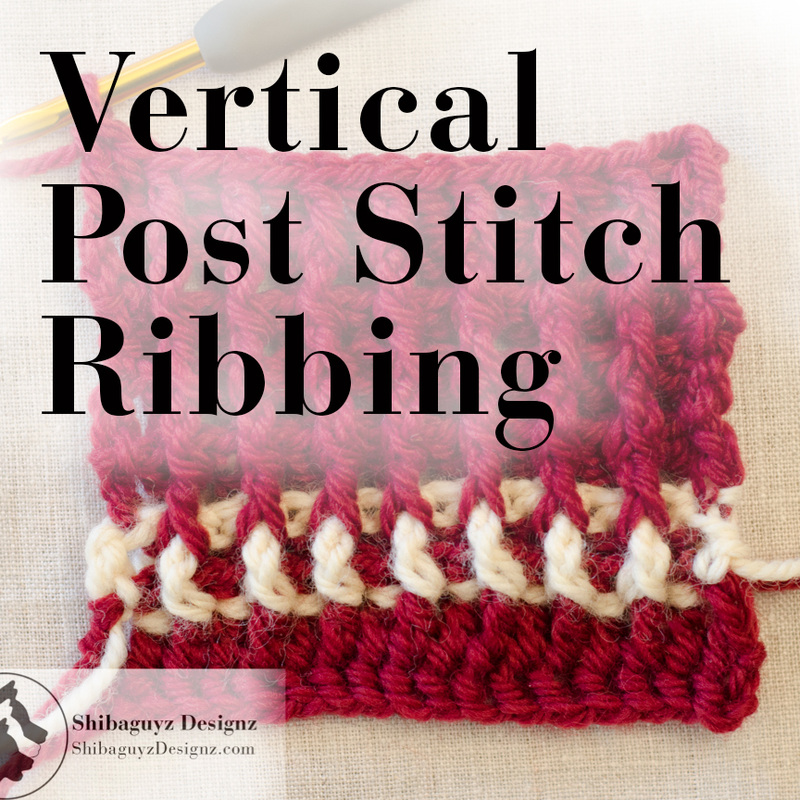
We originally designed this vest in Plymouth Yarn Grande Glow which has a subtle hint of Stelina in it… that means there's a little SPARKLE to it or, as the name implies, a little GLOW. Also as the name implies, Plymouth Yarn Grande Glow is a GRANDE yarn… meaning it is a bulky weight yarn weighing in at a healthy CYCA 5. And, yes, Plymouth Yarn Grande Glow is 97% Baby Alpaca. Folks… that means this yarn feels oh so soft next to your skin. Seriously… just get a case of it and dive into it. You're welcome. How To Make One-Sided Vertical Post Stitch Crochet Ribbing What is it? We started our discussion of crochet ribbing last week with a quick definition of ribbing. Simply put, Ribbing is a series of raised ridges – called wales – and contrasting low troughs. While there are a number of ways to create combinations of wales and troughs using crochet stitches, over the course of a few posts, we will be dealing with four main methods of creating crochet ribbing: Reversible Vertical Post Stitch Ribbing – the technique discussed in last week's post One-Sided Vertical Post Stitch Ribbing – our topic today! Horizontal Post Stitch Ribbing – future post Horizontal tbl Ribbing – future post… stay tuned! As you can see, we can create crochet ribbing by working post stitches either vertically or horizontally and by working horizontally using only the back loop of our stitches. While we will get to the back loop ribbing technique on a future post, today we are working on our post stitch ribbing. A quick reminder here that post stitches are worked around the post of a crochet stitch resulting in a stitch that is raised to the front or the back of our working row depending on whether we work a Front Post Crochet Stitch or a Back Post Crochet Stitch. Click "Read More" link below for the full post.
How Our Crochet Community Can Give Back one person at a time
How to make Reversible Vertical Post Stitch Crochet RibbingWhat is it? First, let's give a quick definition of ribbing. Simply put, Ribbing is a series of raised ridges – called wales – and contrasting low troughs. That said, there are a number of ways to create combinations of wales and troughs using crochet stitches. In fact, we have: Reversible Vertical Post Stitch Crochet Ribbing One-Sided Vertical Post Stitch Crochet Ribbing Horizontal Post Stitch Crochet Ribbing Horizontal tbl Crochet Ribbing We will be covering ALL of these in future Technique Tuesday articles but, for today's Reversible Vertical Post Stitch Crochet Ribbing tutorial, we are creating a reversible vertical post stitch ribbing with wales on both sides of the fabric through the use alternating Front Post Double Crochet Stitches and Back Post Double Crochet Stitches. Remember: Post stitches are worked around the post of a crochet stitch creating a stitch that is raised to the front or the back of our working row depending on whether we work a Front Post Crochet Stitch or a Back Post Crochet Stitch. Reversible Vertical Post Stitch Crochet Ribbing creates a series of wales and troughs that are made vertically in relation to the working direction of our crochet fabric. That is, we start at the top or bottom of the fabric and create wales and troughs by working rows of alternating Front and Back Post Stitches. These alternating Front Post Crochet Stitches and Back Post Crochet Stitches build off of one another in successive rows creating the vertical wales and troughs – Ribbing! For a quick review of crochet post stitches check out these tutorials: Front Post Double Crochet Stitch Tutorial Back Post Double Crochet Stitch Tutorial then come right back! We'll wait… Okay… back now? Good… let's carry on… Click "Read More" link below for the full post.
|
AuthorShannon and Jason Leave us a tip to help us do what we do!
Archives
May 2024
Categories
All
|


 RSS Feed

