|
We’re so excited about this news we’re just about to burst. In fact, if this was a musical we’d start singing right about now. WAIT! I feel a song coming on:
 If you did not guess it from my cryptic clue, we’re going to be chatting with Marly Bird on her Yarn Thing Podcast on Blog Talk Radio live and in person Tuesday, April 28th at 9:00am Pacific Time. You can expect to hear some great conversation and a whole lotta laughs too. If you listen live and want to call in to ask a question of Marly & Me, (the show-host and myself, not the book…I SO cried when… wait, back on topic) the listener dial-in number is: (347) 539-5589. You can also join us LIVE in the chat room… that's always a hoot too! Can’t make it to the live broadcast? No worries! You can catch the re-broadcast anytime after Tuesday on iTunes. Click on the banner below to be taken to the Yarn Thing Podcast page on Blog Talk Radio where you can set a reminder to listen in! Don't miss this… you never know what's going to happen we Marly and the Shibaguyz get together! Stitch On! S&J 
0 Comments
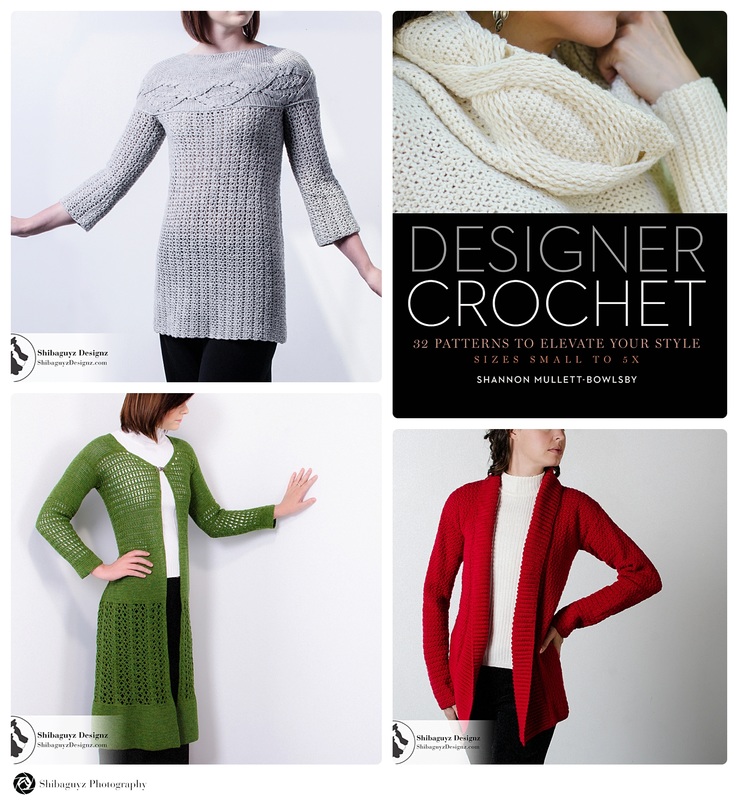
We’ve been hinting about it for months now, dropping clues and even providing the occasional link. Finally, today, at last, the day is here. We are thrilled, thrilled I tell you, to announce that our new book of crochet patterns, Designer Crochet: 32 Patterns to Elevate Your Style, is available TODAY! Happy Dance Happy Dance Happy Dance
Below is a gallery of all the projects in the book. Some of the photos you may have seen in previous posts. But many more have been kept quietly under wraps until now. As an added bonus we will be posting a few photos that were cut from the book to make enough room for all the other information that had to be in there. Here are all the patterns you’ll get. Technique Tuesday Tutorial - Natural Light Photography: Your "Window" to Great Fiber Photos4/14/2015  Photographing in Natural Window Light For Great Shots |


| Natural light has made a comeback, not only for amateurs but for pros as well. I love it. It’s warm, it’s easy to manipulate, and it’s free! Natural light is the new look for portraits of newborns to seniors, and it’s popping up more and more in fashion photography. With minimal equipment anyone with a basic camera (even a camera phone) can take exceptional indoor images utilizing nothing more than a window. So, how do you nail it? The key to great fiber photography with window light is as simple as using your eyes. Look at what’s in front of you, decide if you like it. If not adjust it to suit your taste. It’s that easy! Let's do it. |  |
 | The direction of it does not matter. Many photographers insist on having a northern or eastern exposure, but I find any direction will work. The trick is you have to wait for the moment when the light is right. You should have bright light without direct light hitting your subject. For my living room shots, this generally happens between 11:00am and 3:00pm. Because I live in Seattle where we have a lot of cloudy days, my shooting schedule can be augmented depending on if the clouds keep the sun in check. One important note… I recommend you turn off all interior lights if possible. They may cause a color balance shift making your garment’s color look off. |
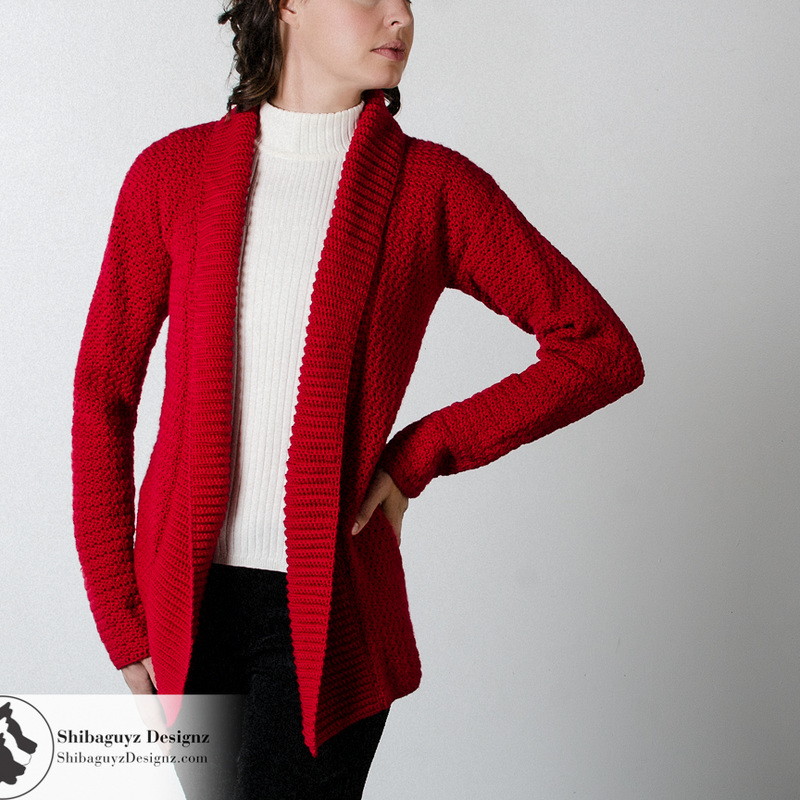
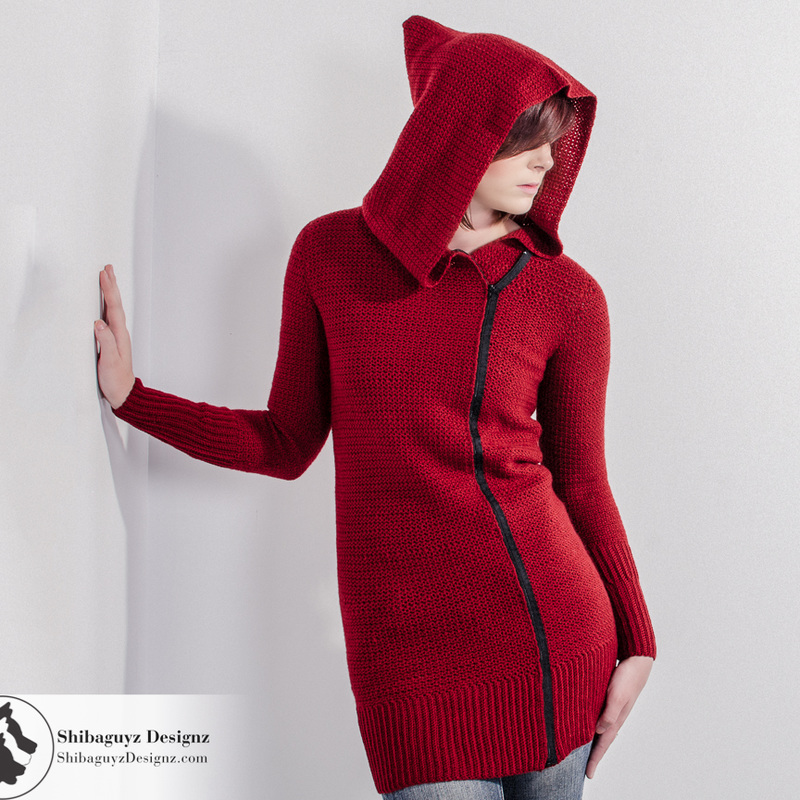
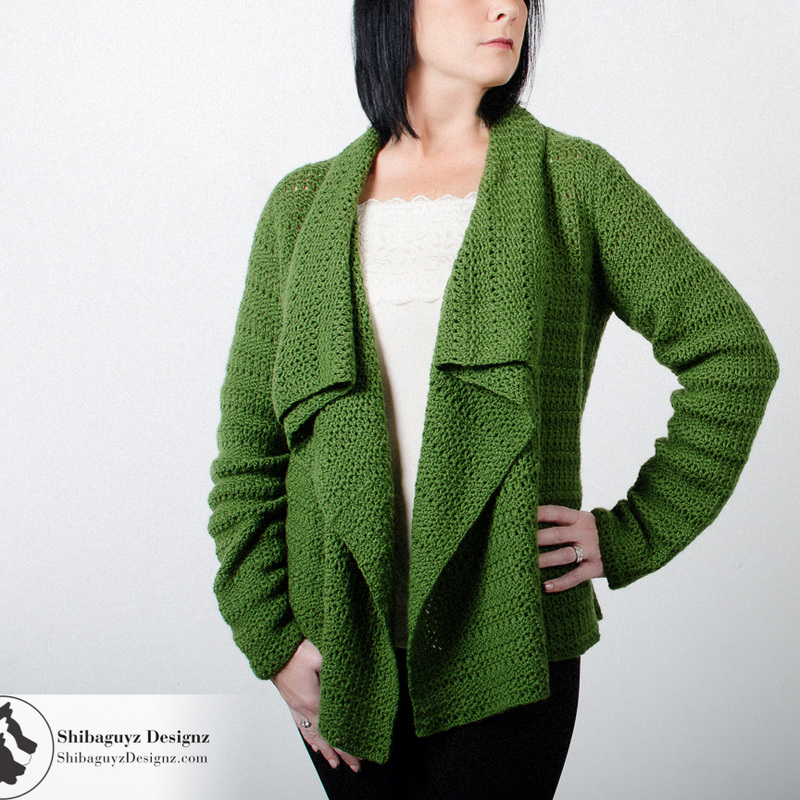
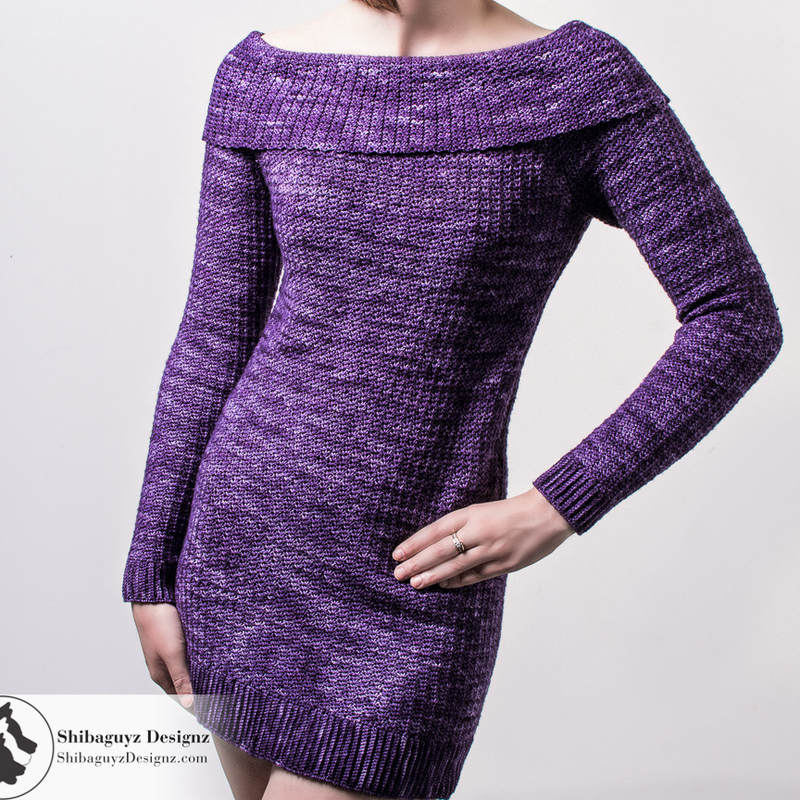
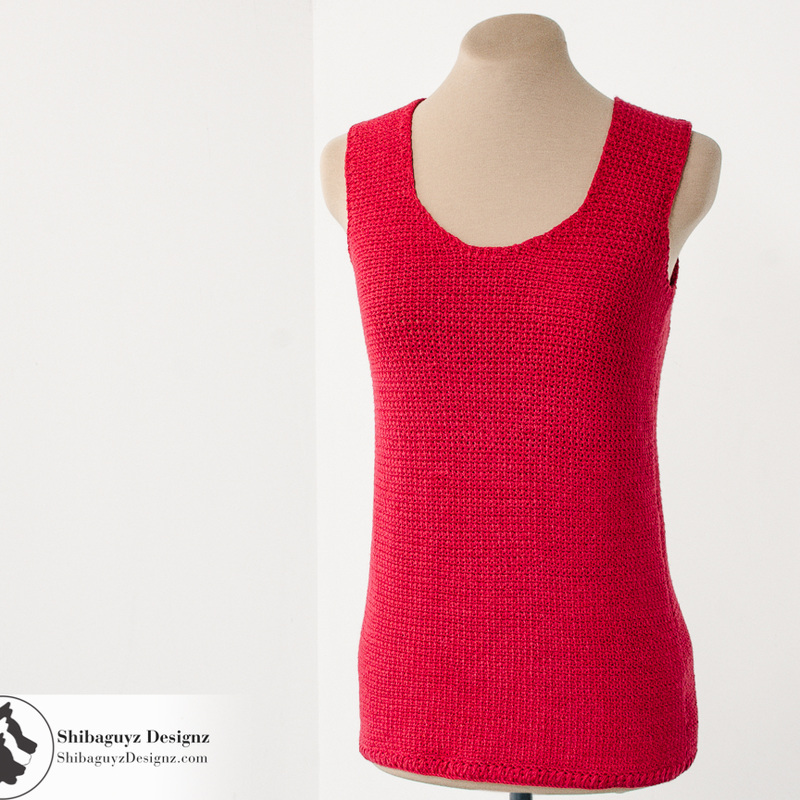
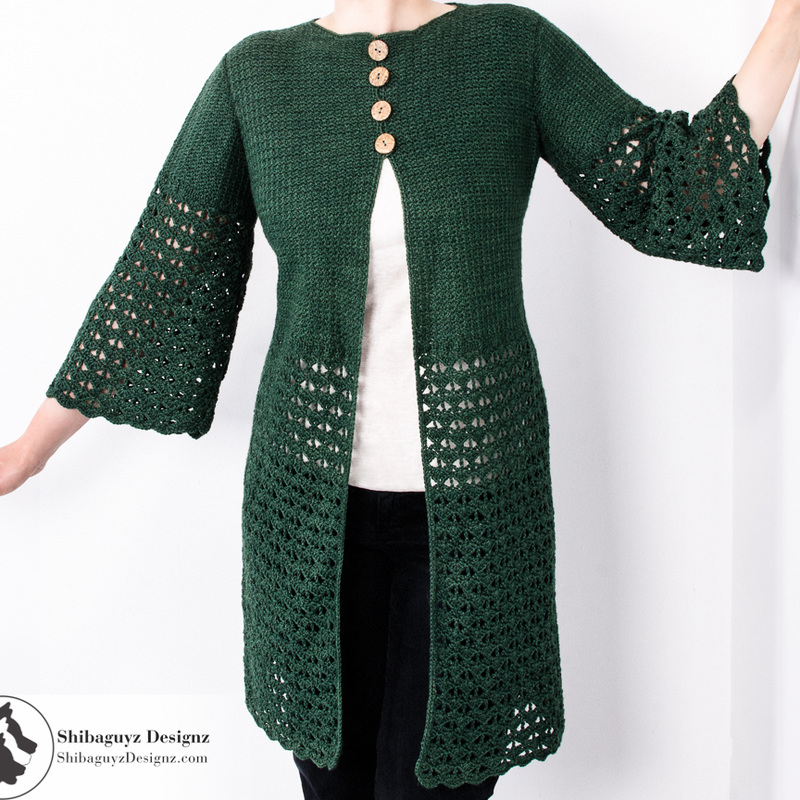
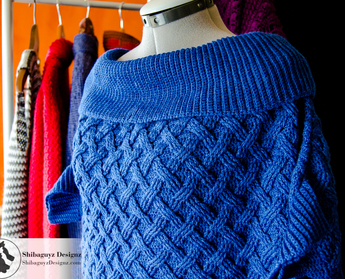 This Cabled Top from Designer Crochet was photographed in my living room directly in front of a large window. See how it's slightly angled allowing some shadows to fall? | It should be obvious, but I’ll say it nonetheless, you can’t move the window, so you’ll need to move your subject to control where the light hits. Positioning your subject directly in front of the window will give you’ll get flat, even light with little shadow, but you can run into problems if the shadow from you or your camera falls on the subject, and sometimes because the light is flat you lose texture. A better option is to position your subject so that the window is just to one side of it on an angle. This is called Side Lighting |
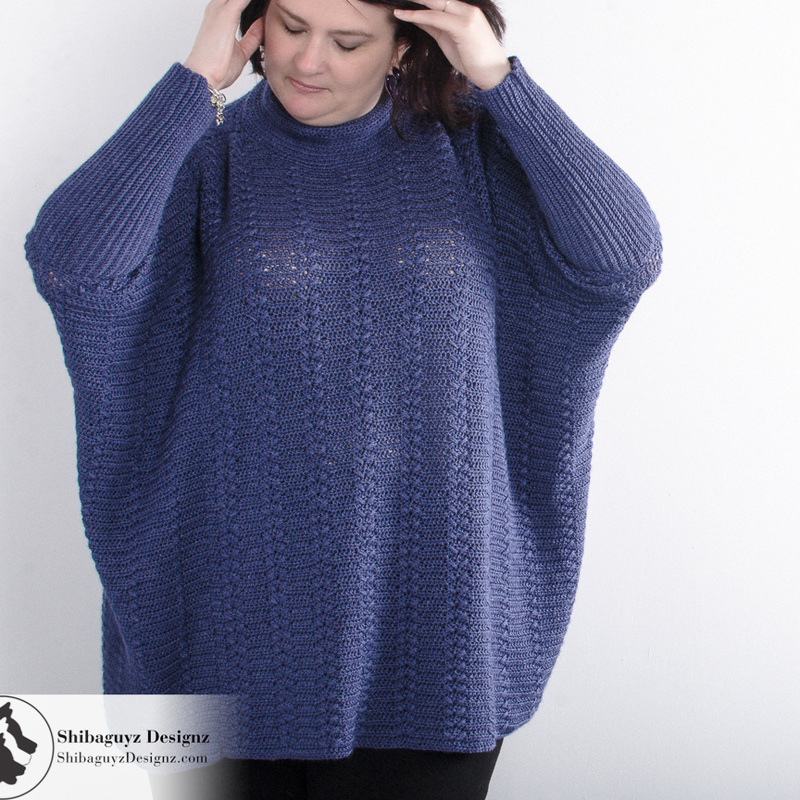
What did you see? The massive majority of images show side lighting. It's flattering to almost every subject. This kind of side lighting set-up will help accentuate any soft lighting streaming across the fabric of your subject which is perfect for enhancing the texture in crochet and knit items. Side lighting is also ideal if you decide to use any kind of a light modifier like bounces and diffusers. Bounces are positioned on the opposite side of the light source, (i.e. further inside the room) bouncing light back to the shadowed side of your subject. They help lighten any strong shadows, acting like a miniature light source.
You don’t need to go broke buying professional bounces to get the “perfect shot”. You can easily get impressive results with a few of sheets of basic card stock, aka "poster board" (available from an office supply store or any store with a craft section). I always carry one plain white piece and another covered in aluminum foil for bouncing light where I want more. Occasionally I’ll use a black piece for intensifying shadows. That’s it… just pieces of thick paper.
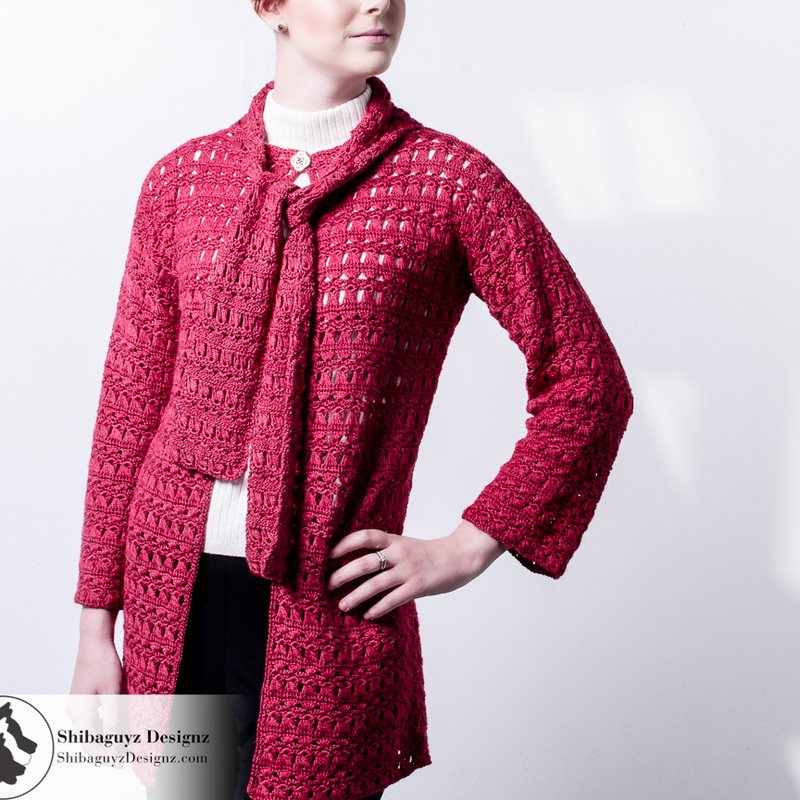
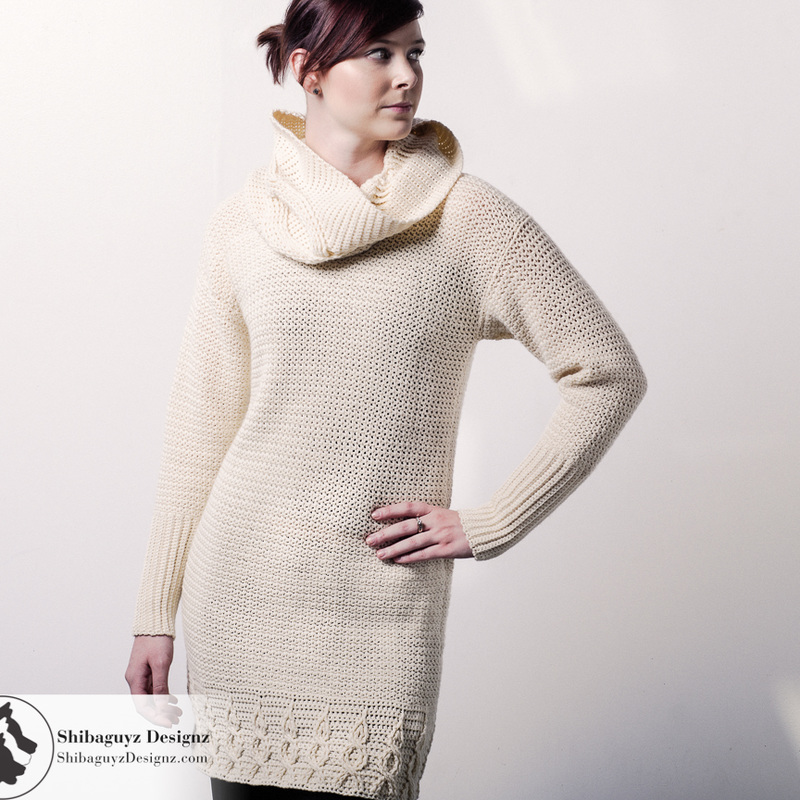
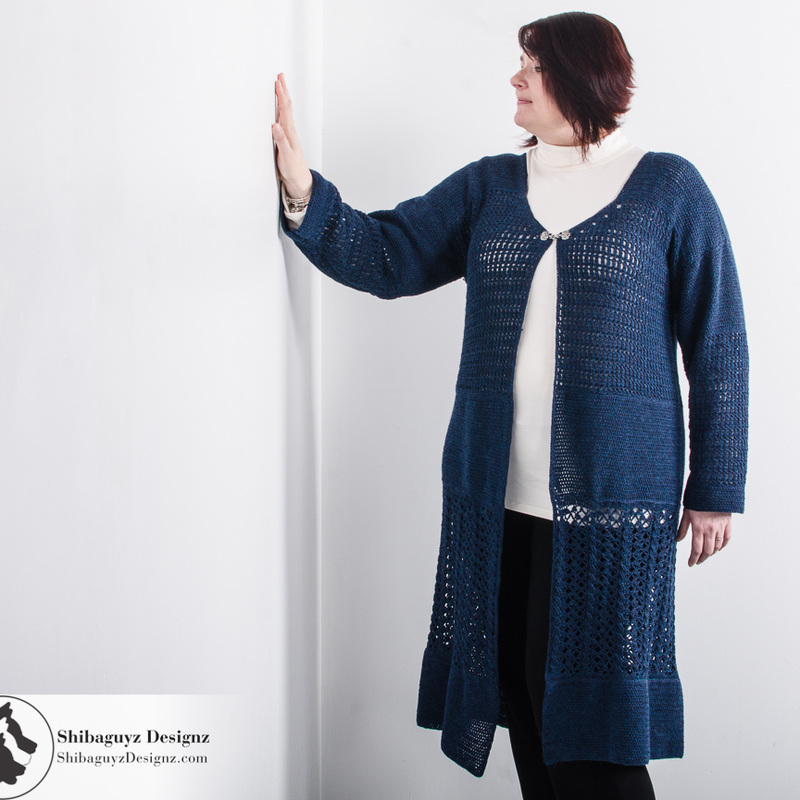
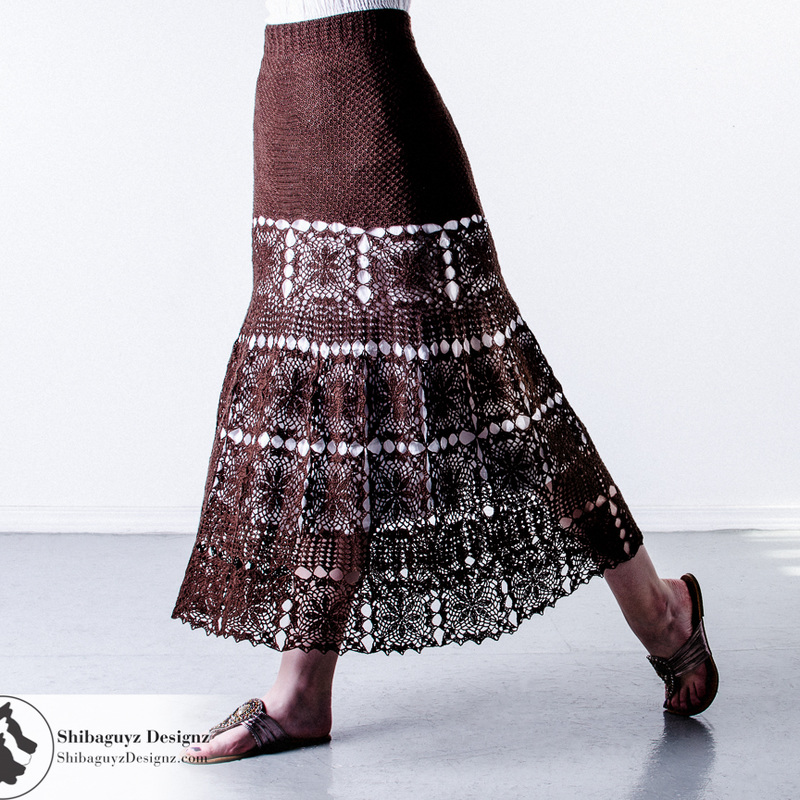
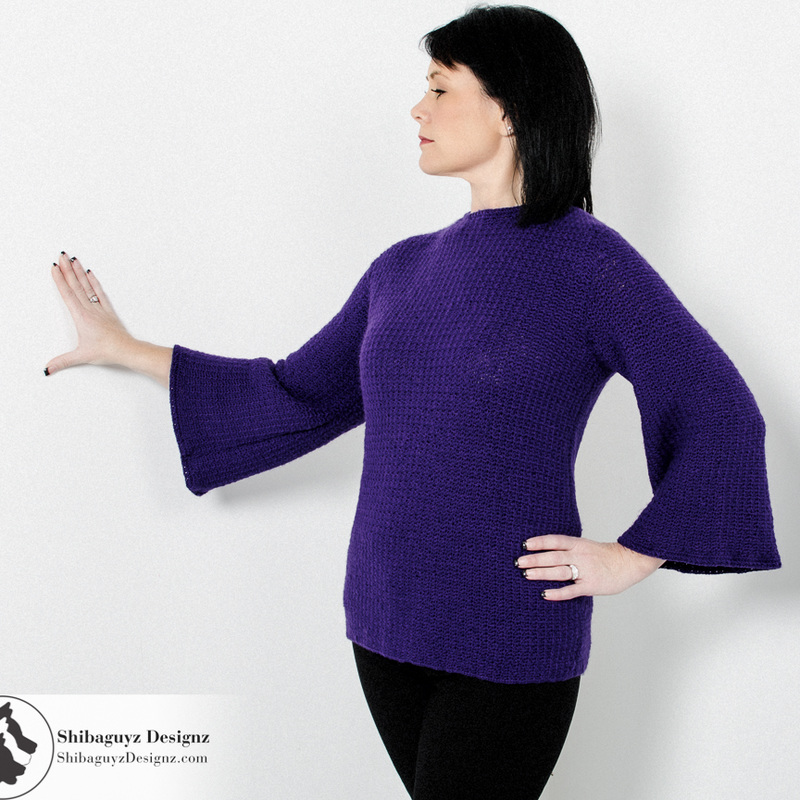
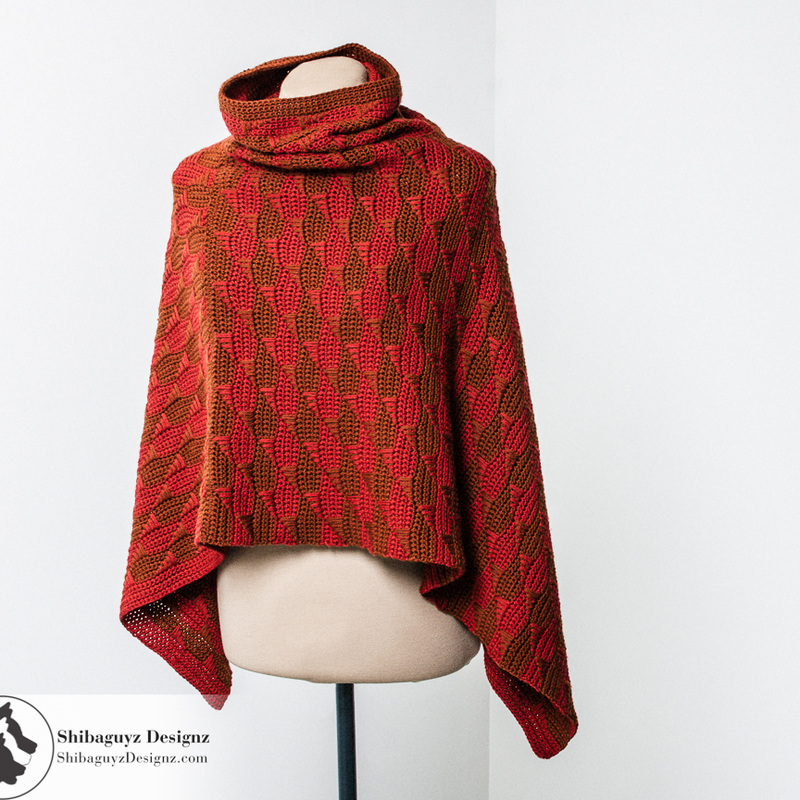
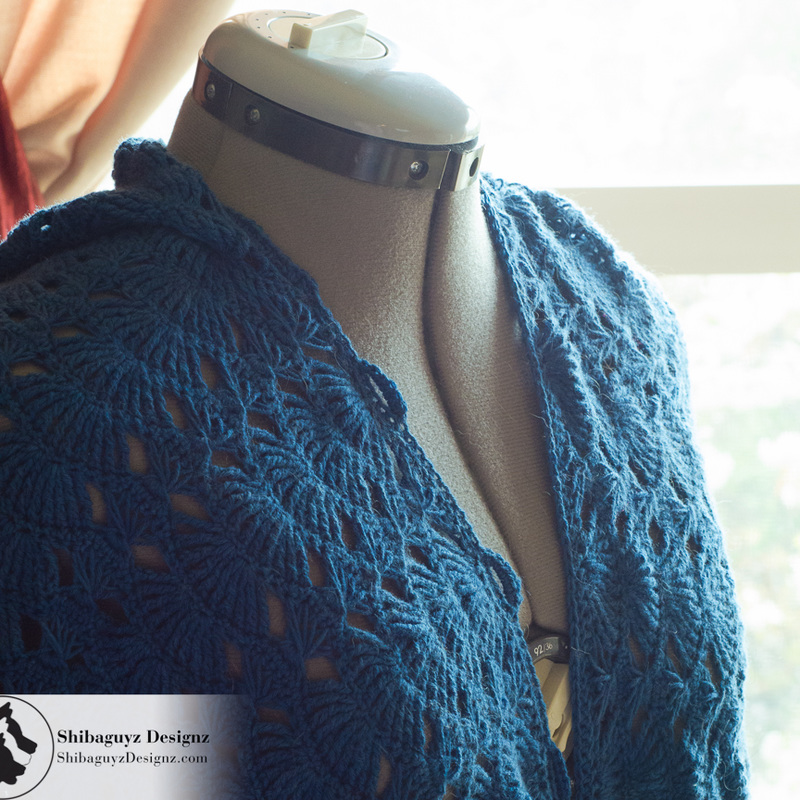
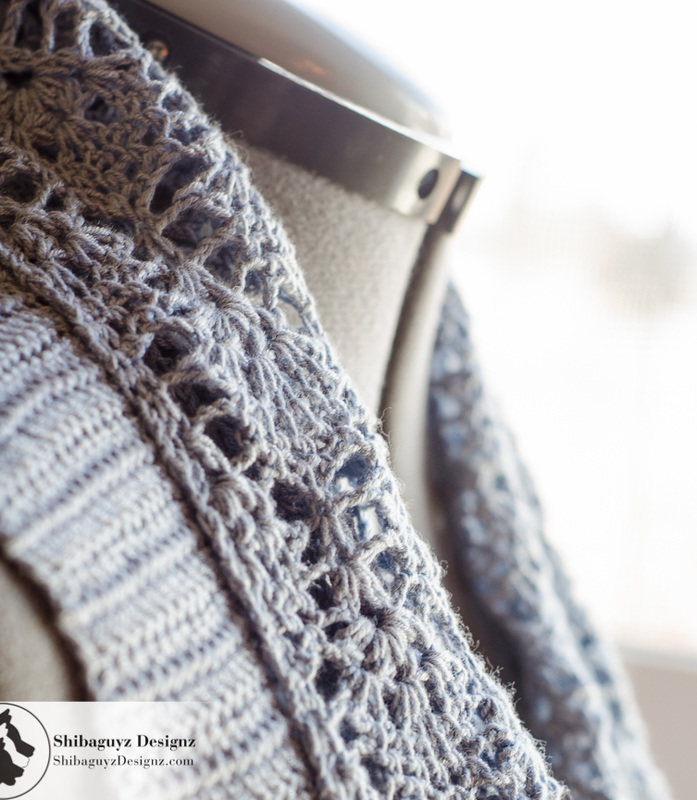 Bringing the dress form closer to the window increased the highlights in this lace helping it to stand out more. | Moving your subject closer to or further away from the window is going to change the “contrast” in the lighting. Contrast is the difference between the dark and light portions of your photo. Being closer to the window increases contrast, thus increasing the difference between the lit side and the shadow side of the subject. Moving it away is going to reduce the effect. Be careful here. If you move too far away there is a chance your subject will look dull and flat. The sweet spot is usually a couple feet away depending on how bright it is outside. |
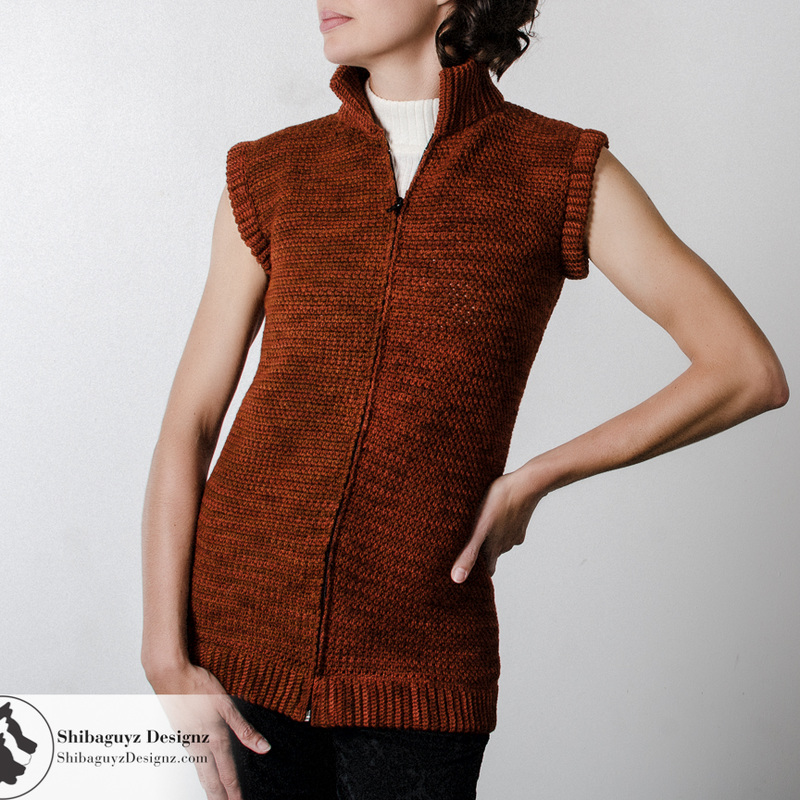
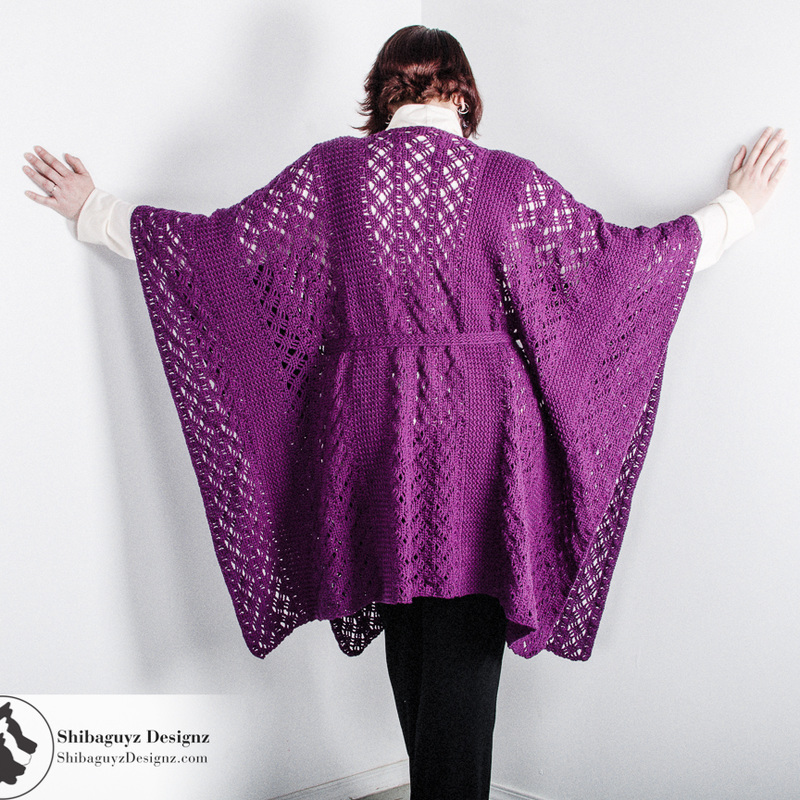
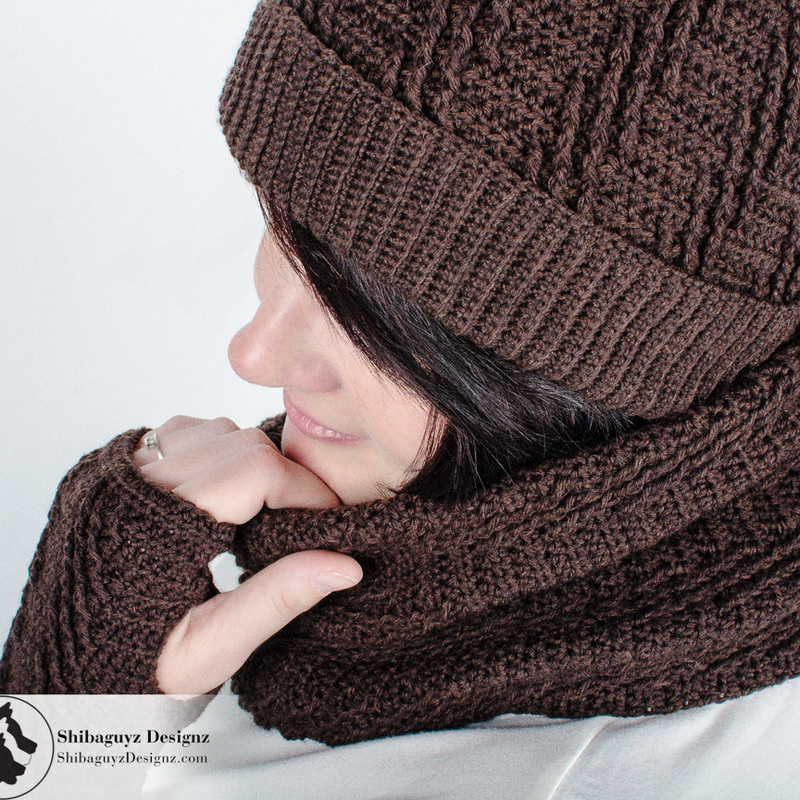
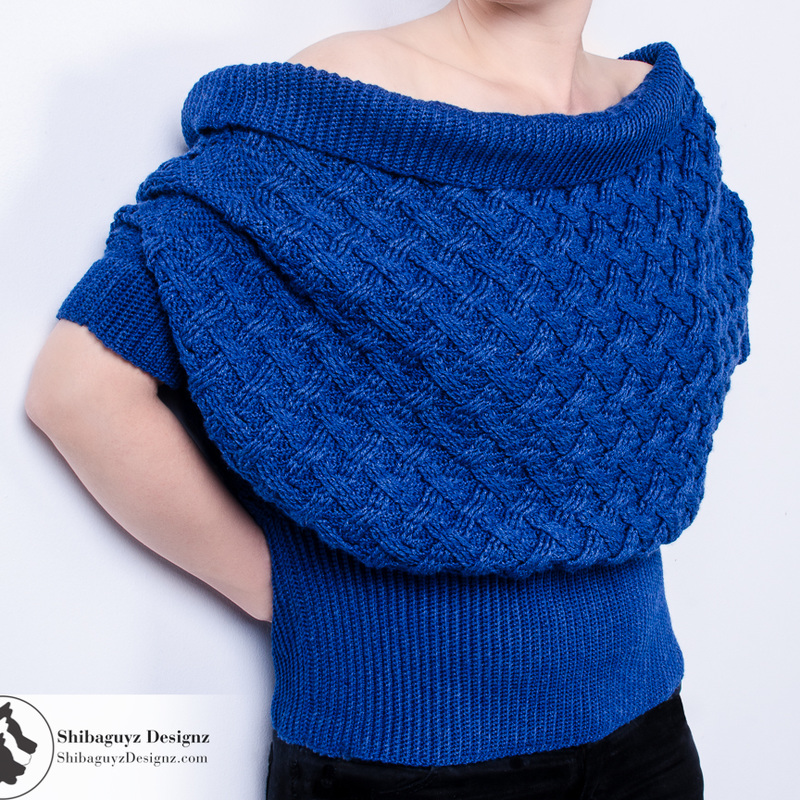
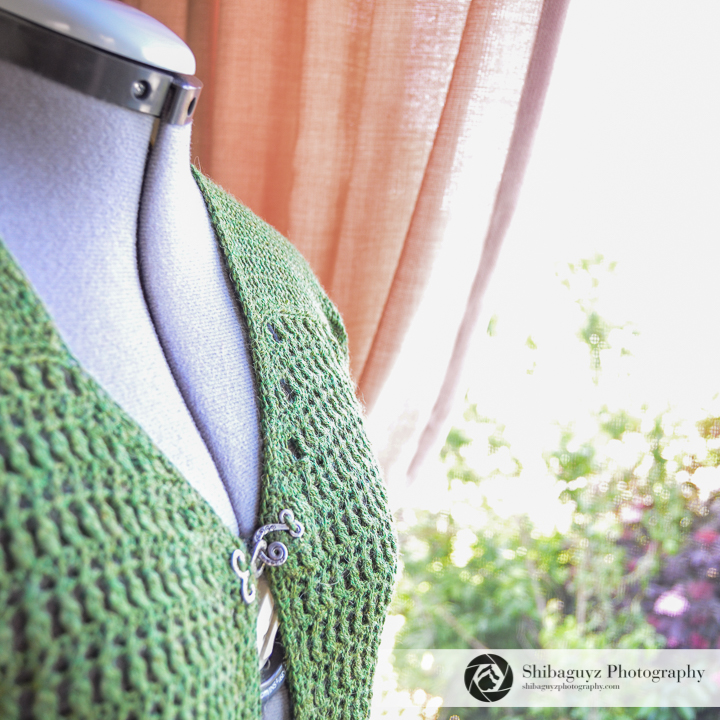
| NOTE: Pay attention to the sun. Just because we’re inside doesn’t mean we can ignore it. Remember as the sun moves the positive effects of window light will go down the tubes if harsh sunlight starts pouring in. You want light, but not at a direct angle. If the sun is raging in you’re going to have over-exposed highlights and hard ugly shadows on your subject. It’s easy to see when that occurs. If that happens, you have three options: 1. Place a soft curtain or otherwise gauzy piece of fabric over the window to lessen the effect of the hard light (this is called diffusing). Diffusers are placed between the light and the subject to help scatter harsh direct light into softer light with reduced shadows. Think of how sheer curtains in a window soften hard light scattering it. 2. Wait for the hard light to move out of the window. 3. Go to another window that faces another direction. The sun can’t be on all four sides of the house at once! | 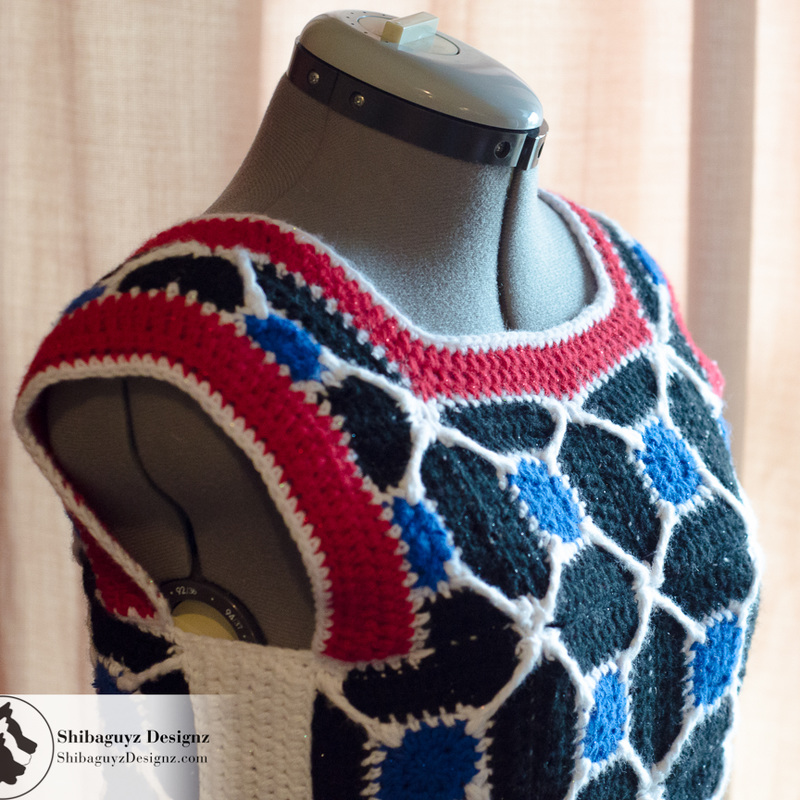 I used a simple curtain to block the worst of the harsh summer afternoon light coming in this window. It allowed softer light to wrap around the dress form and made a nice background too! |
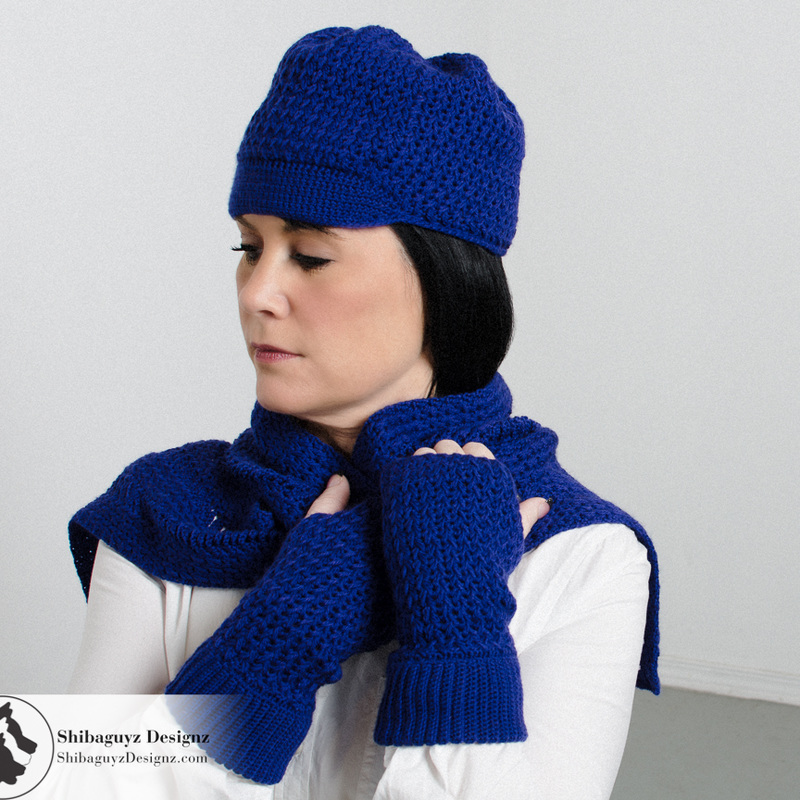
 | Focus on your subject and adjust the exposure and focus on the garment. Placing yourself so the window is in your photo will sometimes over-expose that part of the photo, which is a justifiable style choice. I recommend you move around taking your photo from different placements. If you don’t like the composition, move yourself again or move your subject until it looks perfect. Be sure to check your photos in your camera and on a computer before you break down your set. |
Want to see more of Jason's work? Check out his website at ShibaguyzPhotography.com.
Want more training with Jason? You got it! He has two webinars available online from F&W Media and the Interweave Store. Together these two webinars are a FAB starter pack for anyone wanting to take better photos of their projects… or just better photos in general! Here are the links:
How to Create a DIY Photo Studio: Get Professional Results at Home!
and
Photographing Your Projects Like a Pro
All the details about the classes are at the links.
Thanks for stopping by another Technique Tuesday Tutorial! We love sharing the skillz with our community and hope you all enjoy adding new skillz to your toolbox.
Drop us a line and let us know what you'd like to see in future tutorials and you might see your idea right here in a future Technique Tuesday Tutorial!
talk to you soon…
S&J
Come look us up on Facebook, Twitter, and Pinterest by clicking on one of these icons.
Yup… that's right. I made something just for ME!
I don't do that very often but this one had to happen.
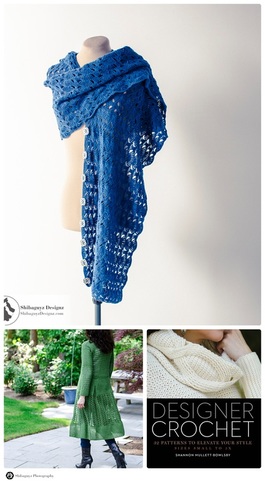
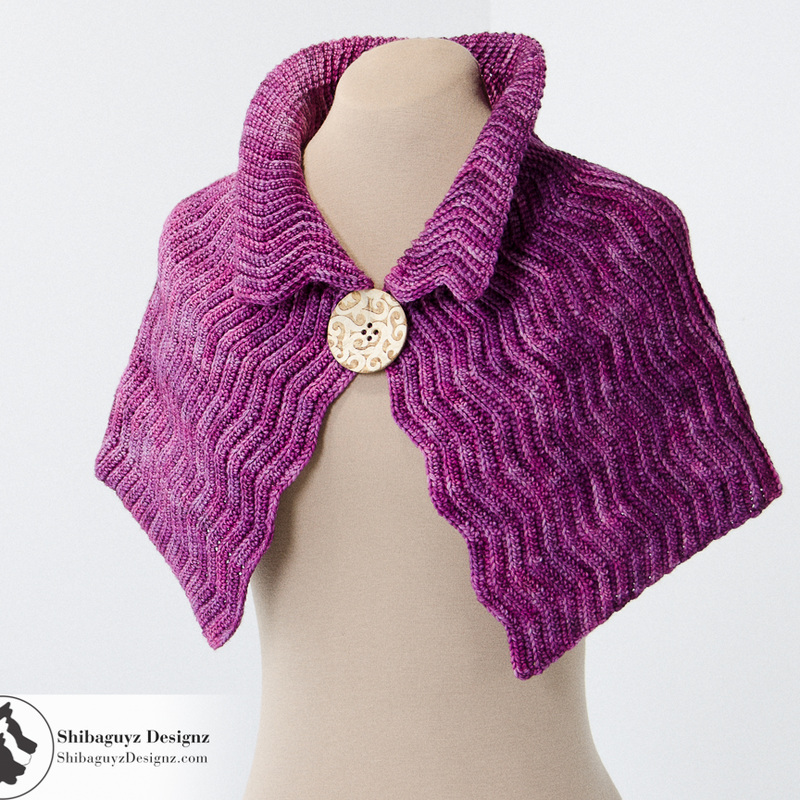
| If you follow along with us on Twitter or Facebook, you know I gained a serious obsession for blanket scarves this past fall and winter. For me, a blanket scarf is more than just an opportunity to wrap up against the elements. Although, let me just say that, on our trip to New York City this past February, we were VERY happy we had them. We were in the FAB city on the day of the coldest temperatures since the 1970s and our blanket scarves were VERY useful. But I digress… |  |
For a crochet or knitting devotee, blanket scarves are the perfect way to showcase a stunning yarn or a dramatic stitch pattern. Also, they are great projects for just sitting and stitching when you don't want to think too much about shaping.
So… yeah… I'm a little obsessed. And I don't see this obsession ending any time soon because I have only begun to dive into the endless combination of fabrics, stitches, yarns, colors… MAKE ALL THE BLANKET SCARVES!!
Looking back, I'm realzing this post could have been subtitled:
Why A Blanket Scarf Is A Many Splendored Thing
| The story of this scarf is kind of funny. You see, I have this Craftsy class called Quick and Easy Crochet Cables and the project for the class is a FAB little envelope clutch made from a simple rectangle of crochet cables. When I was on my way to Denver, Colorado to film the class, I realized I didn't have anything particularly warm to wear in my coat closet. You know… Seattle winters just aren't that harsh and the only time we get into temps that cold is when we go hiking in the mountains and I didn't want to wear my beat up hiking jacket for my trip. | 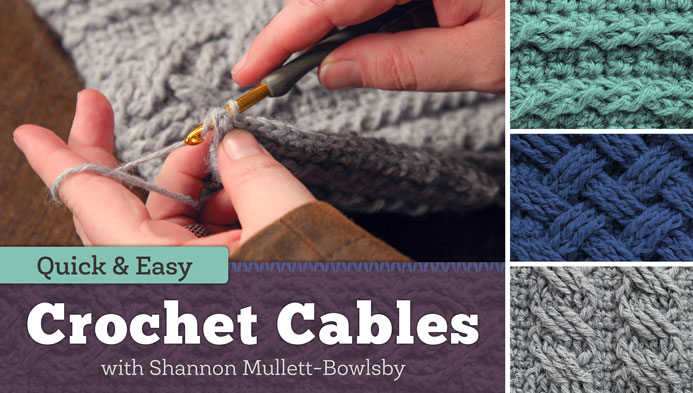 |
Then it hit me… DING!
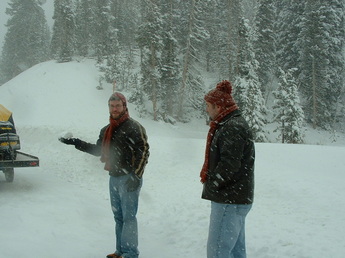 | In my studio is a large wall of shelves full of yarn that inspires me. On one of those shelves, was a bunch of yarn that we purchased on a particularly snowy trip to Wyoming around ten years ago. The yarn was a bulky, single-spun, slight felted wool we found in this little shop in Dubois, Wyoming (pronounced Dew-boys for those not from Wyoming). Like many of you, we sometimes buy yarn and fabric without any idea of what we are going to make with it. These purchases are made because the yarn or fabric is inspirational and I make no apologies for buying inspirational product. This wonderful, wooly, Wyoming yarn was one of those inspirational purchases. The natural colors, the soft hand, the fact that the wool came from the shop owner's own flock… it was the perfect storm for us and we bought as much of it as she had on the rack in her shop: nine big ol' gorgeous hanks in total. |
This is where the DING! happened…
I know… long story… but a good one, yes? This project is the perfect example of inspiration meeting opportunity. That's what makes the resulting blanket scarf even more special for me.
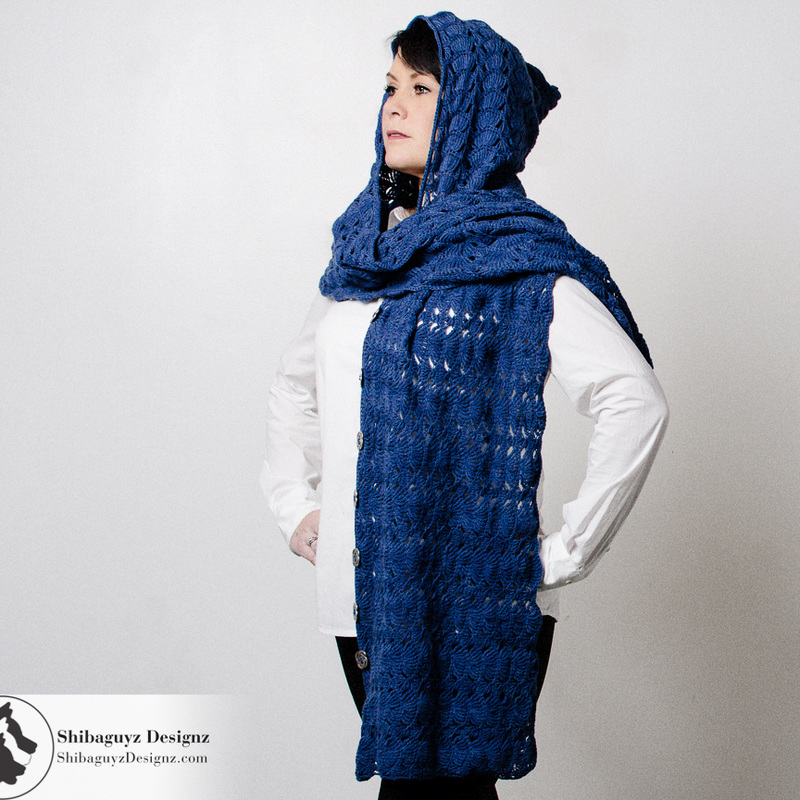
Here are some shots Jason took of the finished scarf while were in the Shibaguyz Photography studio one day. Yes, it's good to be married to a professional photographer.
 | The pattern is the exact pattern stitch for stitch from my Craftsy crochet class. Upon seeing this blanket scarf, some folks have taken the class just so they could learn cables and make a scarf like this for themselves. Heck… while we were in New York City, we were walking along the shops on Madison Avenue and folks came out of the shops on two different occasions to ask where I purchased my scarf. Of course, they left with our card in hand. |
| So many things I love about this scarf. Even though the weather is warmer here now, I'm looking forward to our trip to New York this October when we teach at Rhinebeck then spend a few days in the city. Yes, I've already started on new blanket scarves. More photos and patterns later… Details about our classes at Rhinebeck here: Workshops with the Shibaguyz at the 2015 New York State Sheep and Wool Festival in Rhinebeck, NY | 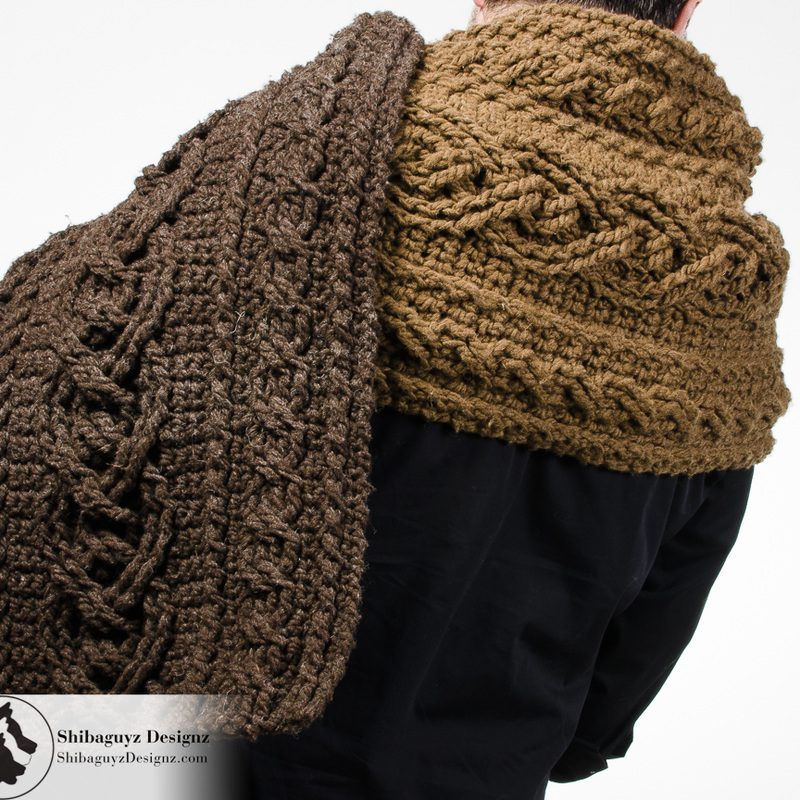 |
For now, enjoy the eye candy! Oh… if you do decide to get your crochet cables groove on with my Craftsy class, be sure to share your finished project photos with us. Clutches, blanket scarves, however you decide to use the pattern from the class… we want to see how YOU are inspired too!
Here's a special link for you to use for my Craftsy crochet class:
Quick and Easy Crochet Cables Class on Craftsy by Shannon Mullett-Bowlsby
Stitch On!
S&J
Be sure to not miss out on future announcements from the Shibaguyz. We'll keep you up to date on events and classes as well as send you special offers and exclusive tutorials you won't see on our website. Sign up for our newsletter today and we'll keep you up to date so you don't miss a thing! (It goes without saying that we never sell your email addresses… right? There… we said it anyway.)
Sign up is easy… just click here: Shibaguyz Newsletter Sign Up

In the Classroom With the Shibaguyz
New York State Sheep and Wool Festival
October 15-18, 2015
Rhinebeck BAY-BEEEE!!
| Shibaguyz Designz is proud to announce we will be teaching at the New York State Sheep and Wool Festival in Rhinebeck, NY, October 15–18, 2015. WOOHOO!! Rhinebeck BAY-BEEEE!! (We're thinking about getting t-shirts with that printed on them… too much??) | 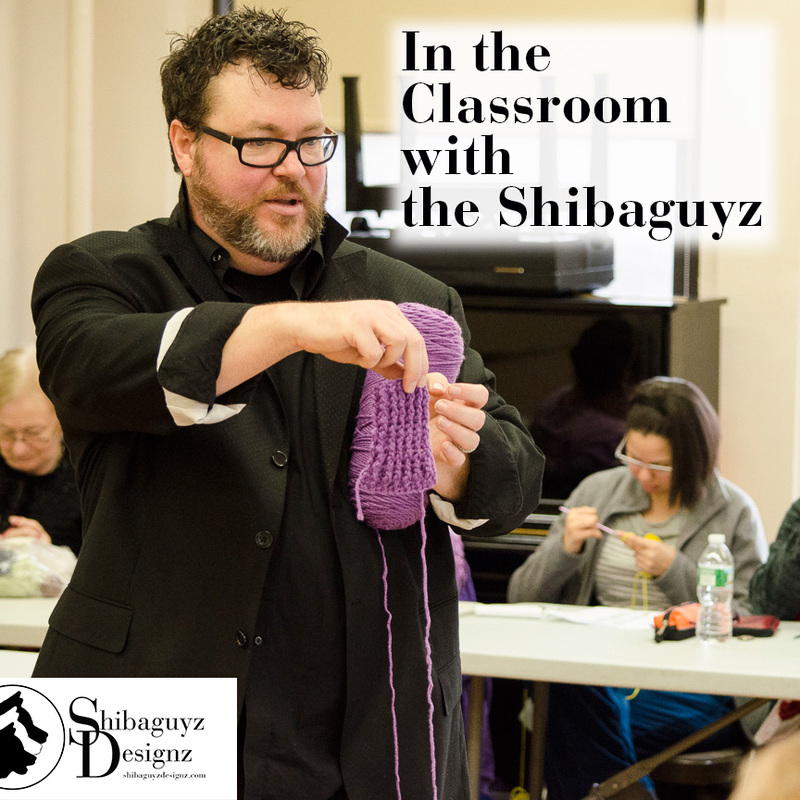 |
We’ve been selected to teach 6 classes beginning Thursday morning and going right through to Sunday evening. This is our first year teaching at Rhinebeck and we could not be more excited to have this opportunity to share the skillz with y'all in such a FAB setting!
Our classes range from all day sessions on crochet & knitting design on Thursday and Friday to photography, crochet, and math on Saturday and Sunday. We wrap everything up on Sunday with, appropriately, our very popular Foundations and Finishing class for crocheters. What a weekend!
We are so looking forward to spending a few FAB days with out in Rhinebeck! Here's a quick lineup of our classes.
UPDATE 05/11/15: Registration is LIVE! Register NOW for classes before they sell out. You can get more details and register for our classes at Rhinebeck here:
New York State Sheep and Wool Festival Website
To be sure you don't miss out, sign up for our newsletter here: Shibaguyz Newsletter Sign Up
   |    |
You can read in-depth descriptions on our Classes page here: Shibaguyz Classes
And full details will be up on the New York State Sheep and Wool Festival website once registration opens here: New York State Sheep and Wool Festival Website
Remember: Registration opens sometime around May 1, 2015 so mark these pages and get your registration in before classes fill up! Classes are expected to sell out so you’ll want to register for classes early to ensure a seat.
UPDATE 05/11/15: Class registration is LIVE! Register today to ensure your seat here: New York State Sheep and Wool Festival Class Registration
We will keep you informed when the registration goes live and give you links to each of our classes… but save those dates in October and we'll see you in the classroom at Rhinebeck!
Be sure to not miss out on future announcements about this and other events as well as special offers and exclusive tutorials you won't see on our website. Sign up for our newsletter today and we'll keep you up to date so you don't miss a thing! (It goes without saying that we never sell your email addresses… right? There… we said it anyway.)
Sign up is easy… just click here: Shibaguyz Newsletter Sign Up
Stitch On!!
S&J
Author
Shannon and Jason
 RSS Feed


Archives
May 2024
September 2022
June 2022
February 2022
June 2021
November 2020
September 2020
June 2020
May 2020
April 2020
March 2020
January 2020
February 2019
December 2018
November 2018
August 2018
July 2018
May 2018
April 2018
March 2018
February 2018
January 2018
December 2017
November 2017
October 2017
September 2017
August 2017
July 2017
March 2017
February 2017
January 2017
November 2016
October 2016
September 2016
July 2016
June 2016
May 2016
April 2016
March 2016
February 2016
November 2015
August 2015
July 2015
June 2015
May 2015
April 2015
March 2015
February 2015
January 2015
December 2014
November 2014
October 2014
September 2014
August 2014
July 2014
April 2014
March 2014
January 2014


Categories
All
Afghan
Aurifil
Books
Boro
Camp STITCHES
Classes
Cleaning
Clip On
Clover
Cowl
Craft
Craftsy
CraftU Classes
Crochet
Crochet Geometry
Daylight
Daylight Company
Design
Designer Crochet
Digital Download
Donate
Download
English Paper Piecing
Event
Free
Giveaway
Hand Cream
Hooks
Inspirations
International Crochet Month
Interview
Interweave
Knit
Knitting
Lamp
Marcus
Marcus Fabrics
Men
Menswear
National Craft Month
National Crochet Month
Needles
Online Classes
Ottlite
Pattern
Patterns
Paypal
Photography
Podcast
Prize
Product Review
Project
Quilt
Quilting
Recipe
Rotary Cutter
Sashiko
Season Of Giving Away
Sew Expo
Sewing
Shibaguyz
Shibaguyz Designz
Shibaguyz Designz Indie Maker Pattern
Shibaguyz LIVE
Shibaguyz Photography
Shop
Soak
STITCHES Events
Sweater
Thread
Tool School
Tools Of The Trade
Travel Lamp
Tutorials
Vogue Knitting LIVE
Walkthrough
Warm Up America
Wash
Weaving
Women
Yarn
Zoom Loom


