Technique Tuesday Tutorial - Natural Light Photography: Your "Window" to Great Fiber Photos4/14/2015 Photographing in Natural Window Light For Great Shots |
| Natural light has made a comeback, not only for amateurs but for pros as well. I love it. It’s warm, it’s easy to manipulate, and it’s free! Natural light is the new look for portraits of newborns to seniors, and it’s popping up more and more in fashion photography. With minimal equipment anyone with a basic camera (even a camera phone) can take exceptional indoor images utilizing nothing more than a window. So, how do you nail it? The key to great fiber photography with window light is as simple as using your eyes. Look at what’s in front of you, decide if you like it. If not adjust it to suit your taste. It’s that easy! Let's do it. |
| The direction of it does not matter. Many photographers insist on having a northern or eastern exposure, but I find any direction will work. The trick is you have to wait for the moment when the light is right. You should have bright light without direct light hitting your subject. For my living room shots, this generally happens between 11:00am and 3:00pm. Because I live in Seattle where we have a lot of cloudy days, my shooting schedule can be augmented depending on if the clouds keep the sun in check. One important note… I recommend you turn off all interior lights if possible. They may cause a color balance shift making your garment’s color look off. |
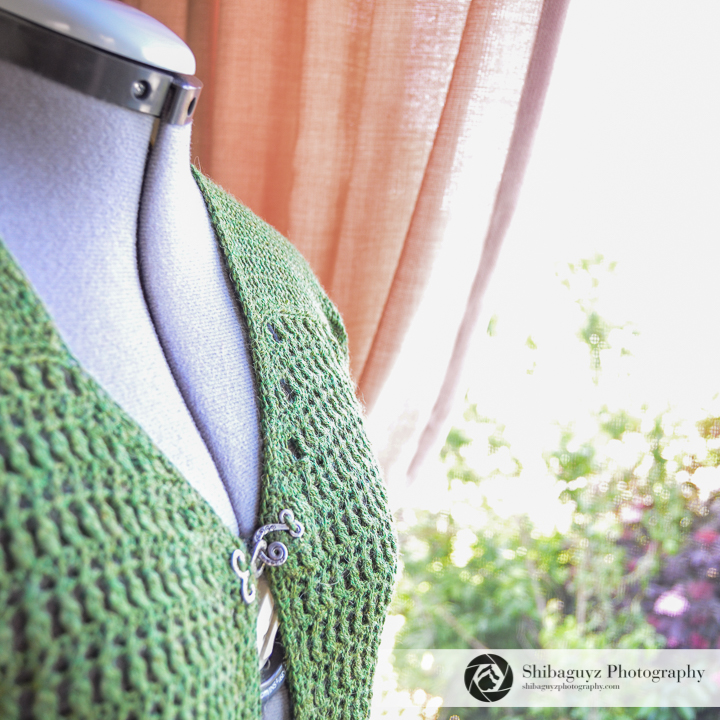
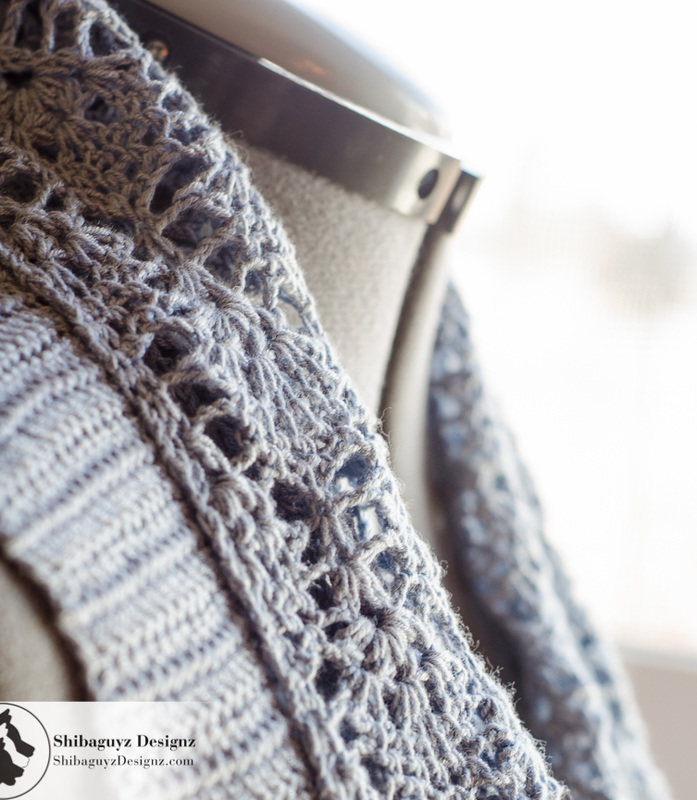
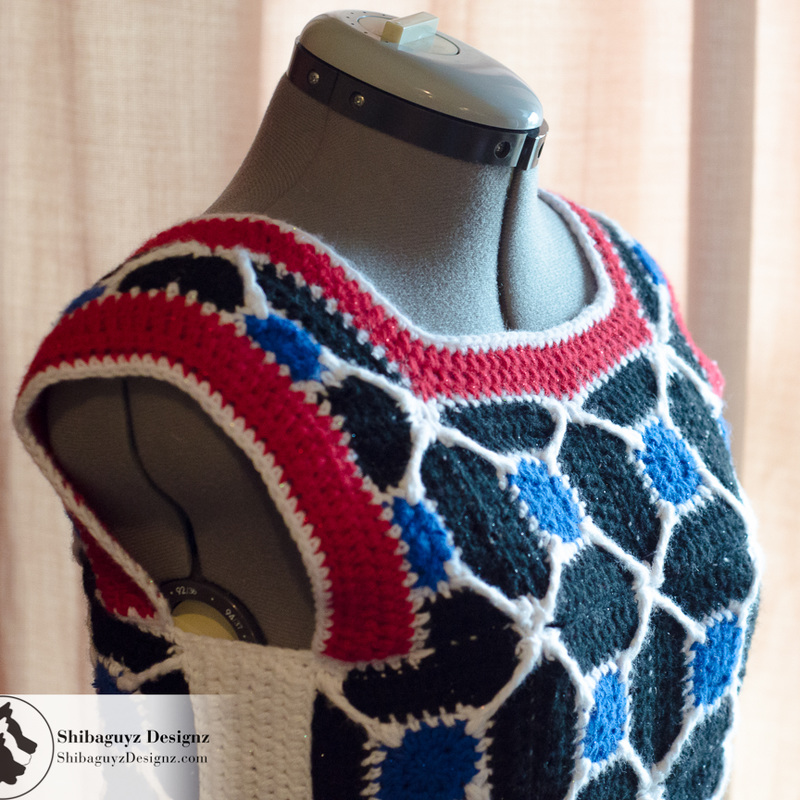
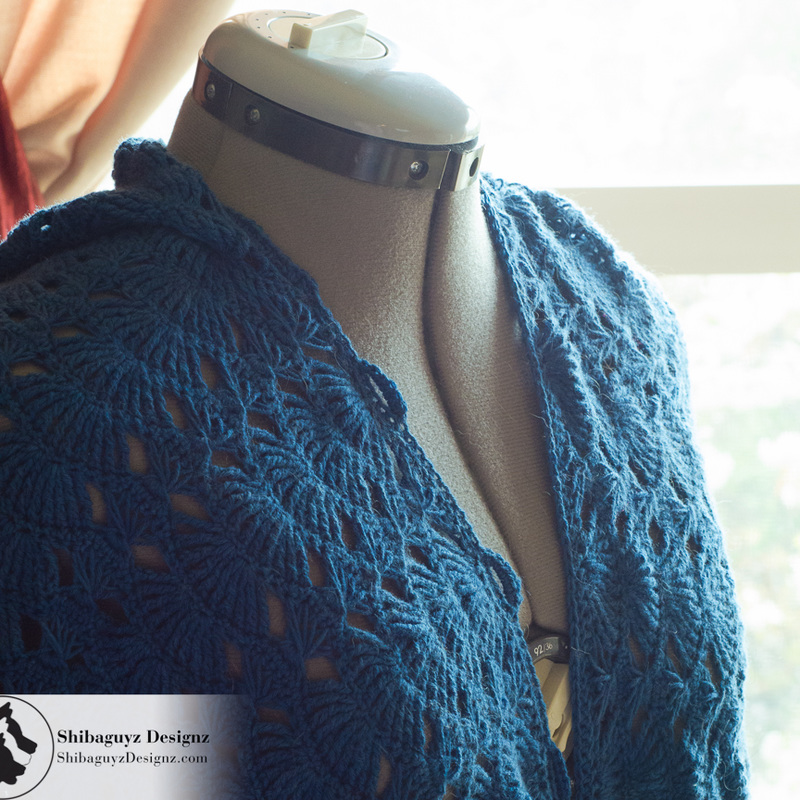
| It should be obvious, but I’ll say it nonetheless, you can’t move the window, so you’ll need to move your subject to control where the light hits. Positioning your subject directly in front of the window will give you’ll get flat, even light with little shadow, but you can run into problems if the shadow from you or your camera falls on the subject, and sometimes because the light is flat you lose texture. A better option is to position your subject so that the window is just to one side of it on an angle. This is called Side Lighting |
What did you see? The massive majority of images show side lighting. It's flattering to almost every subject. This kind of side lighting set-up will help accentuate any soft lighting streaming across the fabric of your subject which is perfect for enhancing the texture in crochet and knit items. Side lighting is also ideal if you decide to use any kind of a light modifier like bounces and diffusers. Bounces are positioned on the opposite side of the light source, (i.e. further inside the room) bouncing light back to the shadowed side of your subject. They help lighten any strong shadows, acting like a miniature light source.
You don’t need to go broke buying professional bounces to get the “perfect shot”. You can easily get impressive results with a few of sheets of basic card stock, aka "poster board" (available from an office supply store or any store with a craft section). I always carry one plain white piece and another covered in aluminum foil for bouncing light where I want more. Occasionally I’ll use a black piece for intensifying shadows. That’s it… just pieces of thick paper.
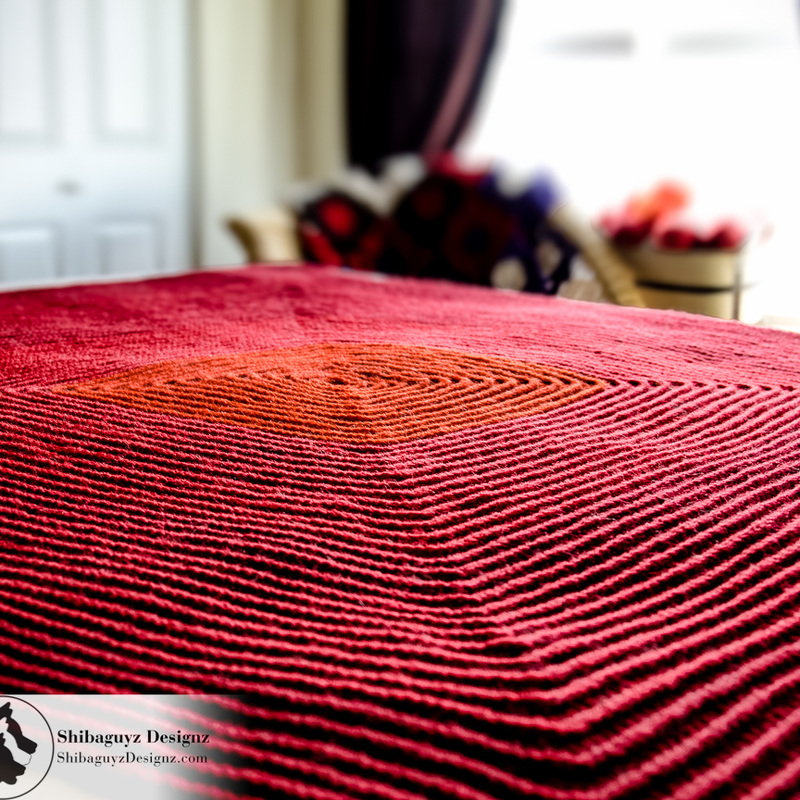
| Moving your subject closer to or further away from the window is going to change the “contrast” in the lighting. Contrast is the difference between the dark and light portions of your photo. Being closer to the window increases contrast, thus increasing the difference between the lit side and the shadow side of the subject. Moving it away is going to reduce the effect. Be careful here. If you move too far away there is a chance your subject will look dull and flat. The sweet spot is usually a couple feet away depending on how bright it is outside. |
| NOTE: Pay attention to the sun. Just because we’re inside doesn’t mean we can ignore it. Remember as the sun moves the positive effects of window light will go down the tubes if harsh sunlight starts pouring in. You want light, but not at a direct angle. If the sun is raging in you’re going to have over-exposed highlights and hard ugly shadows on your subject. It’s easy to see when that occurs. If that happens, you have three options: 1. Place a soft curtain or otherwise gauzy piece of fabric over the window to lessen the effect of the hard light (this is called diffusing). Diffusers are placed between the light and the subject to help scatter harsh direct light into softer light with reduced shadows. Think of how sheer curtains in a window soften hard light scattering it. 2. Wait for the hard light to move out of the window. 3. Go to another window that faces another direction. The sun can’t be on all four sides of the house at once! |
| Focus on your subject and adjust the exposure and focus on the garment. Placing yourself so the window is in your photo will sometimes over-expose that part of the photo, which is a justifiable style choice. I recommend you move around taking your photo from different placements. If you don’t like the composition, move yourself again or move your subject until it looks perfect. Be sure to check your photos in your camera and on a computer before you break down your set. |
Want to see more of Jason's work? Check out his website at ShibaguyzPhotography.com.
Want more training with Jason? You got it! He has two webinars available online from F&W Media and the Interweave Store. Together these two webinars are a FAB starter pack for anyone wanting to take better photos of their projects… or just better photos in general! Here are the links:
How to Create a DIY Photo Studio: Get Professional Results at Home!
and
Photographing Your Projects Like a Pro
All the details about the classes are at the links.
Thanks for stopping by another Technique Tuesday Tutorial! We love sharing the skillz with our community and hope you all enjoy adding new skillz to your toolbox.
Drop us a line and let us know what you'd like to see in future tutorials and you might see your idea right here in a future Technique Tuesday Tutorial!
talk to you soon…
S&J
Come look us up on Facebook, Twitter, and Pinterest by clicking on one of these icons.
Thanks a lot for this wonderful article with great tips. I shifted to a smaller house a year back, and I have hardly clicked any photos of my crochet projects because "the light is not right". I am going to use these tips and have a go at it again. :)
Great day, to both of you, from India :)
Leave a Reply.
Author
Shannon and Jason
Archives
May 2024
September 2022
June 2022
February 2022
June 2021
November 2020
September 2020
June 2020
May 2020
April 2020
March 2020
January 2020
February 2019
December 2018
November 2018
August 2018
July 2018
May 2018
April 2018
March 2018
February 2018
January 2018
December 2017
November 2017
October 2017
September 2017
August 2017
July 2017
March 2017
February 2017
January 2017
November 2016
October 2016
September 2016
July 2016
June 2016
May 2016
April 2016
March 2016
February 2016
November 2015
August 2015
July 2015
June 2015
May 2015
April 2015
March 2015
February 2015
January 2015
December 2014
November 2014
October 2014
September 2014
August 2014
July 2014
April 2014
March 2014
January 2014
Categories
All
Afghan
Aurifil
Books
Boro
Camp STITCHES
Classes
Cleaning
Clip On
Clover
Cowl
Craft
Craftsy
CraftU Classes
Crochet
Crochet Geometry
Daylight
Daylight Company
Design
Designer Crochet
Digital Download
Donate
Download
English Paper Piecing
Event
Free
Giveaway
Hand Cream
Hooks
Inspirations
International Crochet Month
Interview
Interweave
Knit
Knitting
Lamp
Marcus
Marcus Fabrics
Men
Menswear
National Craft Month
National Crochet Month
Needles
Online Classes
Ottlite
Pattern
Patterns
Paypal
Photography
Podcast
Prize
Product Review
Project
Quilt
Quilting
Recipe
Rotary Cutter
Sashiko
Season Of Giving Away
Sew Expo
Sewing
Shibaguyz
Shibaguyz Designz
Shibaguyz Designz Indie Maker Pattern
Shibaguyz LIVE
Shibaguyz Photography
Shop
Soak
STITCHES Events
Sweater
Thread
Tool School
Tools Of The Trade
Travel Lamp
Tutorials
Vogue Knitting LIVE
Walkthrough
Warm Up America
Wash
Weaving
Women
Yarn
Zoom Loom


 RSS Feed


