SHANNON & JASON
  • Home
  • Blog
    • Tips
    • tutorials
  • Our Books
    • Contemporary Kogin-zashi
    • Boro & Sashiko, Harmonious Imperfection: The Art of Japanese Mending & Stitching
    • Complete Crochet Course
    • Designer Crochet
    • Crochet Geometry
  • All Shopping
    • Books and Digital Patterns
    • Sashiko Shop
    • Thread
    • Fabric
    • Stitchips
  • Classes
  • Sashiko
  • About
  • Contact and Subscribe
  • Sponsors

 Shannon & Jason's Blog 

Blocking University - Session 1

7/31/2014


The Right Tools for the Right Job


Blocking University Session 1 - The Right Tools for The Right Job by Shibaguyz Designz
Everyone knows if you are going to do a job and do it right, you need the right tools for the right job. Right? Right!

To that end, we have put together a list of the tools we use in the studio for blocking.
   

Legally required disclaimer: We have compiled a list of all the products mentioned in todays post in our Amazon store and have provided the link to our store at the bottom of this post. If you click on one of the product links in this post or over there in the side bar and purchase a product from an outside webpage, we earn a small commission from the sale of that product. We thank you in advance for your support. 

Pointy Things
Pins
The one thing you can't do without when it comes to blocking are pins. Lots of pins. As a matter of fact, just go right past those little bubble packs of 10-15 pins and go directly to the bulk pack of pins and buy one of those… or two… or three…

Believe us when we say there is no joy when you are pinning out a large project or a project with a lot of lace and you run out of pins. No. Joy. At all.

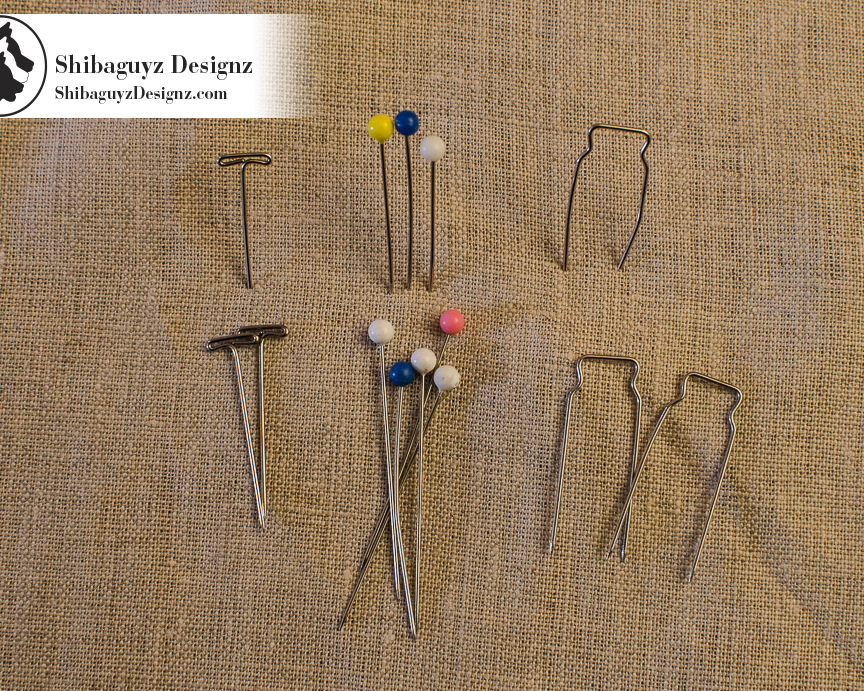
Pictured here are three different kinds of pins that we use:
1. T-Pins
2. 
Straight Pins
3. U-Pins (also referred to as Loose Upholstery Pins or Fork Pins)


Blocking University Session 1 - The Right Tools for The Right Job by Shibaguyz Designz
There isn't that much of a difference between using Straight Pins versus T-Pins. The Straight Pins have rounded heads and are easier to grab hold of if I'm having a stiff fingers kind of day. The heads of the t-pins do have a teeny tiny gap where the "T" curves around and that can, on rare occasions, get caught in extremely fine weight or particularly fuzzy yarns. Otherwise… they are completely interchangeable for blocking and they are mixed together on our magnetic pin holders with wild and reckless abandon like hipsters at a summer music festival.   


Loose Upholstery Pins or U-Pins have a special function in our studio for when we have used up every blocking mat in the house (yeah… it happens) and we need to block something on the mattress or on a carpeted floor. We just give them a little squeeze to bring the forks of the pin together just slightly (VERY slightly) and pin just as we would using a t-pin. When we put these into the mattress, they grab on to the fabric keep the blocking in place.


Ditto on carpeted floors. We throw a sheet down and pin the piece to be blocked to the carpet beneath it with the U-Pins. Again, gentle squeeze then put the pins into place on a sharp angle and lock the blocked piece down.

In both cases of the mattress and carpeted floor, we have found that straight pins and t-pins just don't hold as securely as U-Pins and tend to slip or come flying out as we are blocking our pieces. Imagine pinning a large lace piece into place after making sure every tiny little stitch forms the correct angles to show the lace in all its glory and suddenly… ZING!! 


3…
2…
1…


Commence screaming and wailing followed by vows to never, ever, EH-VAR make such a complicated lace piece again and what in the hairy heck was that designer thinking telling me to block this piece anyway? Why I oughta give them a piece of my mind! Well… you get the picture. Not good.


Bonus Accessory (for corralling your pointy things)
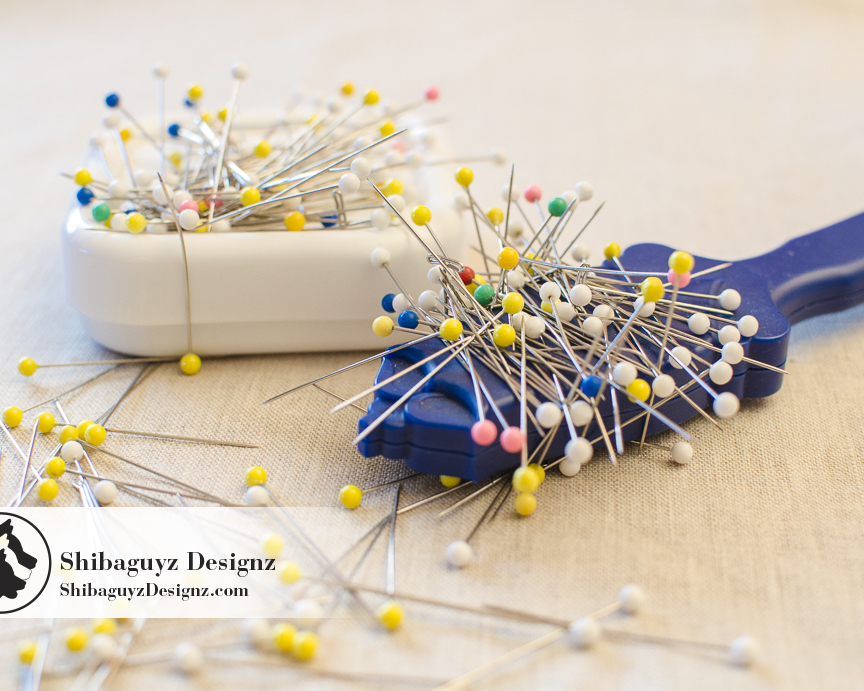
Oh yeah… bonus accessory for your pins: Regardless of your choice in pins, do yourself a favor and grab a magnetic pin holder. These are OH so handy! Yes, you can still use the cute little wrist pin holder shaped like a pumpkin or a strawberry (yes, we've had both of those), or store your pins in the little plastic case they came in but when you want to work quickly and keep your pins in one place, you'll be glad you had at least one of the magnetic types.
Blocking University Session 1 - The Right Tools for The Right Job by Shibaguyz Designz


With the magnetic pin holder, you can work quickly and "sweep up" the pins without placing each and every one in the top of your pumpkin or in that tiny plastic case. The "wand" style holder in our Amazon store is particularly handy for sweeping and grabbing without getting an hand full of pokey pins. Also, if you happen to bump these magnetic holders and say, knock it off the table, you won't end up with pins EVERYWHERE and spend the next half hour on your hands and knees trying to reach under the piano and around the baseboard until you finally give up and find it with your bare feet later. GAH! Again… been there… done that… not good.


Tapestry Needle
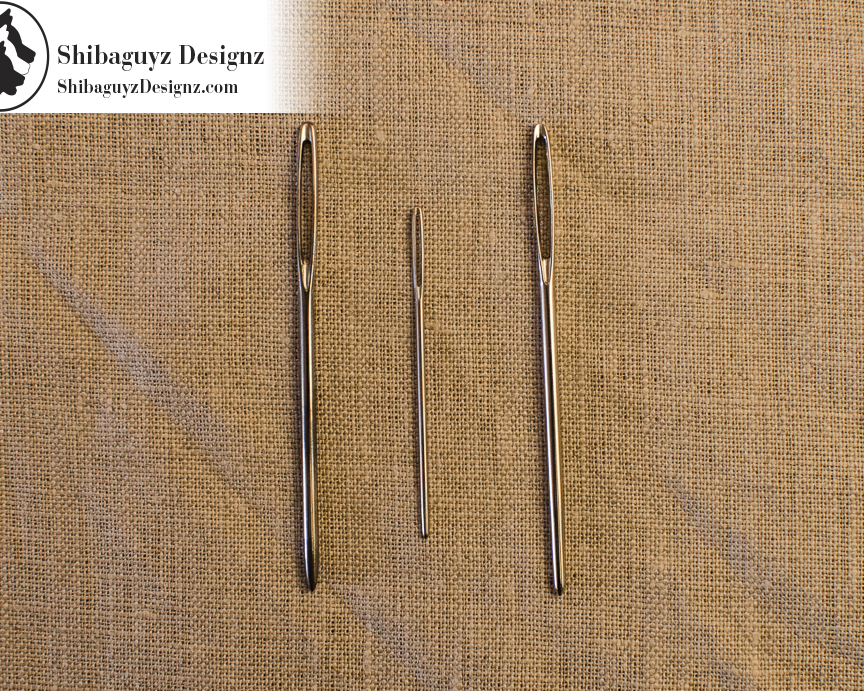
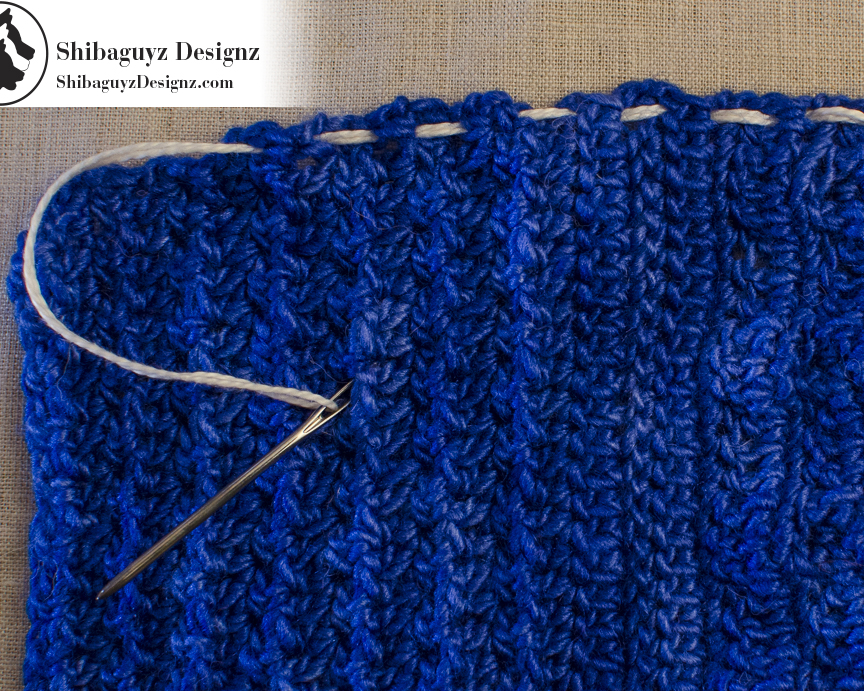
Tapestry needles and yarn needles are, for our purposes, interchangeable. The point is to… well… not have a point… or at least a sharp one. These blunt-ish needles come in various sizes and we can't stress enough to get a pack of these. You will use them for everything from sewing up the seams in your projects to weaving in ends to, in this case, weaving string through the sides of your projects for blocking.

Blocking University Session 1 - The Right Tools for The Right Job by Shibaguyz Designz
We recommend buying a pack of these because they are as used as often as they are lost. Ours seem to pop in and out of alternate universes where they take vacations and frolic until suddenly reappearing stuck in the arm of a couch or in the pocket of a shirt about to go to the cleaners.

Our local yarn shop keeps a little container with HUNDREDS of yarn needles on the front counter for a few cents each so we just grab a few every time we are in there. This ensure while some are vacationing in their alternate universe (I think they go there with the missing socks), we always have a few more around. (aaaaand I think I may have reached my coffee limit for today… yeah… probably…)


Infrastructure – The shape of things to come
The easiest way to shape and size the piece(s) you are blocking to the dimensions you need is to run wires, rods, or string through the outer edges of your piece and pin into place. We do, of course, have options for you… 


Wires
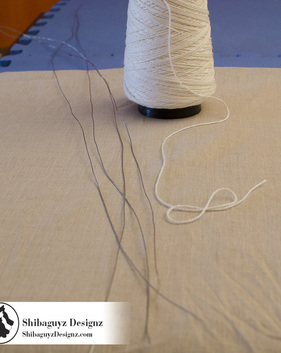
Blocking wires are the backbone of blocking and will go a loooong way to saving your sanity. You will weave these wires along the edges of your pieces you are blocking and then place the pins so they hold the wires in place. This uses fewer pins by FAR than trying to make a clean edge (straight or curved) with pins only.

There are a couple of different routes you can go here…


Blocking Wires
Many yarn shops, craft stores, and online retailers sell sets of blocking wires. I believe we purchased our first set of blocking wires about 6 years ago. They are in fine shape and should last for many more years. A good investment? Yes. Definitely.

That said, there are alternative options to buying actual blocking wire sets… 

Blocking University Session 1 - The Right Tools for The Right Job by Shibaguyz Designz
Stainless Steel Welding Rods – 1/16 x 36"
No kidding… right down the aisle at the hardware store is an accessible and very affordable option for blocking wires. I must be honest that we have a LOT of blocking wires so we have never done this but several of our friends and readers have said they LOVE their stainless steel welding rods as blocking wires. We did go check these out in our local hardware store and, indeed, they are perfect for using as blocking wires. And, yes, much more cost effective. If you can't find them in your hardware store, they are readily available online and we have found the best options and made them available in our Amazon store.    

String
One of the reasons we don't run out of wires is the fact that we use string as an alternative to blocking wires. Yup… just good ol' unwaxed, undyed kitchen cotton or plain ol' string. Just make sure it's unwaxed, undyed, and untreated in any way. Don't want anything nasty leaching off onto your work!

As a matter of fact, string is something that we'd just say go get and keep in your blocking kit. It is FAB for blocking curves and odd shapes. BONUS: You won't poke yourself in the eye with string… just sayin'…


Blocking University Session 1 - The Right Tools for The Right Job by Shibaguyz Designz
"Other"
Believe it or not, someone had the brilliant suggestion of using the plastic filament from a weed whacker for blocking. Now THAT is some out of the box thinking, friends. I guess the only caution would be to check for heat resistance with steam blocking. Seems like the plastic filament would soften up and stretch or bend out of shape easily. Between wires and string, we haven't really had the need to try this one out but hey… let us know how it goes if you try it!    


Blocking Surfaces
What are you going to pin your blocking to? Again… we have alternatives for you!    


Blocking Mat
You have a couple of routes you can go with blocking mats. Again, many yarn shops, craft stores, and online retailers offer products specifically called "blocking mats" that are marketed to crocheters and knitters. We have seen and used a few of these and they are just fine and dandy. Our only problem with a few of them was they were too small. So… we went another route…


Floor Mats
You know those garage floor mats you see at the automotive store and the play mats you see in most big box retails store? Yup… we use those. Specifically, we use the garage floor mats we found at the auto parts store in our neighborhood.

Why use floor mats?

First, they are these FAB interlocking squares so we can customize the size of our total blocking area.

Next, the floor mats are a little denser than fabric blocking mats and hold pins better.

Blocking University Session 1 - The Right Tools for The Right Job by Shibaguyz Designz
Finally, the colors don't bleed. We found with some kids play mats that exposure to first heat then prolonged wetness can cause the colors in the mats to bleed onto the piece we were blocking. That's not good… NOPE! These floor mats have always been colorfast for us. No matter which type you use, you should test yours with something you don't particularly care about first before blocking the cardigan you just spent a month making only to have it turn a strange shade of blue or yellow (unless, of course, you only use blue or yellow yarn… then you're fine…).

Mattress
This is your easiest and, probably, most readily available option for a blocking surface. It is large, flat, and high off the floor to avoid being trampled by unsuspecting spouses, rampant toddlers, and Shibakidz in the midst of a royal tear through the house from a random burst of energy. Oh… wait… that last one is probably just us…

Just strip the linens from the bed and pin away! This is where we have found the U-Pins come in handy. They provide that extra little bit of traction for the pins when we need to stretch out a piece for blocking.

NOTE: This is NOT going to work on a waterbed mattress. Pins. Giant water balloon. Not good. Yes, that probably goes without saying but we have to say it or we risk an angry letter from someone who turned his or her bedroom into a tiny version of the fountain show at the Bellagio.    


Floor
If you are going to block your pieces on the floor, grab a sheet and throw it down first. Yes, your carpets are immaculate. However, it is still easier to see the piece you are blocking on a clear, blank surface. Plus, if you do happen to have folks who track in minute particles of dirt or furry family members who are prone to shedding that fur, you'll be happy you put the sheet down.    


The Great Facilitator
There are two main ways to get your hand-stitched fabric to relax and expand enough to allow the actual blocking of your piece into its final shape and size. Both of these methods use one substance to facilitate blocking and that is…    

Blocking University Session 1 - The Right Tools for The Right Job by Shibaguyz Designz
Water
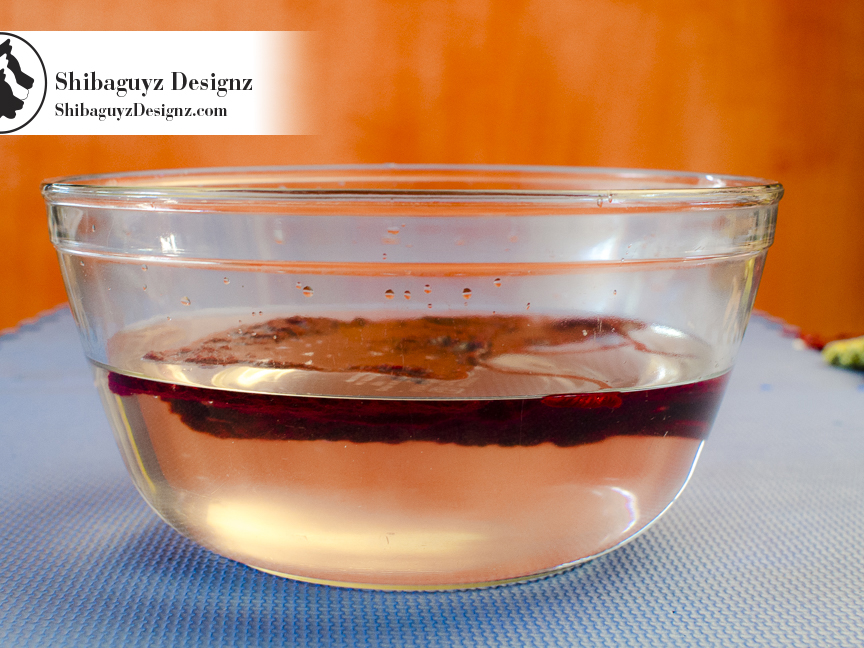
Whether you are wet blocking or steam blocking, the ultimate goal is the same: to get water into the fibers of your crochet or knit fabric.

If you are wet blocking, you either need a sink or a container big enough to fill with enough water to cover the pieces you are blocking. Easy peasy.    

An alternate version of wet blocking involves spritzing your unblocked pieces with water from a spray bottle and allowing the water to soak in. We used to do this with larger pieces like afghans and it took FOR-EH-VAR! We used to DREAD blocking large pieces until we discovered…
Blocking University Session 1 - The Right Tools for The Right Job by Shibaguyz Designz

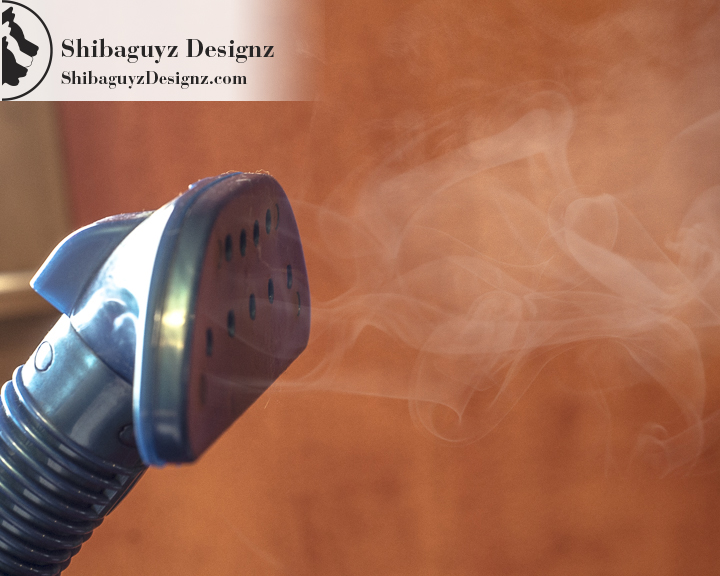
sssssSteam!
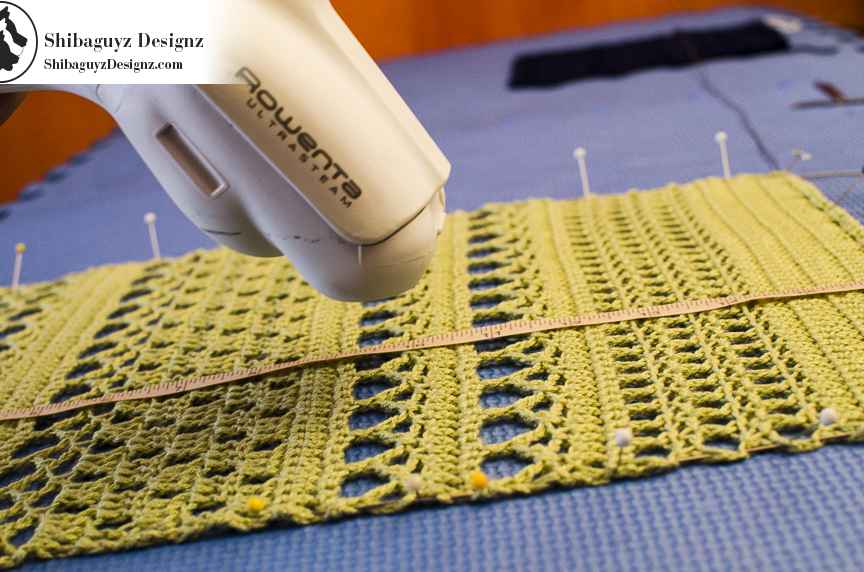
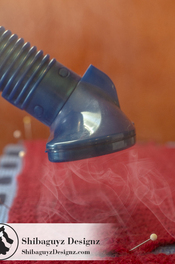
One day we were blocking a large afghan using the spritzing sub-method of wet blocking and were just about at our wits' end when one of us thought about the travel steamer I kept in my suitcase for business trips. Why not? It took wrinkles out of my suits, why wouldn't it work on this? And indeed it worked well, my friends… very well indeed.

Wool, acrylic, bamboo, natural, and human made… all fibers and fiber blends bend to the will of the steamer! (More on how in another article.)
If you aren't doing a lot of blocking or are only blocking small items, you can probably get by with a hand held travel steamer. The one we recommend to all of our sample makers and contractors is the Rowenta in our Amazon store. No… we aren’t receiving extra compensation for suggesting that particular steamer. We recommend that steamer because we've had one for nearly four years now and it's still going strong kicking out steady steam according to the adjustable control on the handle. It's a real workhorse in the studio and on set for our photoshoots.
Blocking University Session 1 - The Right Tools for The Right Job by Shibaguyz Designz
A couple of years ago, we upgraded to "Big Blue" (yes, we named our steamer!). You can see from the photos that it has a handy dandy telescoping stand and a big water reservoir that gets us through a few heavy duty blocking sessions at a time without going dry. Again, available in our Amazon store at about the same price we paid for ours two-ish years ago.

Don't Forget

Towels
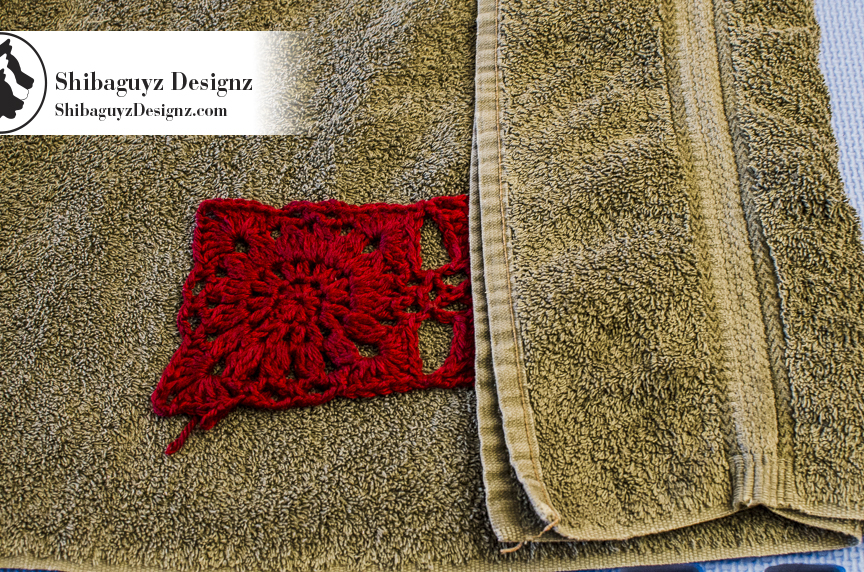
We know most of you already have a few of these hanging around so just go to your linen closet and grab one from there. If you are wet blocking, you will need a towel or two to roll your wet piece in to remove any excess water. We will go into this in greater detail later on… just remember: Don't wring it out. Press it out.

Blocking University Session 1 - The Right Tools for The Right Job by Shibaguyz Designz
Measuring Tape
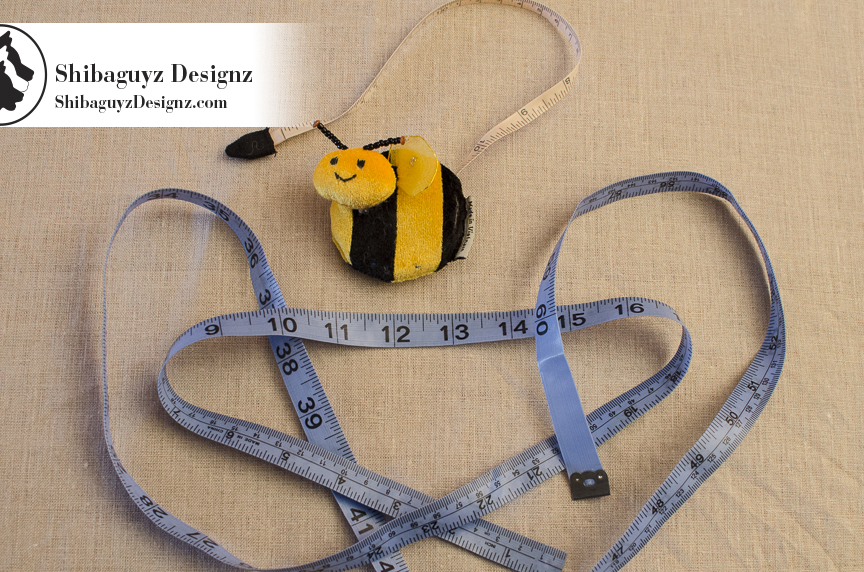
Another tool you probably already have in your kit but just a friendly reminder here. If you are going to measure your swatch for gauge and block your finished pieces to the measurements given, you're going to need one of these. Heck… I think we have a dozen or more measuring tapes of some sort around here… one in every project box, with every sewing machine and in most of the drawers in our studio. Again, best to have them close at hand rather than running around looking for one when you need it.

And, yes, we have a cute little bumble bee measuring tape. That's part of the fun of going to fiber and sewing festivals and retreats… swag bags with fun goodies like this.

Tags
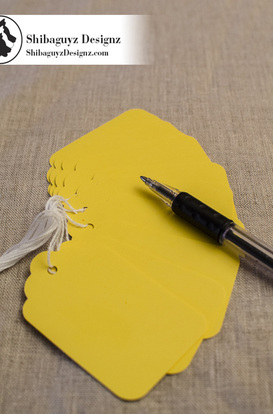
Hang tags are an inexpensive and effective way to keep track of what you did to actually create your fabric swatches. As you can see, we mark ours with yarn name, hook size, gauge achieved, and the information about where we got the stitch or even the entire stitch pattern if necessary.

Blocking University Session 1 - The Right Tools for The Right Job by Shibaguyz Designz
There you have it! A comprehensive list of the tools you will need for the job you are doing. We know there are a lot of options here and our best advice is to be well versed in all of them to accommodate any blocking situation you might find yourself in.

Again, all of the tools mentioned here are available in our Amazon store and all of them are the same products (or newer versions of the same products) we use here in our studio. Feel free to shop at your leisure and we thank you for your support!

Next up we will get down to putting pins to fabric: Start Smart to Finish FAB!


Here's that link to our Amazon store we created so you can find all of the same tools we use here in the studio. Thank you for helping support us by shopping our Amazon page!
Shibaguyz Amazon Store

We hope you enjoy our articles and posts here on Shibaguyz Designz and hope you will share them with other stitchers. Take a minute to look around and check out our other posts as well as our patterns and books in our online shop. Here are a few we thought you might like. Enjoy!
Foundation Single Crochet Tutorial
Martha Stewart American Made Awards
Men's Hooded Vest Pattern
Filigree Lace Tunic Pattern

We'd love to hear from you! leave a comment to this post and catch up with us on Ravelry, Facebook, and Pinterest by clicking on one of these icons.


Rae
10/23/2014 12:38:48 am

Can't wait to see more! I've never blocked anything - but I've never made a pattern that specified blocking. I've seen the (huge!) difference it makes in lace, though. I've heard that acrylic yarn doesn't "take" blocking well, and a friend had a portion of her FO melt! O.o I think her water/steam was too hot. Just maybe. Heh. I really want to try it.


Comments are closed.

    Author

    Shannon and Jason

    RSS Feed

    Sign Up For Our Newsletter

    Leave us a tip to help us do what we do!

    BERNINA Ambassador Badge
    Daylight Company Lamps
    Shibaguyz Aurifil Thread Collection

    Archives

    September 2022
    June 2022
    February 2022
    June 2021
    November 2020
    September 2020
    June 2020
    May 2020
    April 2020
    March 2020
    January 2020
    February 2019
    December 2018
    November 2018
    August 2018
    July 2018
    May 2018
    April 2018
    March 2018
    February 2018
    January 2018
    December 2017
    November 2017
    October 2017
    September 2017
    August 2017
    July 2017
    March 2017
    February 2017
    January 2017
    November 2016
    October 2016
    September 2016
    July 2016
    June 2016
    May 2016
    April 2016
    March 2016
    February 2016
    November 2015
    August 2015
    July 2015
    June 2015
    May 2015
    April 2015
    March 2015
    February 2015
    January 2015
    December 2014
    November 2014
    October 2014
    September 2014
    August 2014
    July 2014
    April 2014
    March 2014
    January 2014

    www.dickblick.com
    Picture
    Picture

    RSS Feed

    Categories

    All
    Afghan
    Aurifil
    Books
    Boro
    Camp STITCHES
    Classes
    Cleaning
    Clip On
    Clover
    Cowl
    Craft
    Craftsy
    CraftU Classes
    Crochet
    Crochet Geometry
    Daylight
    Daylight Company
    Design
    Designer Crochet
    Digital Download
    Donate
    Download
    English Paper Piecing
    Event
    Free
    Giveaway
    Hand Cream
    Hooks
    Inspirations
    International Crochet Month
    Interview
    Interweave
    Knit
    Knitting
    Lamp
    Marcus
    Marcus Fabrics
    Men
    Menswear
    National Craft Month
    National Crochet Month
    Needles
    Online Classes
    Ottlite
    Pattern
    Patterns
    Paypal
    Photography
    Podcast
    Prize
    Product Review
    Project
    Quilt
    Quilting
    Recipe
    Rotary Cutter
    Sashiko
    Season Of Giving Away
    Sew Expo
    Sewing
    Shibaguyz
    Shibaguyz Designz
    Shibaguyz Designz Indie Maker Pattern
    Shibaguyz LIVE
    Shibaguyz Photography
    Shop
    Soak
    STITCHES Events
    Sweater
    Thread
    Tool School
    Tools Of The Trade
    Travel Lamp
    Tutorials
    Vogue Knitting LIVE
    Walkthrough
    Warm Up America
    Wash
    Weaving
    Women
    Yarn
    Zoom Loom

    www.dickblick.com

Stay current on the news and events from Shannon and Jason as well as exclusive offers and tutorials available only for our newsletter subscribers.

* indicates required
Email Format

  • Home
  • Blog
    • Tips
    • tutorials
  • Our Books
    • Contemporary Kogin-zashi
    • Boro & Sashiko, Harmonious Imperfection: The Art of Japanese Mending & Stitching
    • Complete Crochet Course
    • Designer Crochet
    • Crochet Geometry
  • All Shopping
    • Books and Digital Patterns
    • Sashiko Shop
    • Thread
    • Fabric
    • Stitchips
  • Classes
  • Sashiko
  • About
  • Contact and Subscribe
  • Sponsors