


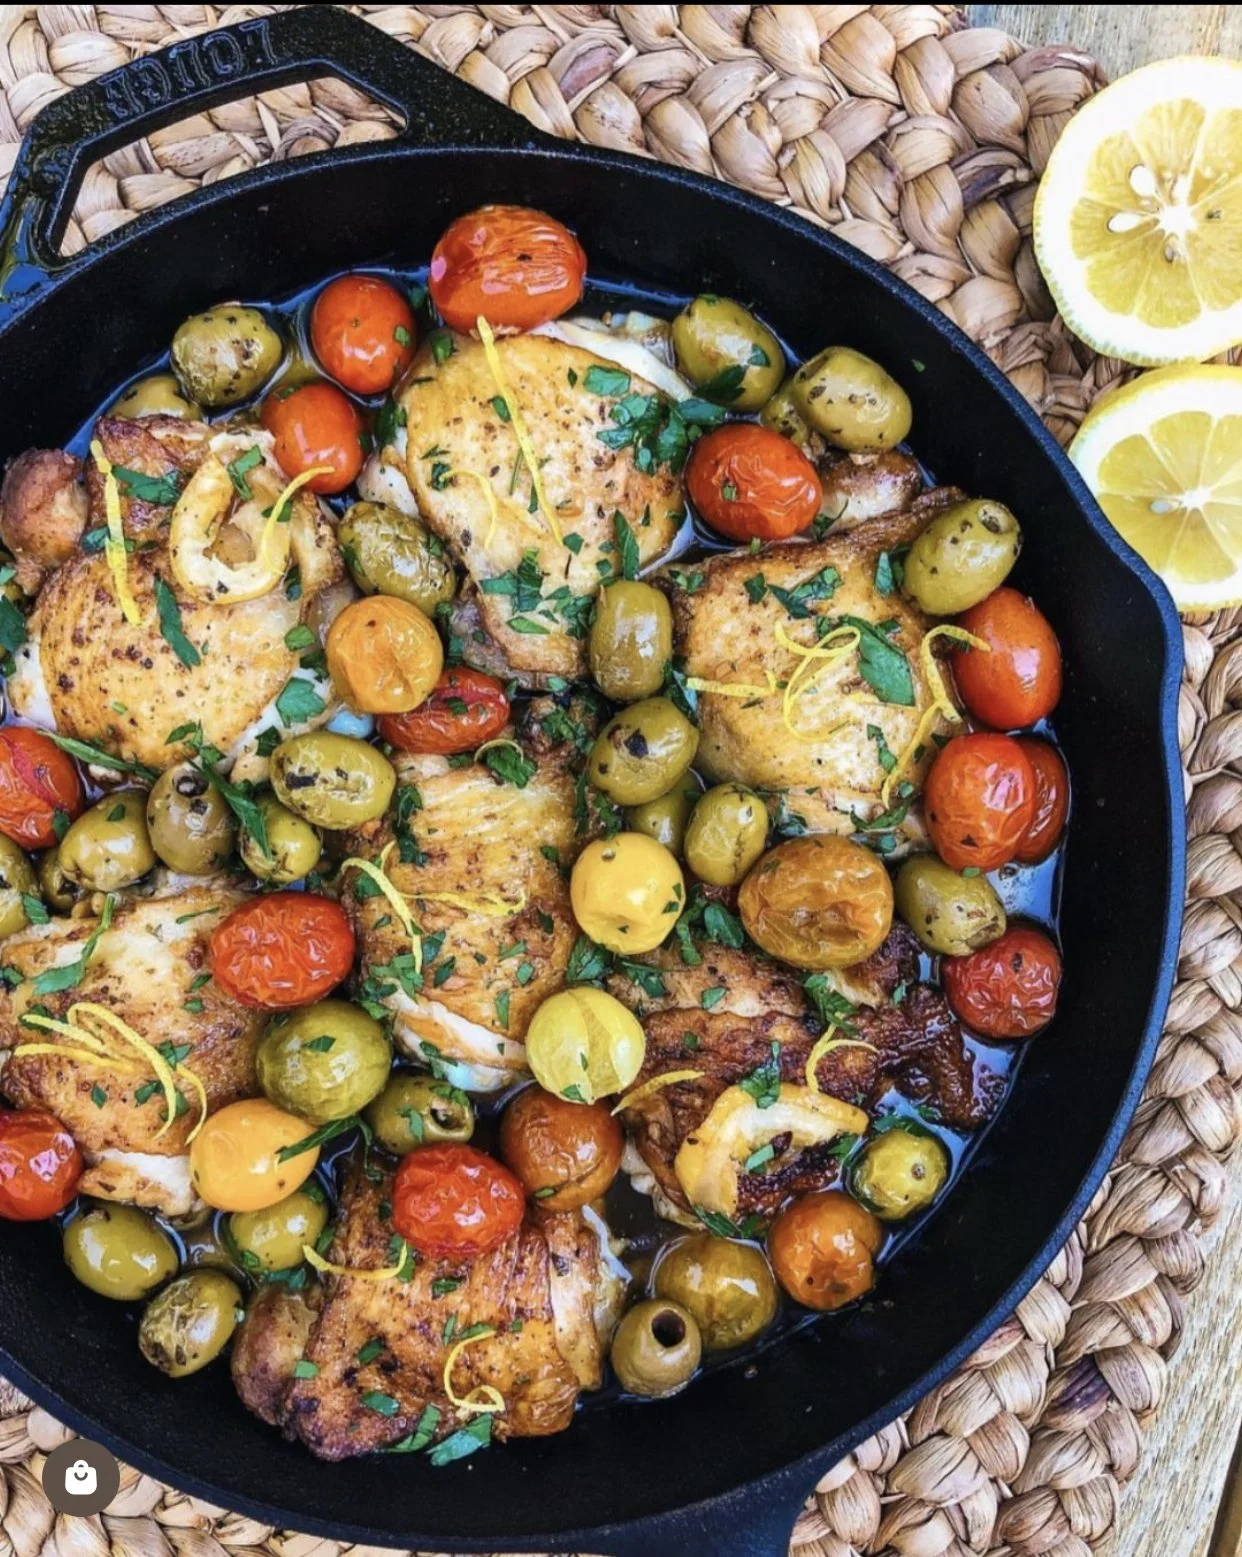
This is where we share what we're making, learning, and thinking about — technique tips, project inspiration, behind-the-scenes chaos, and the occasional recipe from Jason's kitchen.
We post monthly, so if you want to make sure you don't miss anything, consider joining our newsletter.
Our Creative Chaos
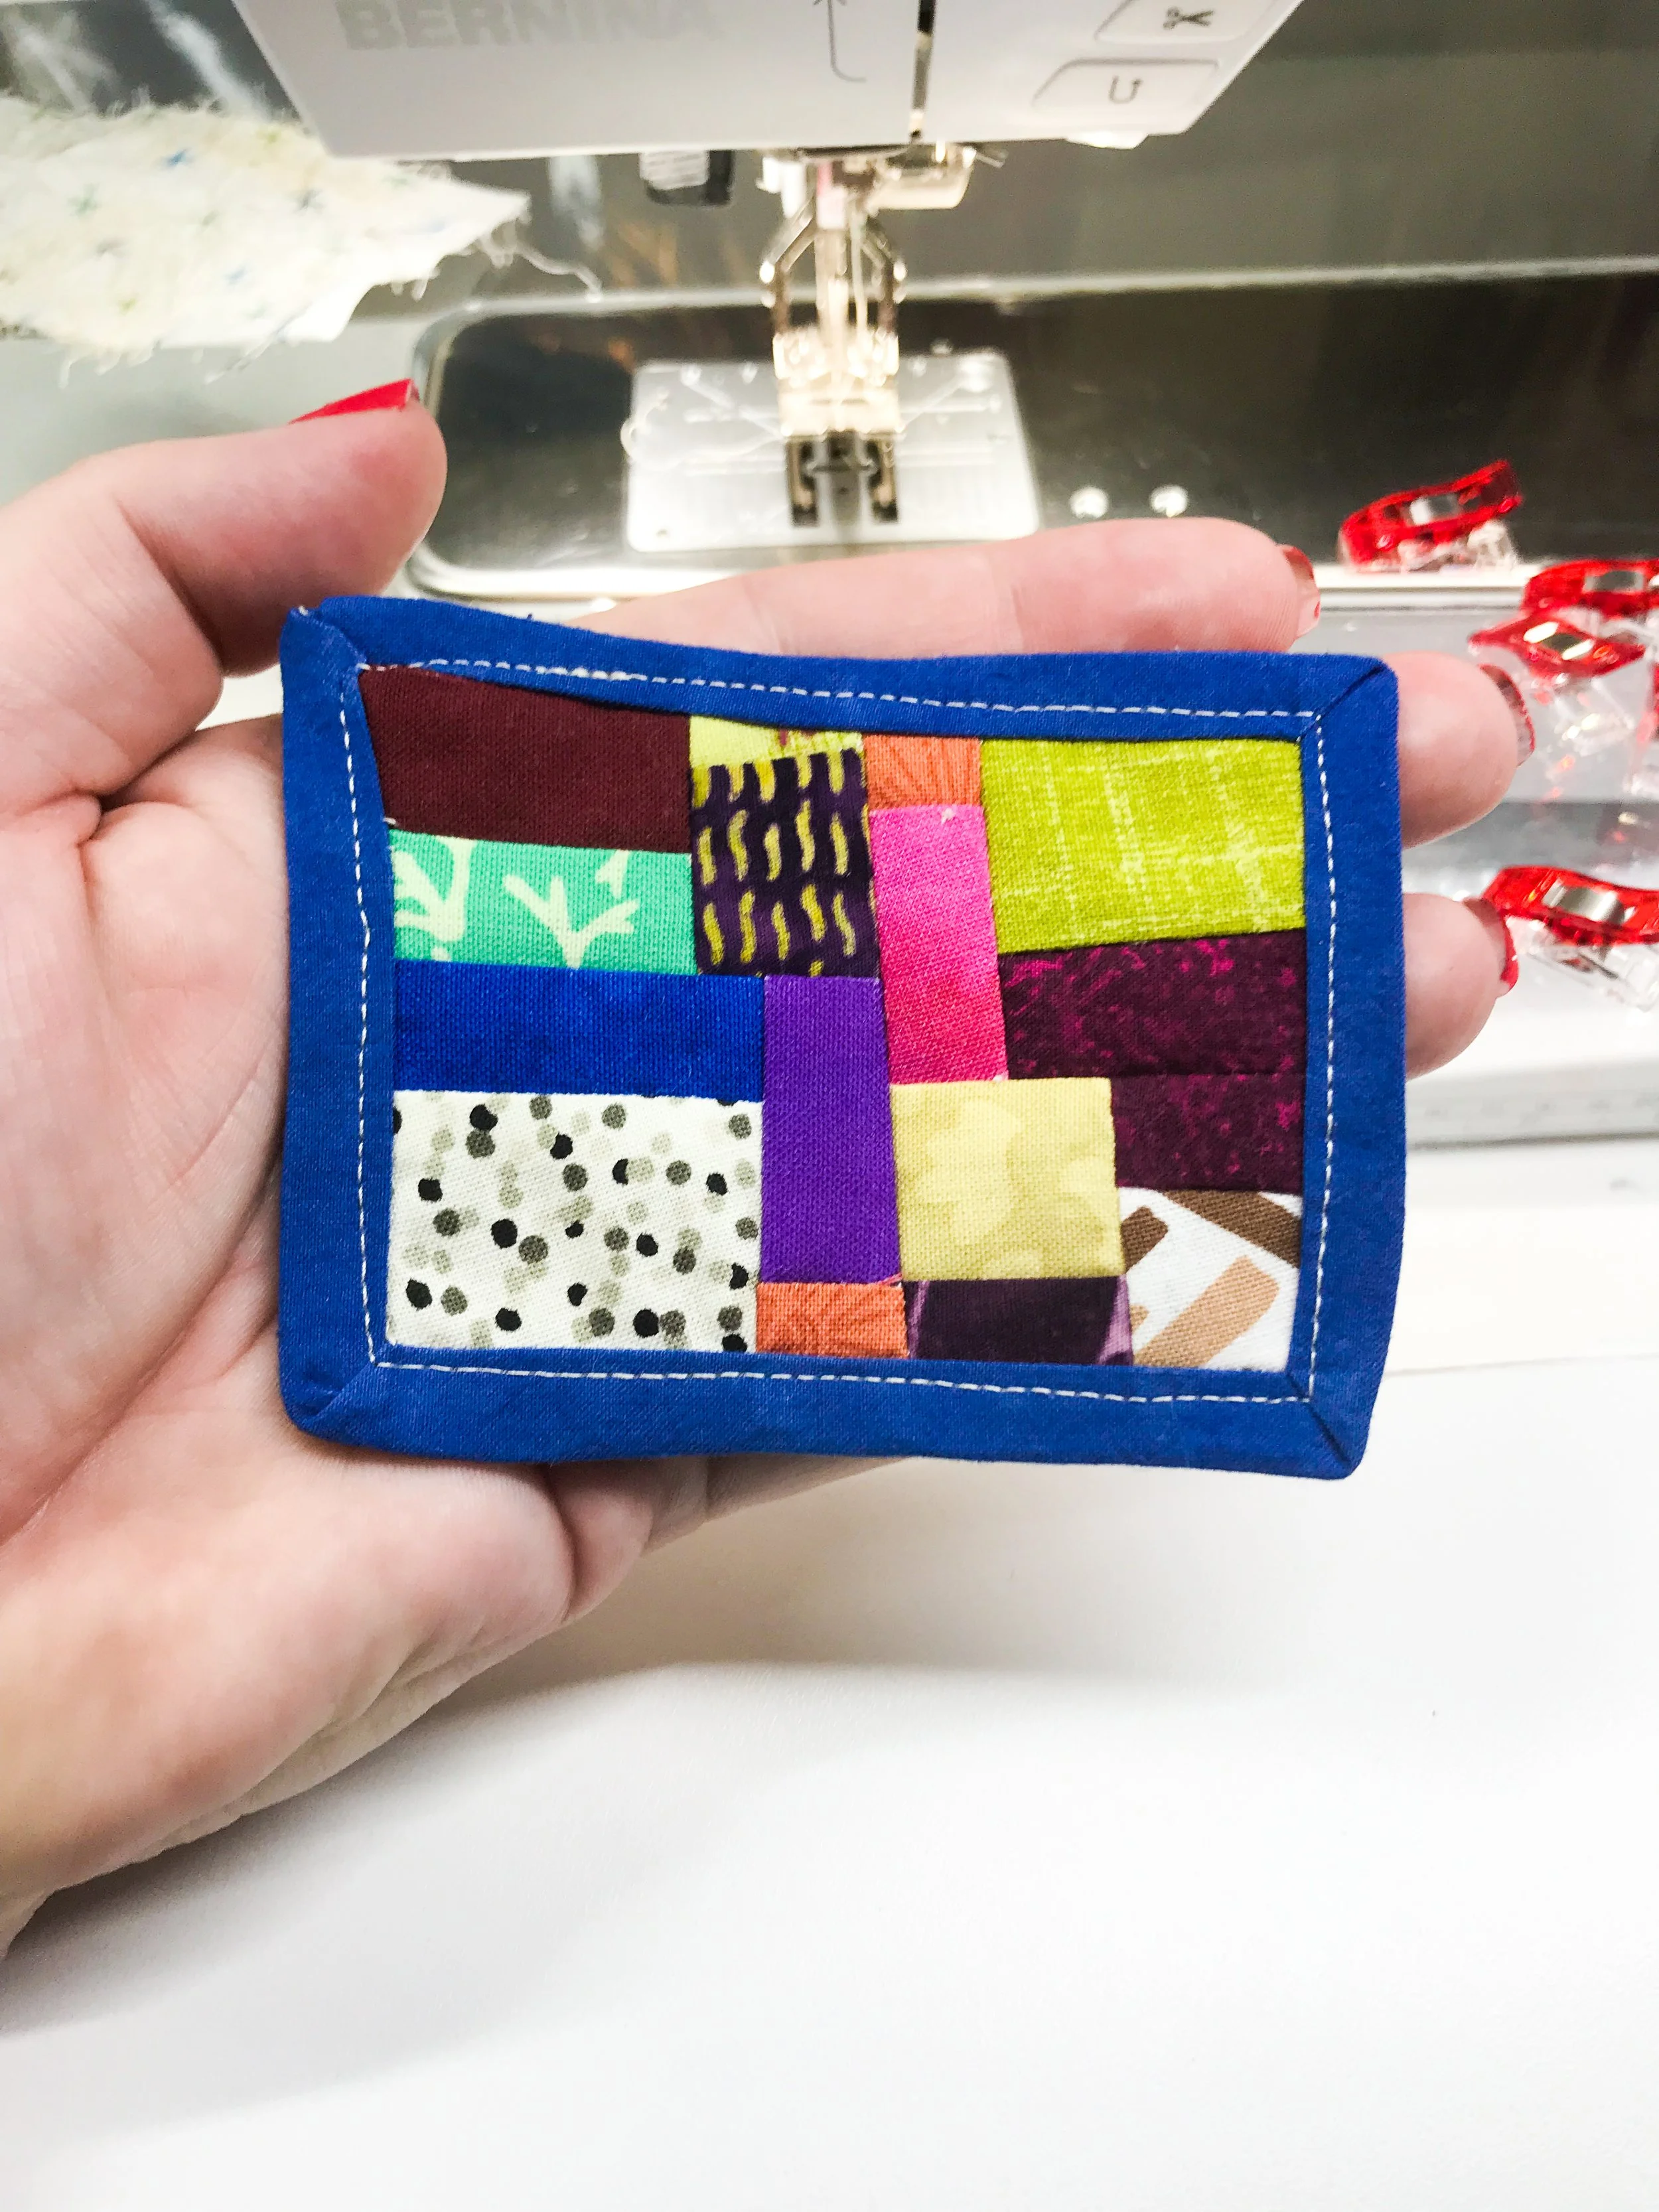
Making a Thing
Sometimes you make a thing. Sometimes that thing becomes part of something else. Sometimes it stays the thing it is.
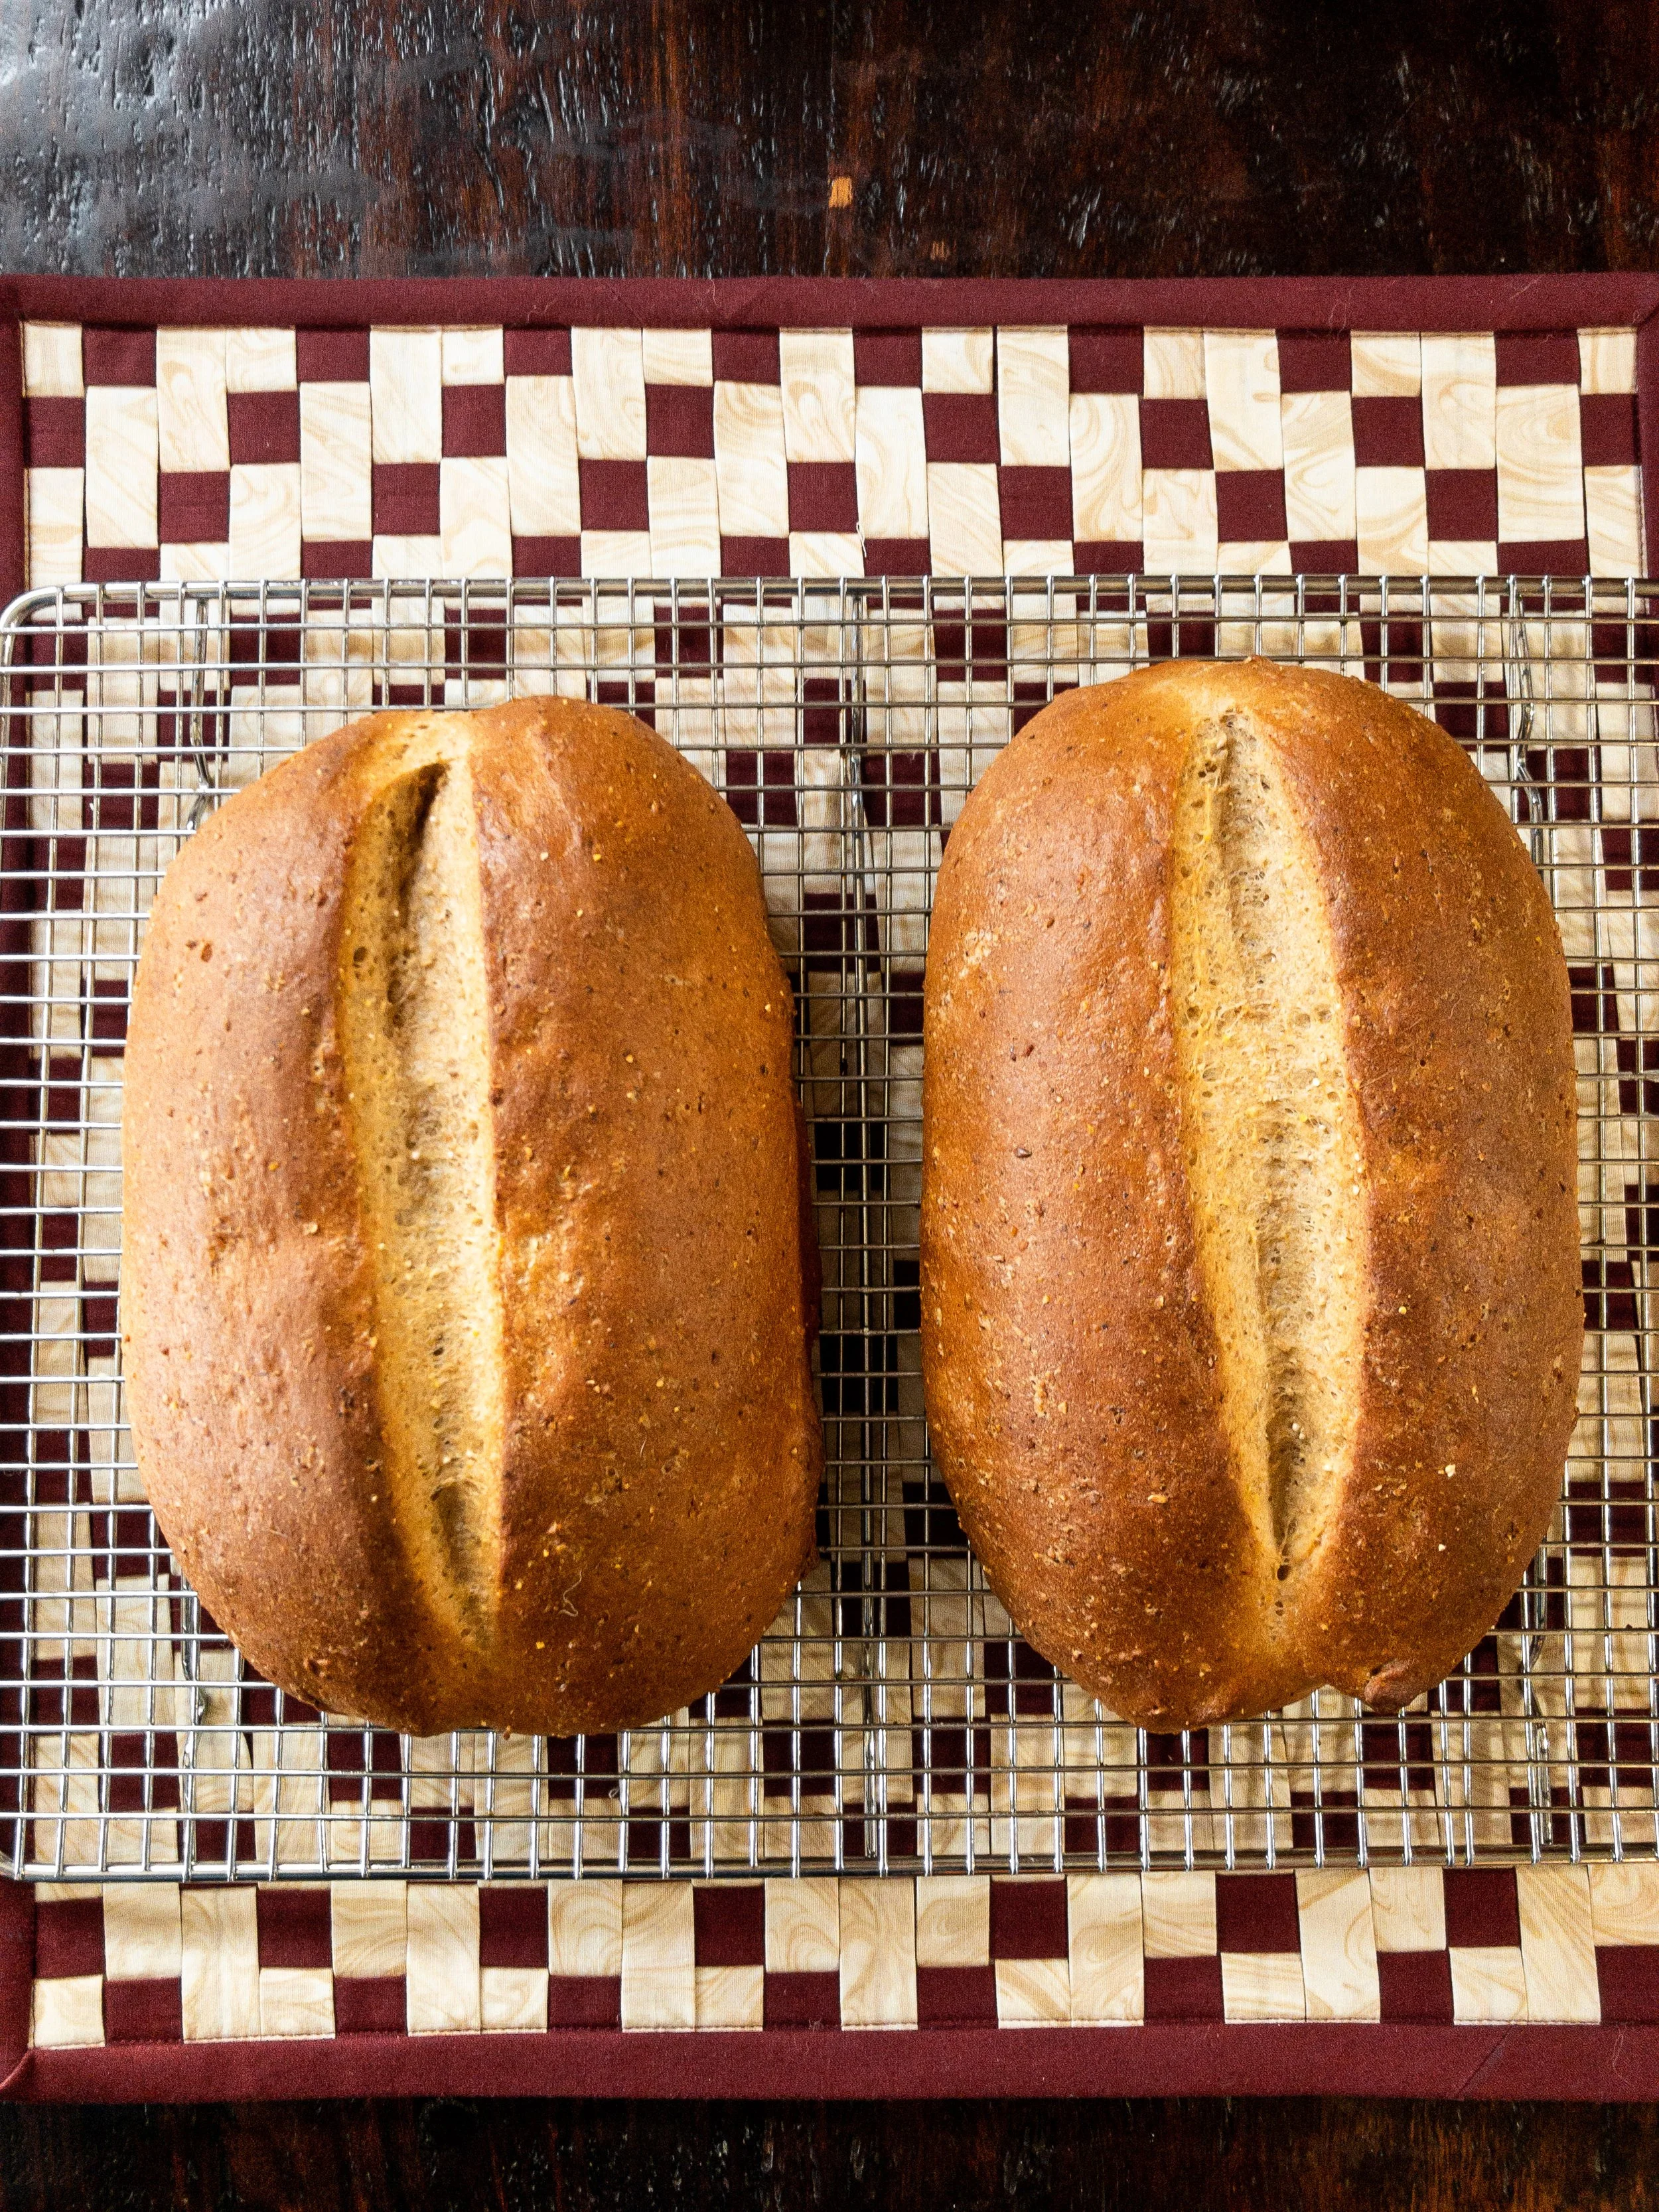
Ten Grain Bread Recipe
Some of the best things in life are quite often the most simple things. Take, for instance, this whole wheat bread. It's a simple recipe, but one that yields a beautiful loaf of bread that's perfect for toast, sandwiches, and just enjoying with butter and jam.