A Homemade Ten Grain Sandwich Loaf? |
 | What you need: 1½ Cups Bread Flour PLUS 2-3 Tbsp for kneading. 1½ Cups Whole Wheat Flour ½ Cup Bob's 10 Grain Hot Cereal Mix 2 Tbsp Honey 2 tsp Sugar 2 tsp Salt 2½ tsp (1 packet) Quick Rise Yeast ¼ Cup Powdered Milk 1 to 1½ Cups Lukewarm Water ½ Cup Hot Water |
Part One: The Night Before
Make Your "Sponge"
- In a mixing bowl combine 1½ Cups Bread Flour and 1½ Cups Whole Wheat Flour.
- Split and set aside half of the flour mixture.
- Add Sugar and 1 tsp of yeast to the first half of the flour, mix well.
- add 1 Cup room temperature water to this mixture and mix till smooth.
- In the second half of the flour, add remaining yeast, stir, then mix in the salt.
- Pour the dry mixture over the wet and cover with plastic wrap.
- Sit the bowl on the counter overnight. In the morning you will see the wet mixture has bubbled up through the dry... this is good.
Make the Dough
- Mix Hot Water and Honey together in a bowl or 1 cup glass measuring cup.
- Pour 10 Grain mix into water and stir.
- Allow to set for at least 30 min.
- Add the wet 10 grain mixture and any remaining liquid, and the Powdered Milk to the Flour mixture.
- Install a dough hook to your KitchenAid or food processor and knead for 5-7 minutes, until dough comes together in a smooth(ish) ball. You may need to add a few Tbsp of flour if the mixture is too wet, or dd a few Tbsp of water if the mixture is too dry. Dough should pull away from the sides of the bowl, but not be crumbly.
- Allow the mixture to rest covered for 30 min.
- Knead dough for 10 minutes in your machine OR 20 minutes by hand. This is a hefty dough, so if you have a machine with a bread hook, now's the time to pull it out...
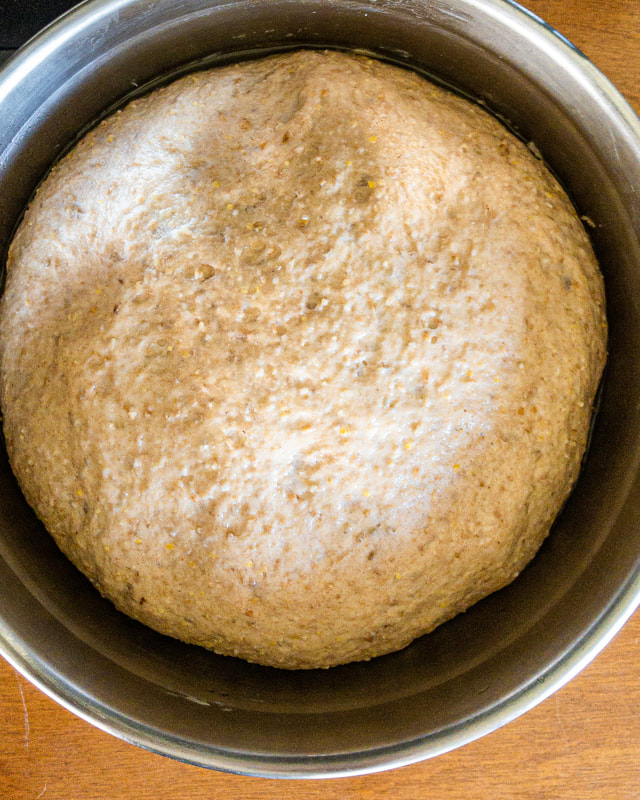
- Place dough in a bowl that has been greased with butter or oil and cover with plastic wrap.
- Allow dough to rise in a draft free part of your kitchen. I recommend the microwave for this.
- When dough has risen to 2X its original size take it out of the bowl, stretch it gently and fold in thirds.
- Replace in the bowl, cover and allow to rise again.
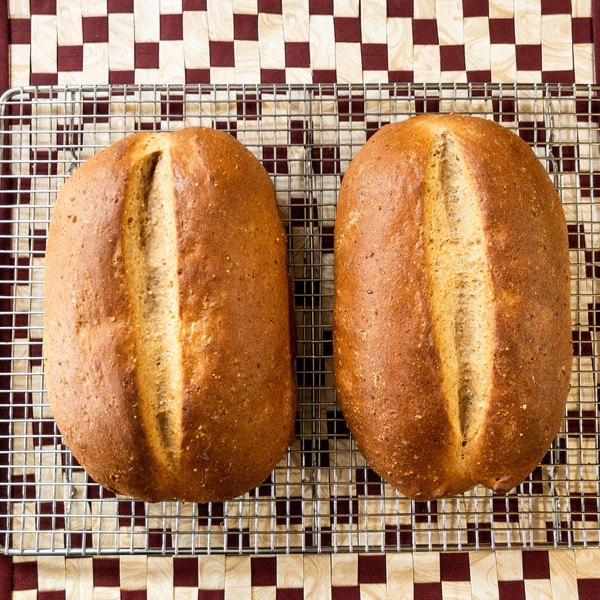
- When Dough has risen again to 2X its original size remove from the bowl and split into 2 loaves. You can shape these into any shape you like, I prefer a Torpedo shape (think football for you Americans out there).
- Place shaped loaves on parchment paper or on a baking sheet and allow to rise until puffy and springy (about 30 min, or until your oven is nice and hot. Speaking of that...
Get these puppies in the oven!
While loaves are rising
- Pre-Heat your oven to 425°F (218C)
- If you have a bread stone or pizza stone, heat it in the oven on the middle rack.
- Place an ovenproof pan/skillet on the bottom rack and allow to pre-heat with the oven.
- When bread is risen, slash the top with a sharp razor or knife and brush on a light egg wash (1 egg and 1Tbsp water).
- Place bread directly on the bread stone or place parchment lined baking sheet on the middle rack of the oven...
- At the same time pour 1 cup of ice into the hot pan in the bottom of the oven... close the door quickly. The steam created will give your bread a nice toothy crust.
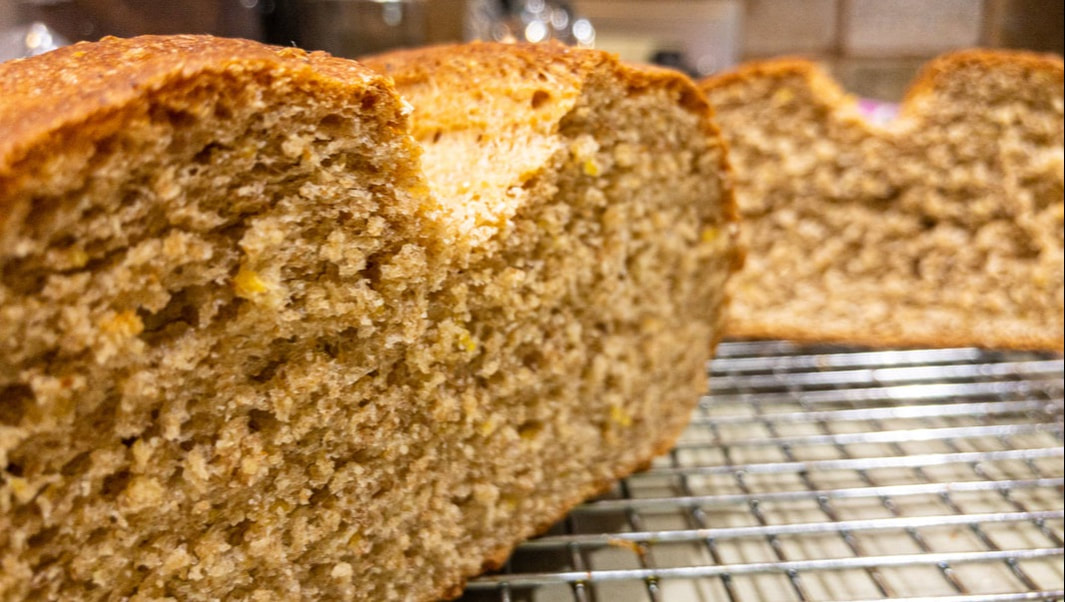
- Bake for 30-35 min or until crust is deep golden brown and bread should hollow when thumped (an instant read thermometer will read 190° to 200°F ).
- Place bread on a wire rack to cool.
Eat and Enjoy
Complete Crochet Course - Autographed Copy
From renowned crochet designs Shannon & Jason comes the ultimate reference manual for the absolute beginner to experienced pro.
Filled with step-by-step photography throughout for an easy-to-follow and fully visual experience, this unparalleled guide teaches you how to crochet from the very first stitch—and will keep you crocheting as you gain experience! The Complete Crochet Course explains all the tools, materials, and techniques you need, from choosing a hook and yarn to seaming, working in the round, handling specialty crochet stitches, and adding details. We've included ten patterns, perfectly designed for novices eager to complete their first projects, while intermediate crocheters can enjoy mastering even more advanced skills.
Sashiko Vest #1 Digital Pattern
Literally meaning "little stabs" or "little pierce", Sashiko is a form of decorative reinforcement stitching (or functional embroidery) from Japan. We added Sashiko stitching elements to a vest based on Japanese patching technique, Boro to complete this design.
Boro came to predominately signify clothing worn by the peasant farming classes in the Edo era of Japan who mended their garments with spare fabric scraps out of economic necessity. A boro garment would most likely be handed down over generations, eventually resembling a patchwork after decades of mending. Only in the modern era are we beginning to see the care and beauty of these textiles.
Sashiko Vest #1 is a long vest sewn using Cherrywood Hand Dyed Fabric cotton cloth, then hand stitched in various Sashiko patterns using The Shibaguyz FAB Sashiko Essentials thread collection from Aurifil Thread.
Fabric: Body - Cherrywood Hand Dyed Fabric in Indigo.
Patches - Cherrywood Hand Dyed Fabric from fat quarters in various colors.
Sashiko Stitching - Shannon and Jason Mullett-Bowlsby hand stitched Hitomezashi Sashiko patterns (where the pattern emerges from the alignment of single stitches made on a grid) then the garment pieces are machine sewn.
Pattern includes:
Instructions for making the vest in Sizes Small through 5X and doing the sashiko stitching.
Fabric amounts for all sizes
Detailed schematics, stitching instructions for the vest and for the sashiko embellishments
SIZES
Small (M, L, XL, 2X, 3X, 4X, 5X)
To Fit Measured Bust: 32 (36, 40, 44, 48, 52, 56, 60)" / 81.3 (91.4, 101.6, 111.8, 121.9, 132.1, 142.2, 152.4)cm
To Fit Finished Bust: 34 (38, 42, 46, 50, 54, 58, 62)" / 86.4 (96.5, 106.7, 116.8, 127.0, 137.2, 147.3, 157.5)cm
SKILL LEVEL
Intermediate
MATERIALS
Cherrywood Hand Dyed Fabric
2 YDs (3 YD for XL, 2X, 3X, 4X, and 5X)
-Back Panel
-Front Panels
-Collar Panels
-Sides Panels
10 fat quarters in various colors for patches
PLUS Two more fat quarters in the same color for the F Patch 1 (left and right)
Sewing Machine
Sashiko Notions
Sashiko Needle and Thimble
Sashiko Pattern Templates
Not Required, but will make it easier
Plastic grid
Circular plastic grid
Washable or heat removable White Marking Pen from Clover
Washable Blue fabric marking pen(s)
Serger/Overlock
Author
Shannon and Jason
 RSS Feed


Archives
May 2024
September 2022
June 2022
February 2022
June 2021
November 2020
September 2020
June 2020
May 2020
April 2020
March 2020
January 2020
February 2019
December 2018
November 2018
August 2018
July 2018
May 2018
April 2018
March 2018
February 2018
January 2018
December 2017
November 2017
October 2017
September 2017
August 2017
July 2017
March 2017
February 2017
January 2017
November 2016
October 2016
September 2016
July 2016
June 2016
May 2016
April 2016
March 2016
February 2016
November 2015
August 2015
July 2015
June 2015
May 2015
April 2015
March 2015
February 2015
January 2015
December 2014
November 2014
October 2014
September 2014
August 2014
July 2014
April 2014
March 2014
January 2014


Categories
All
Afghan
Aurifil
Books
Boro
Camp STITCHES
Classes
Cleaning
Clip On
Clover
Cowl
Craft
Craftsy
CraftU Classes
Crochet
Crochet Geometry
Daylight
Daylight Company
Design
Designer Crochet
Digital Download
Donate
Download
English Paper Piecing
Event
Free
Giveaway
Hand Cream
Hooks
Inspirations
International Crochet Month
Interview
Interweave
Knit
Knitting
Lamp
Marcus
Marcus Fabrics
Men
Menswear
National Craft Month
National Crochet Month
Needles
Online Classes
Ottlite
Pattern
Patterns
Paypal
Photography
Podcast
Prize
Product Review
Project
Quilt
Quilting
Recipe
Rotary Cutter
Sashiko
Season Of Giving Away
Sew Expo
Sewing
Shibaguyz
Shibaguyz Designz
Shibaguyz Designz Indie Maker Pattern
Shibaguyz LIVE
Shibaguyz Photography
Shop
Soak
STITCHES Events
Sweater
Thread
Tool School
Tools Of The Trade
Travel Lamp
Tutorials
Vogue Knitting LIVE
Walkthrough
Warm Up America
Wash
Weaving
Women
Yarn
Zoom Loom


