 How To Weave In the Ends Of Yarn Tails On Your Knitting ProjectsTechnique Weaving in the ends on your knitting projects.
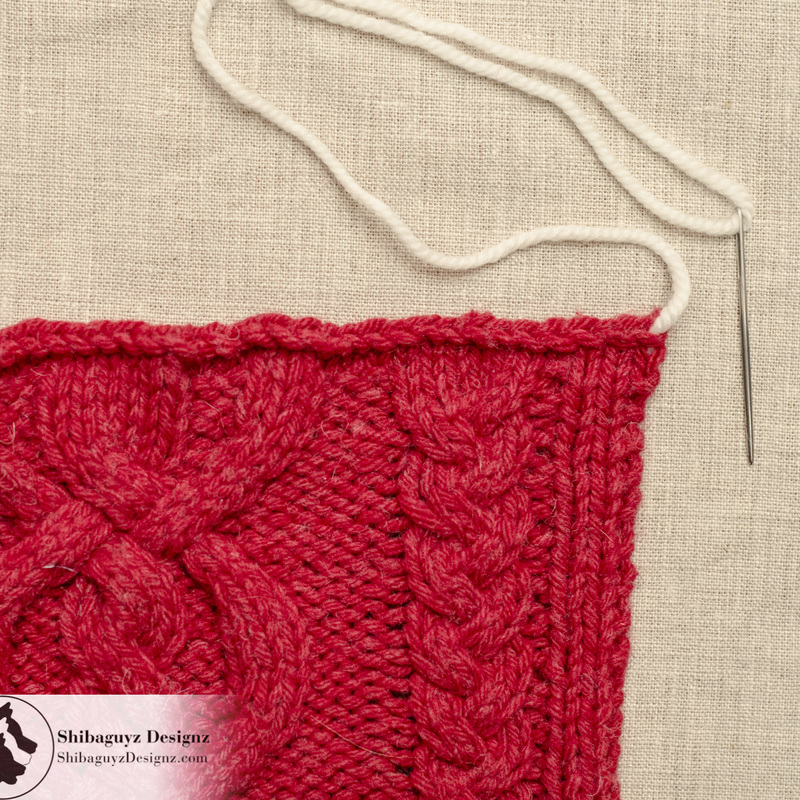
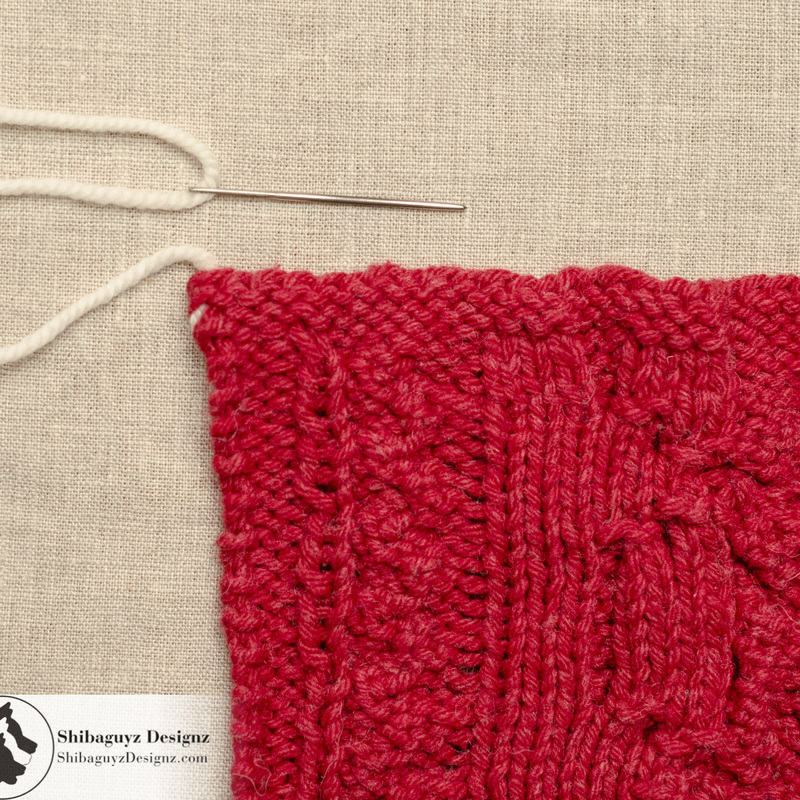
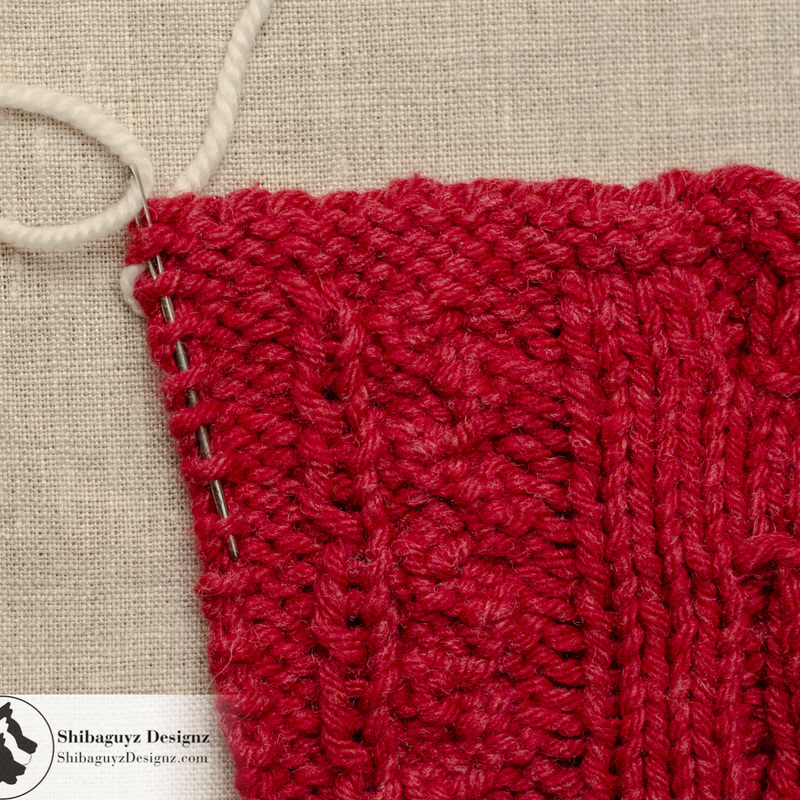
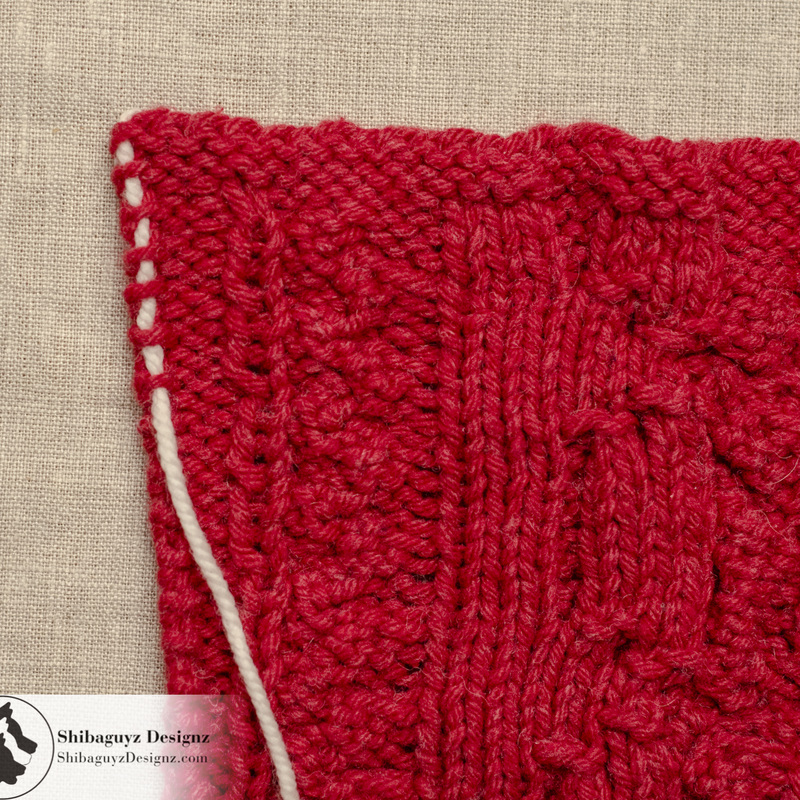
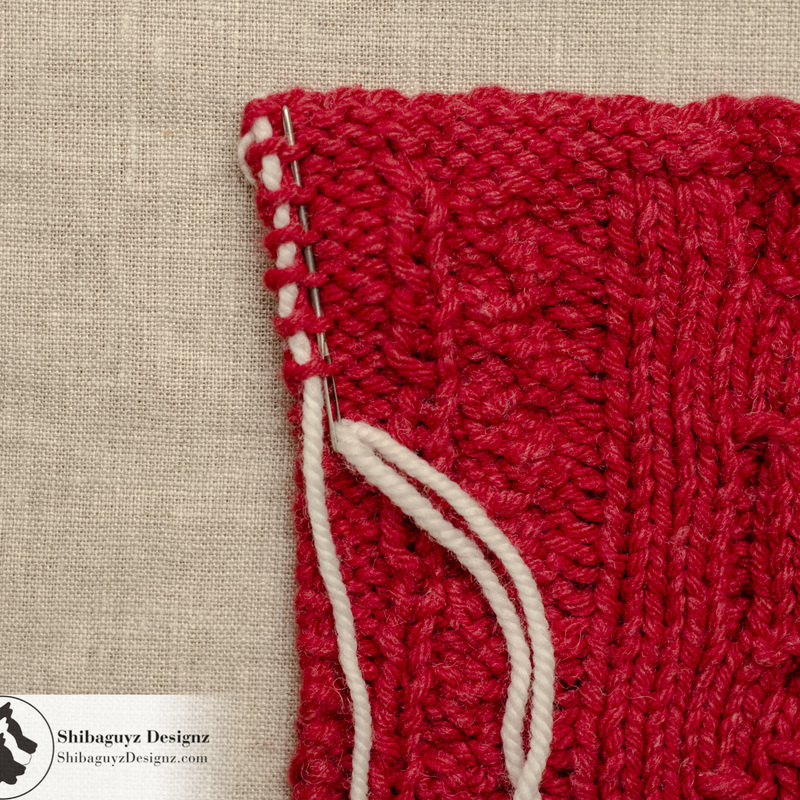
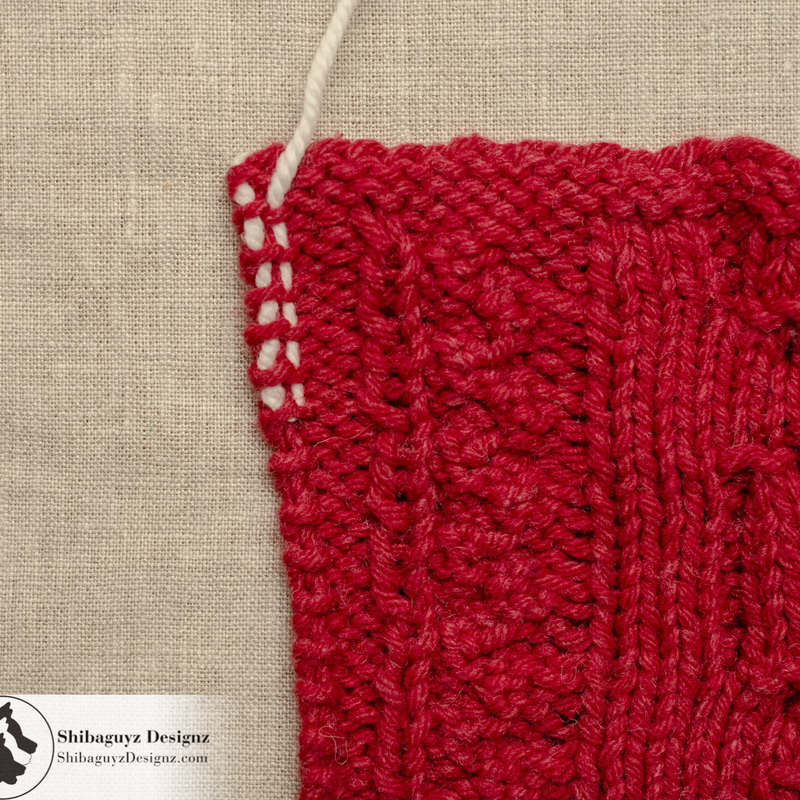
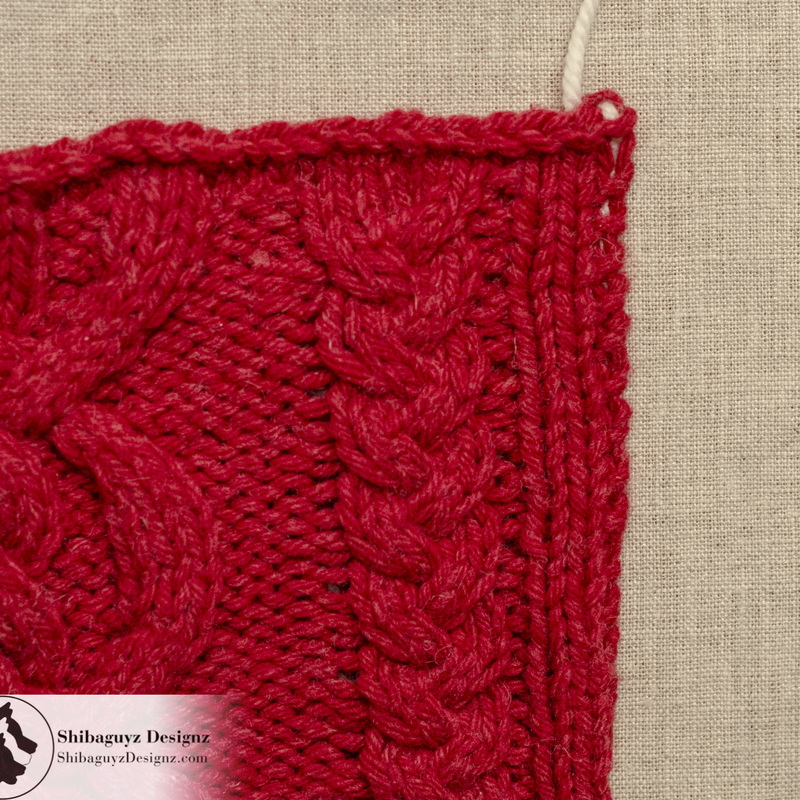
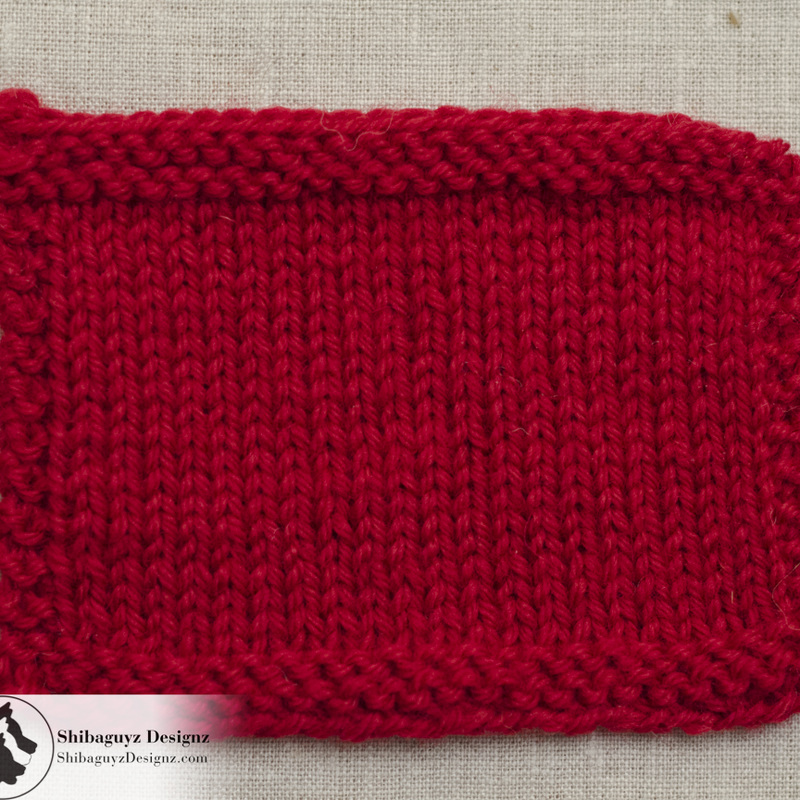
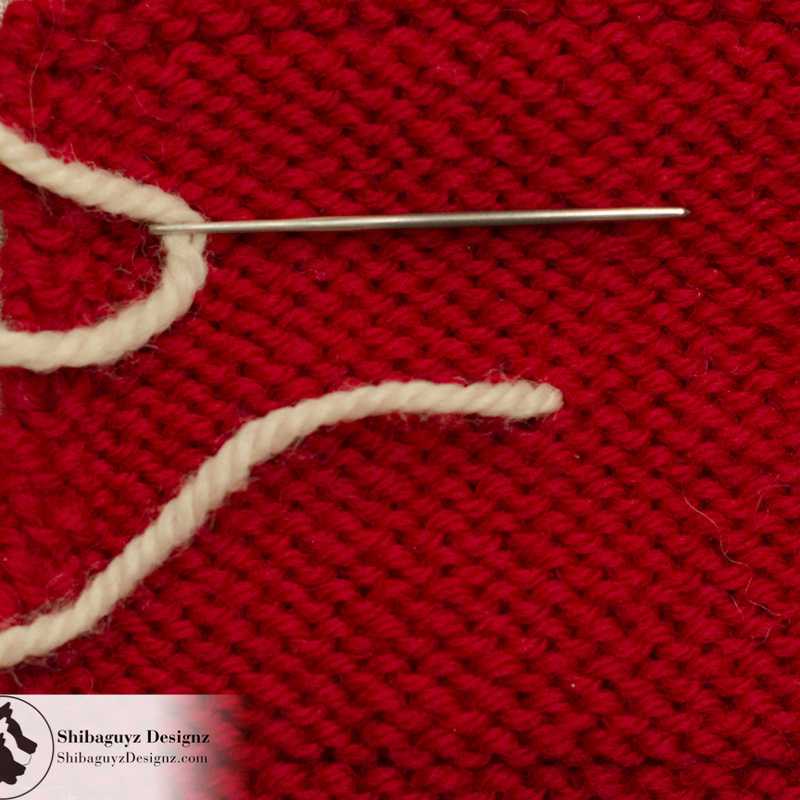
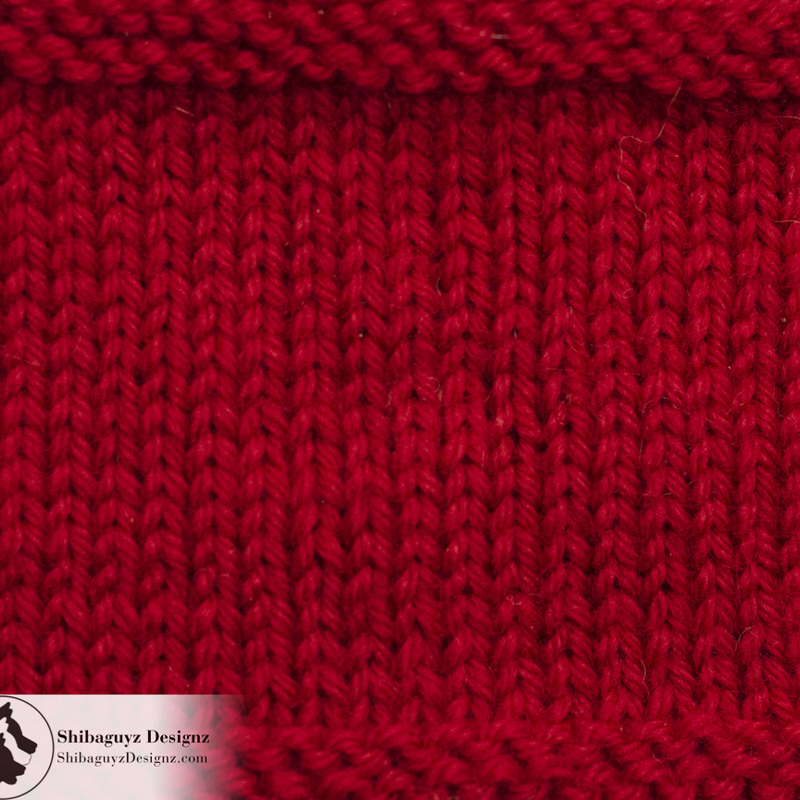
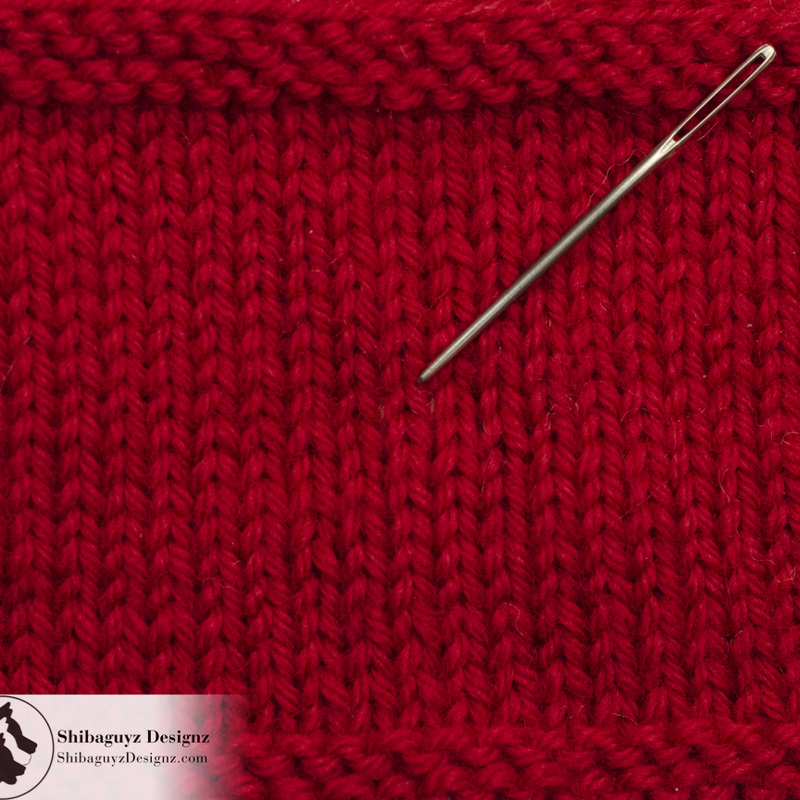
Why Use It? Whether at the end of a project or at a yarn join in the middle of a project, the tail must be woven in to prevent the stitches from unraveling. Weaving the tail in securely prevents that tail from slipping out and causing a hole down the line. We have worked quite a few repair jobs where a family heirloom blanket or garment looks moth eaten in spots because of holes. In just about every case, the holes were caused by a tail slipping out and stitches coming undone as a result. To Work Today's Tutorial Here's a list of materials we used to make the swatch for today's Weaving In the Ends tutorial. While you can, of course, use any materials you have on hand, these materials listed are what we recommend you use while you are learning. Yarn Used CYCA 4 Worsted Weight, 100% Pure Wool Hook Used H-8/5.00mm Crochet Hook Tools Yarn Needle Break It Down For today's tutorial, we are primarily using a swatch of stockinette stitches but the principle remains the same regardless of the stitch pattern: Follow the outline. Whether you are weaving in ends on a lace swatch or a solid panel of stockinette stitches, if you weave in your ends by following the outline of the stitches, you'll have an invisible result. Before we get started, let's cover a couple of important points that will make your life a whole heck of a lot easier when it comes to weaving in ends of your yarn tails on your knitted fabrics: 1. Whenever possible, start a new yarn at the end of a row. Now, that said, there are times when that just isn't going to happen. If you are doing colorwork of any kind or if you have a really long row and don't want to cut off that much of a precious yarn, then you just aren't going to always end up with your tails at the end of a row. However, if at all possible, start a new yarn at the end of a row. 2. Always block your fabrics before weaving in the ends. This gives you the true gauge of the finished fabric and allows you to weave in your ends with the finished tension of your fabric. If you weave in the ends before blocking, those ends could pop out a bit when you block the fabric into the final dimensions for your project. Selvedge Edge Weave First, we are going to show you how we weave in a tail that in a selvedge border. In this example, we have a swatch of cabled fabric with a knit 1 selvedge stitch at the beginning and end of every row.
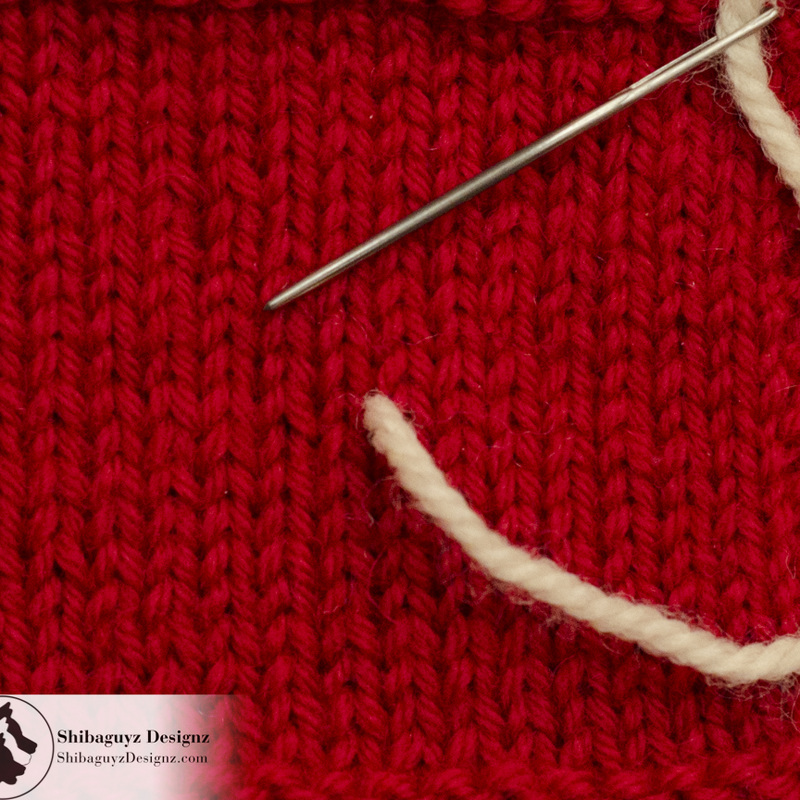
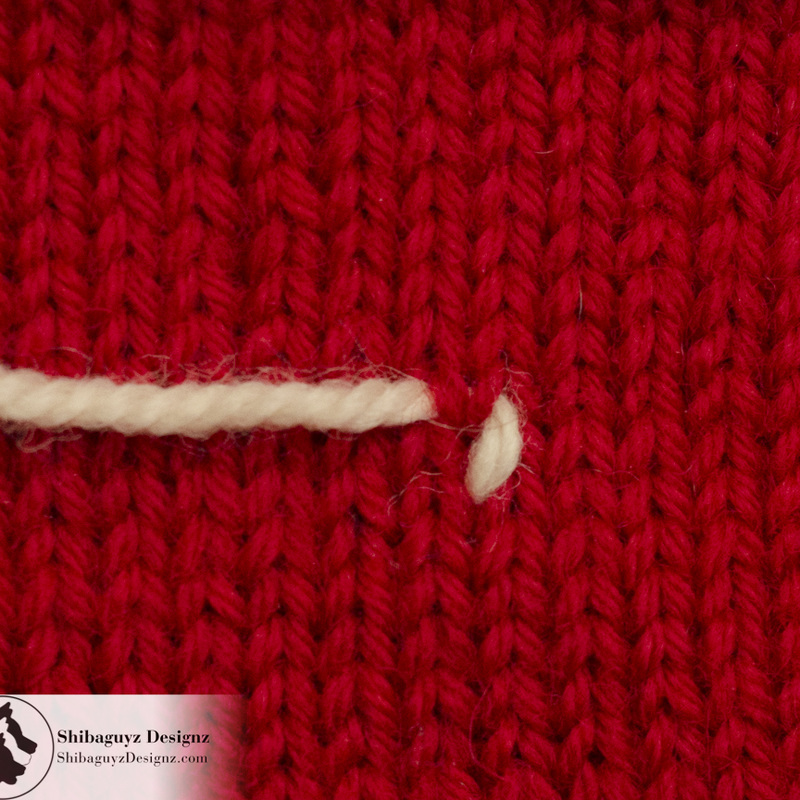
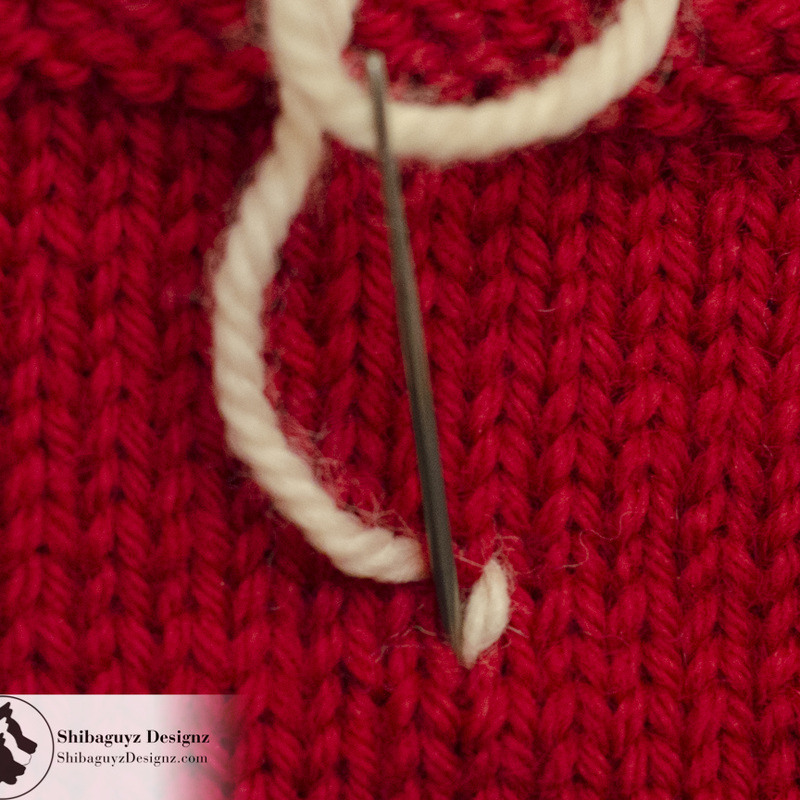
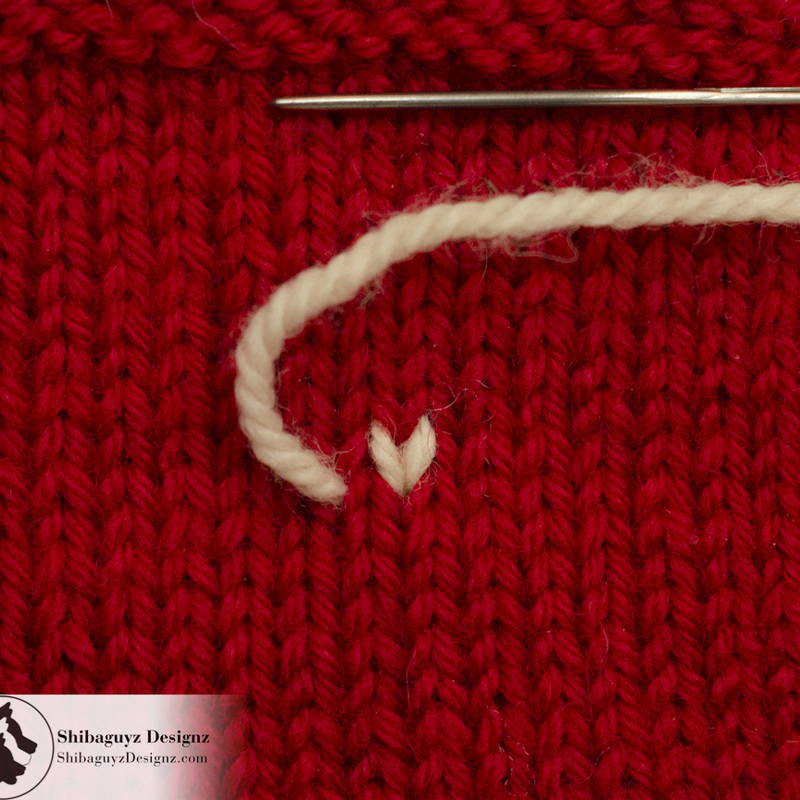
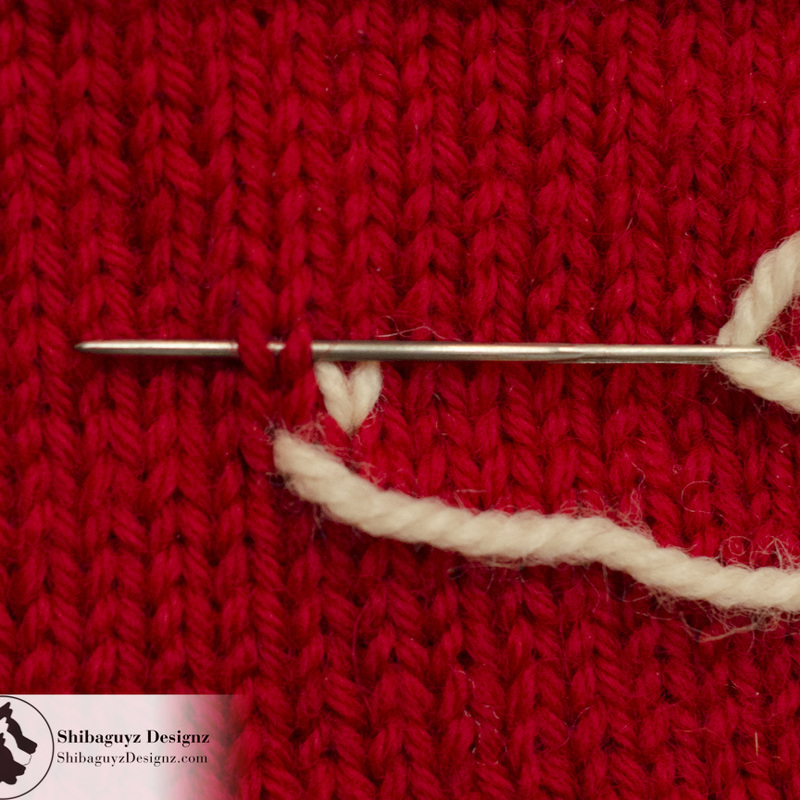
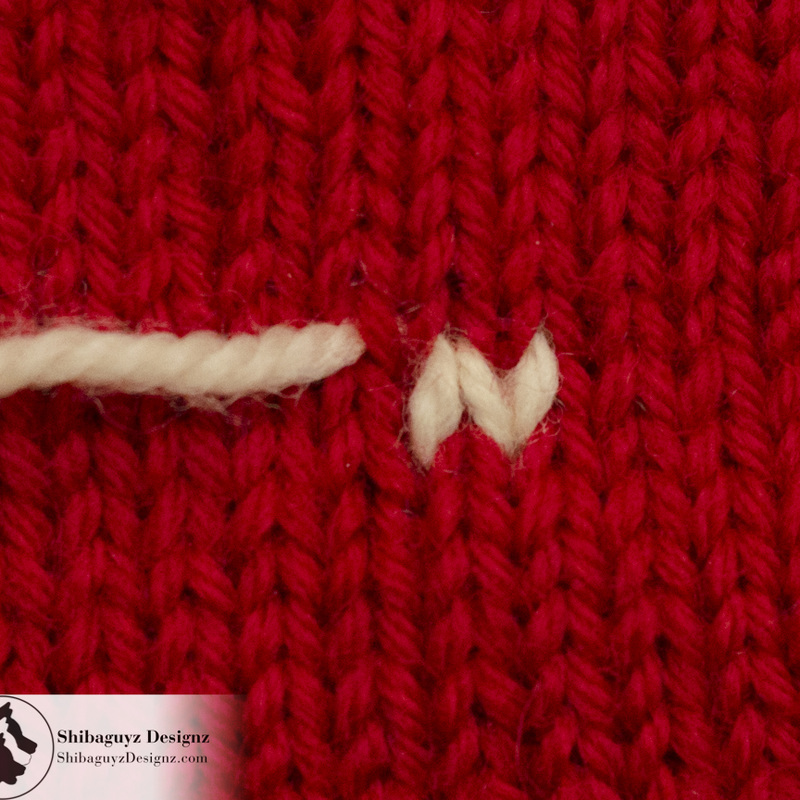
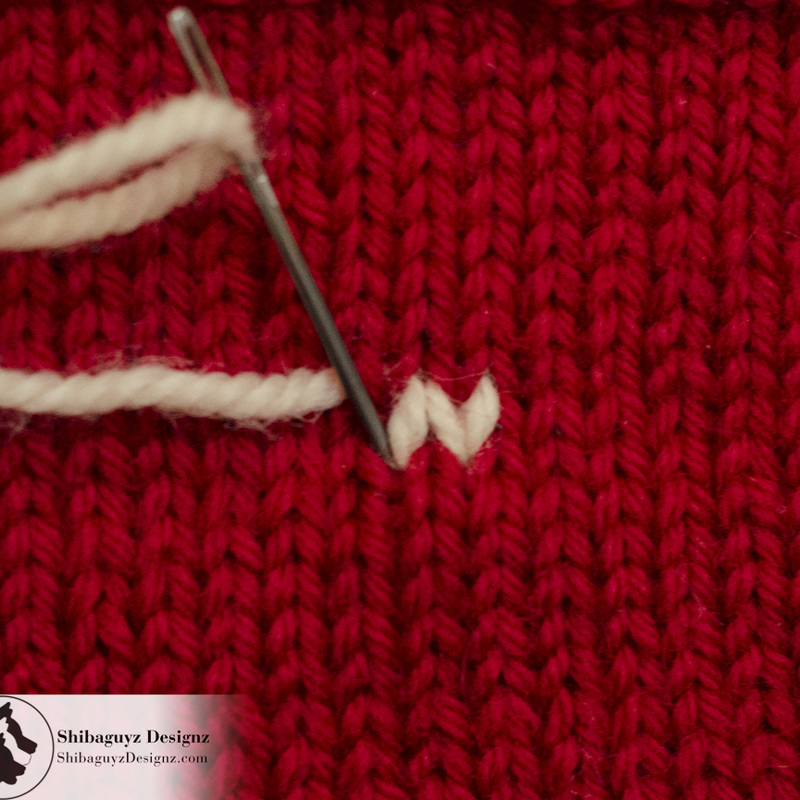
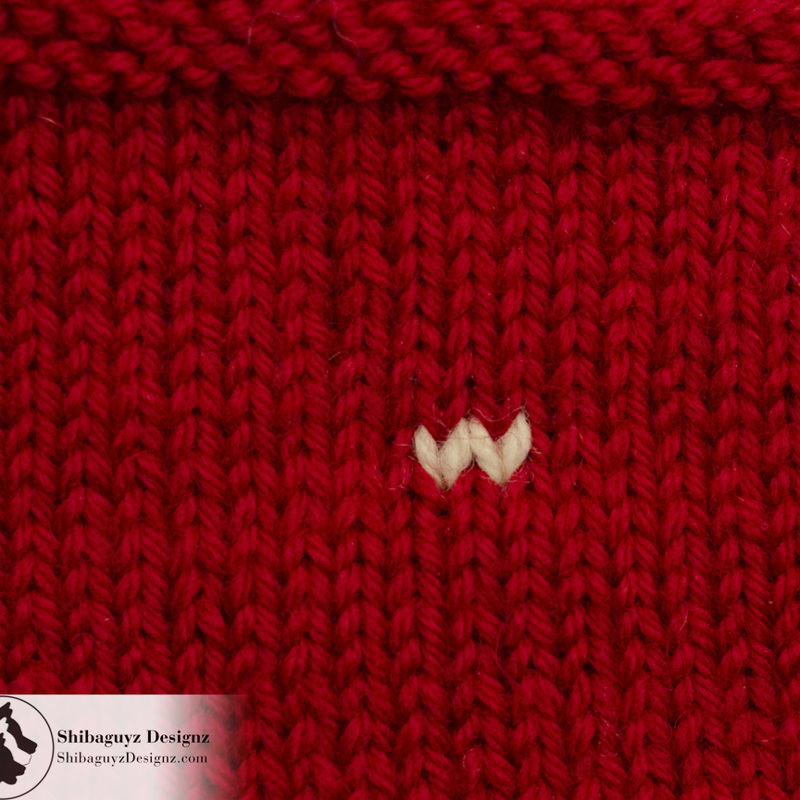
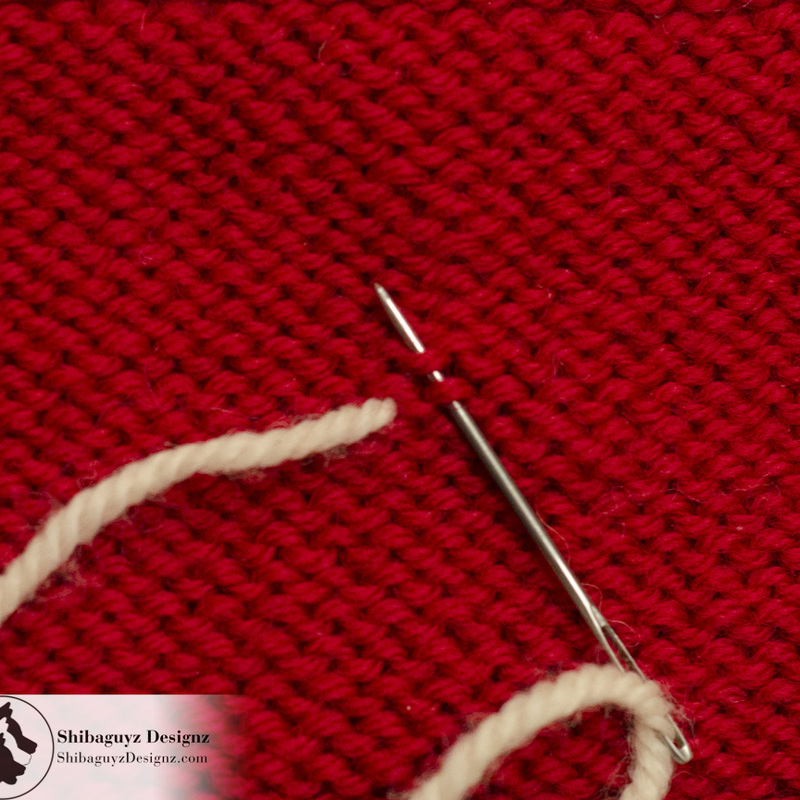
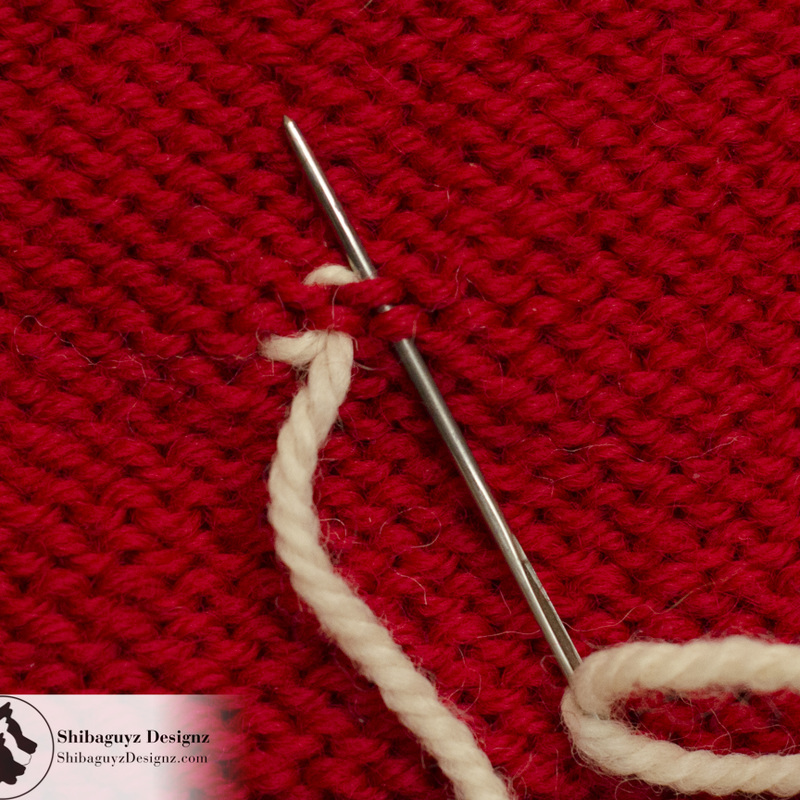
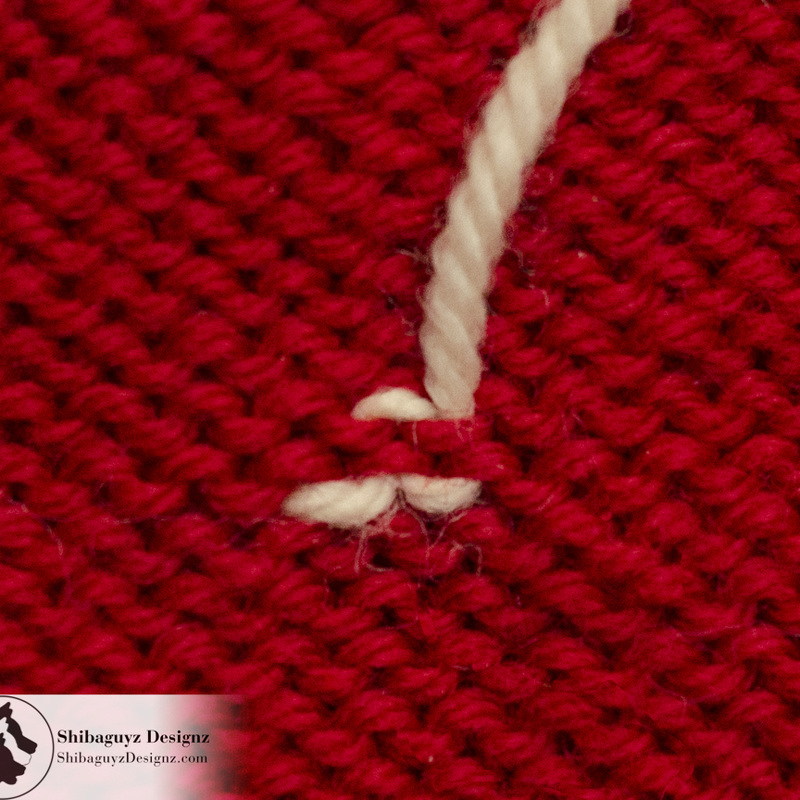
Duplicate Stitch This technique for weaving in knitted ends is worked from the front side of the fabric and follows the exact path of a knitted stitch. We are demonstrating on a swatch of stockinette stitch but the principle is the same no matter what stitch you are using… Follow the outline of your stitch. This technique works whether the end you are weaving in is at the end of a row or in the middle of a row. We will be demonstrating the end being woven in from the middle of a row but, again, the principle is the same… follow the outline of the stitch.
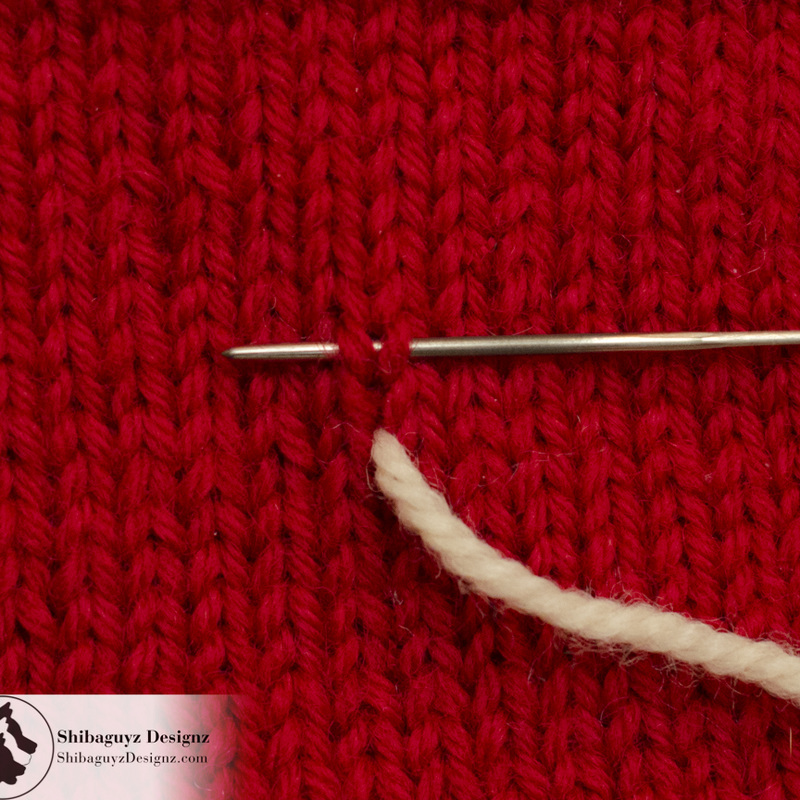
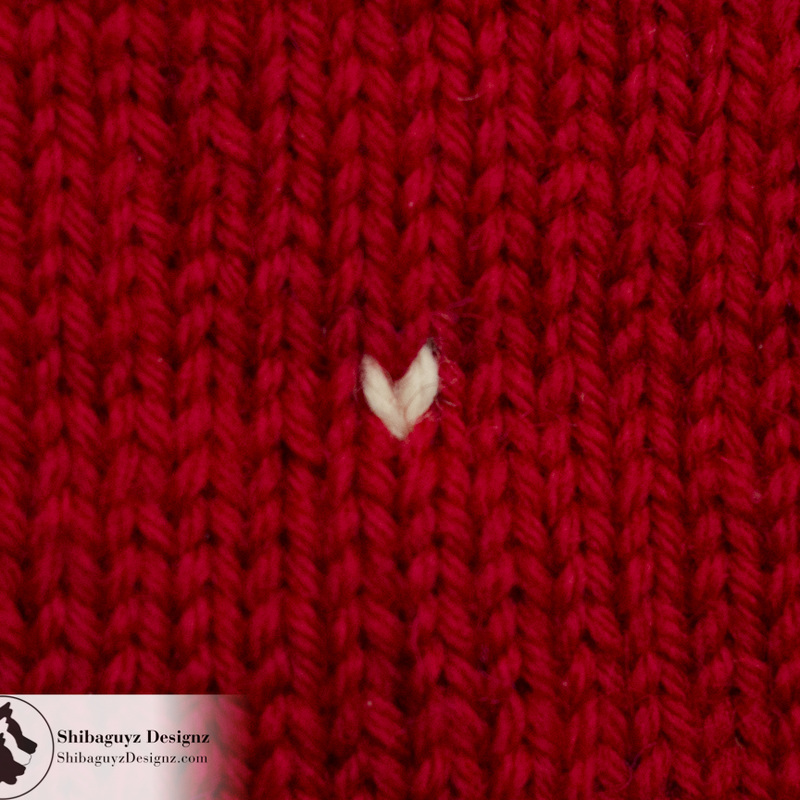
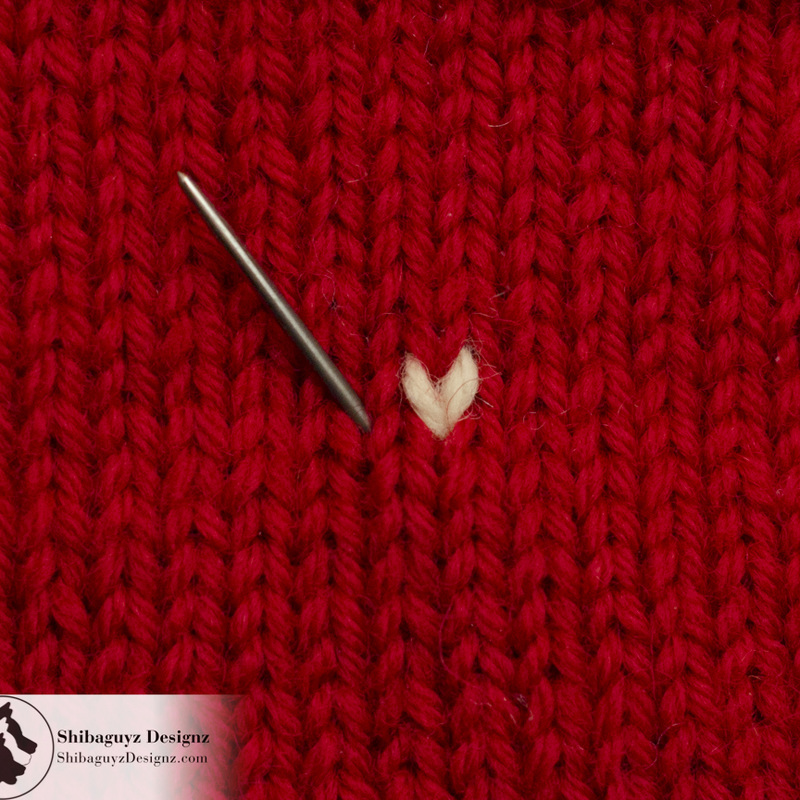
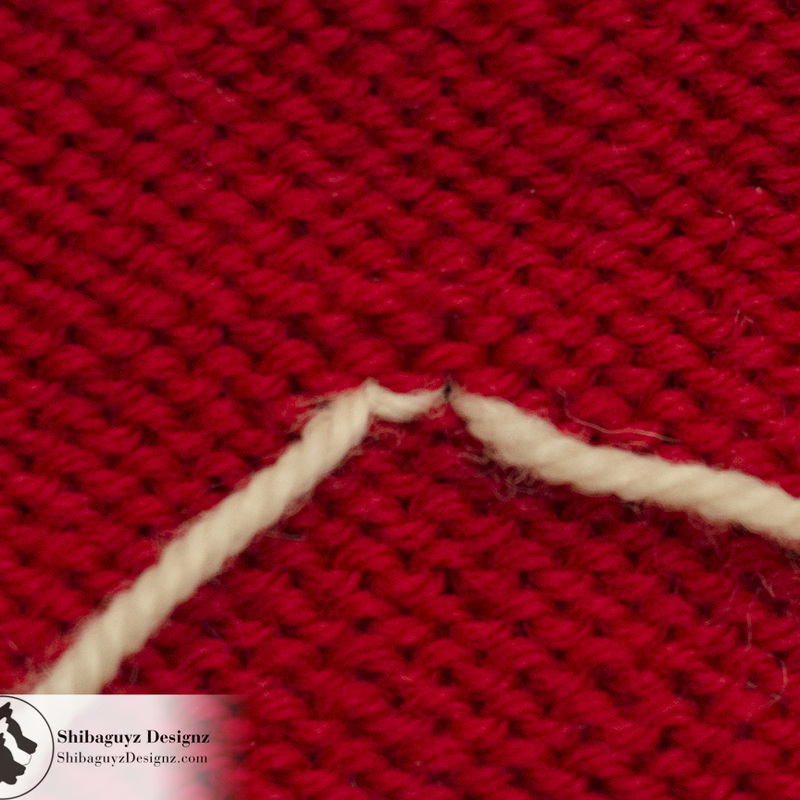
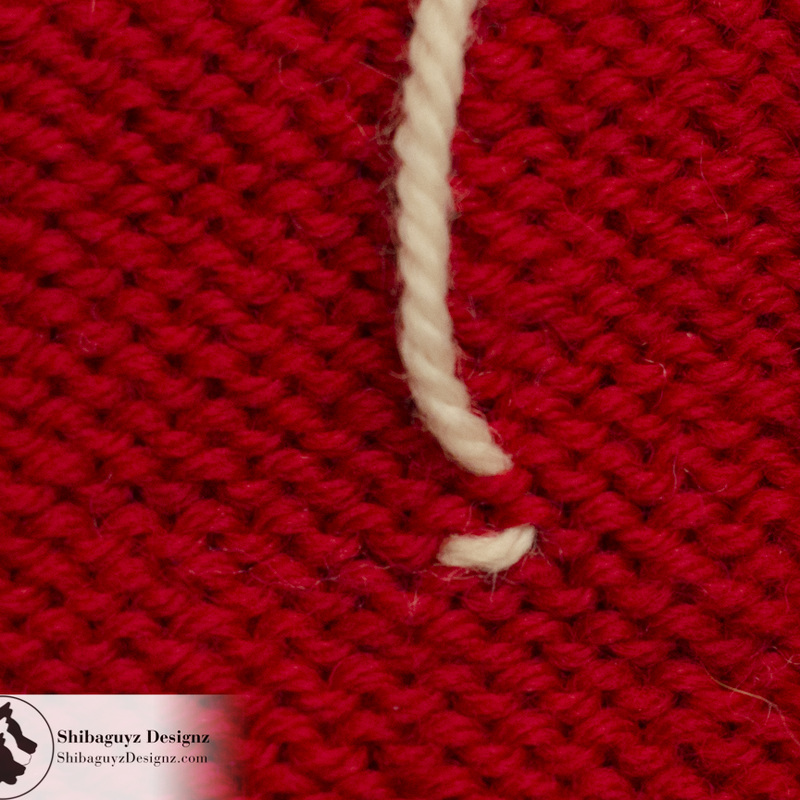
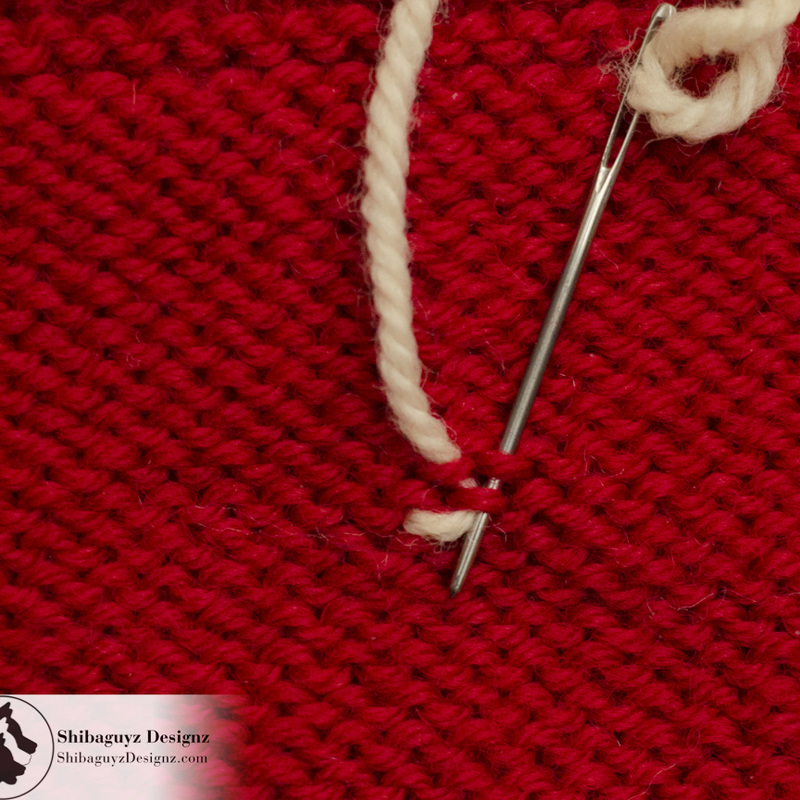
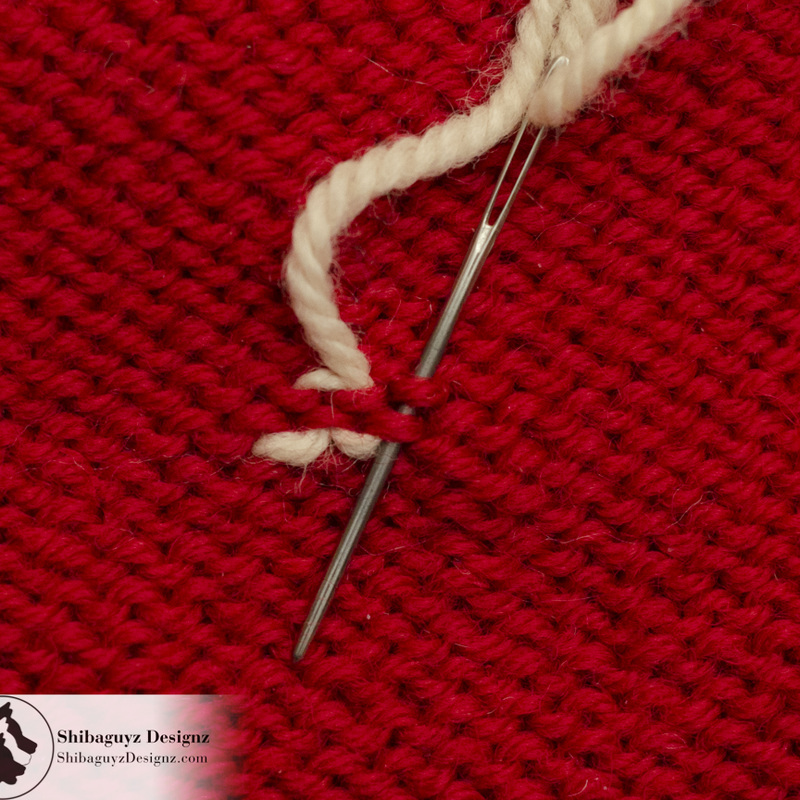
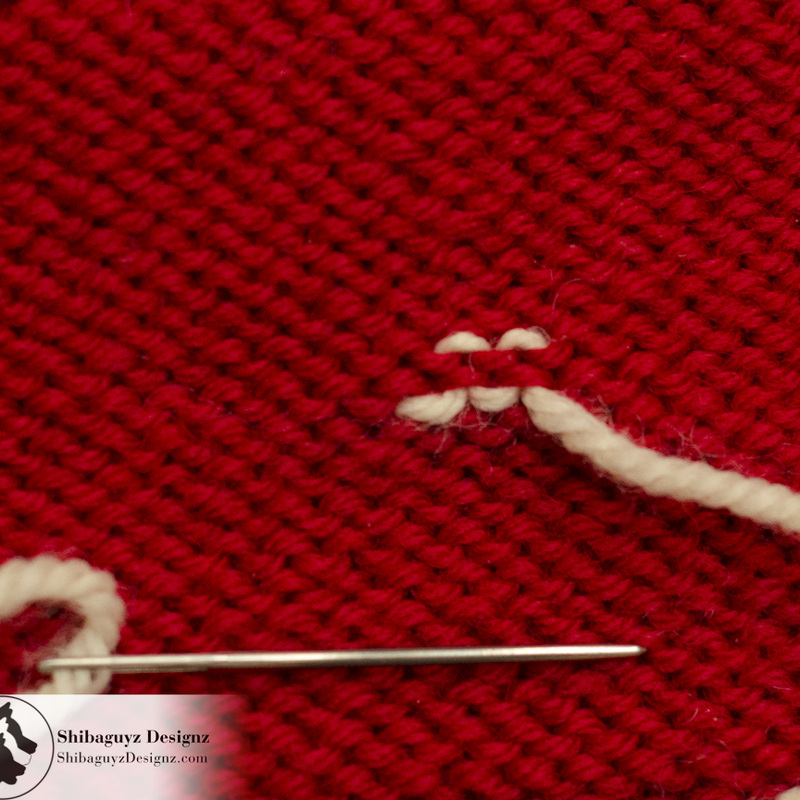
Invisible Purl Bump Weave And now we come to our absolute FAB FAV technique for weaving in yarn tails on knitted fabric. This technique is COMPLETELY invisible from the front of the work as you will see here in just a minute. Again, we will be demonstrating with a lighter colored yarn to make the steps easier to see.
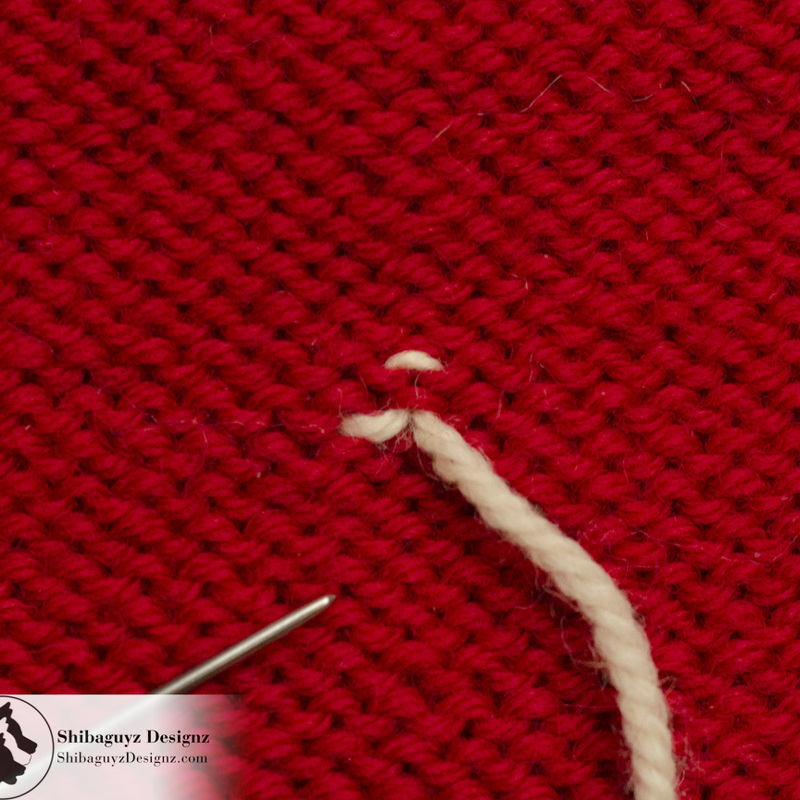
TAADAA!! NOTE: For these tutorials, we only wove in one tail in one direction. If you have changed yarn in the middle of a row, you will need to twist the two tails around each other to close the gap then weave them in opposite directions. The process is exactly the same, just working in the opposite direction. We will cover this more completely in a future tutorial on changing colors or adding yarn in the middle of a row of knitted fabrics. A Final Word… Or Two… The key to weaving in the tails of your yarn in ANY knitted fabric is to use your yarn needle to follow the outline of the stitches. Yes, if there are a lot of tails to weave in, it can take a little while. But, hey, it's all part of the making process. You can't cook without washing some dishes and you can crochet or knit without weaving in at least the starting and ending tails. Enjoy the process! And practice! The more you do this, the better you will become and soon weaving in ends will just be another step in your process to making the most beautiful handmade projects you possibly can. Thanks for dropping by for another Technique Tuesday! Our aim is to build the skillz of our FAB fiber community here on the web and it's always FAB to hear from you all that what we are doing is helping you and your fiber friends. Check back often or, better yet, click on that RSS Feed button over there in the right-hand column of the page you are on right now. That way you will always be up to date and never miss a thing! Stitch On! S&J Oh hey… before you go… Here are a few more pages we thought you might be interested in. Click on any of the photos below… enjoy!     Come look us up on Facebook, Twitter, and Pinterest by clicking on one of these icons. Comments are closed.
|
AuthorShannon and Jason Leave us a tip to help us do what we do!


Archives
May 2024
 

 Categories
All
     |
 RSS Feed
