 Introduction to |
| What is it? Crochet Stitch Charts are a visual representation of the physical stitches you make with your hook and yarn. Think of the Written Crochet Pattern and the Crochet Stitch Chart as two complimentary pieces to your work. The Written Crochet Pattern describes the stitches and the Crochet Stitch Chart shows you the stitches. Each physical and written stitch has a corresponding symbol that represents that stitch. To read a Crochet Stitch Chart, all you have to remember is: See a symbol, make a stitch! | 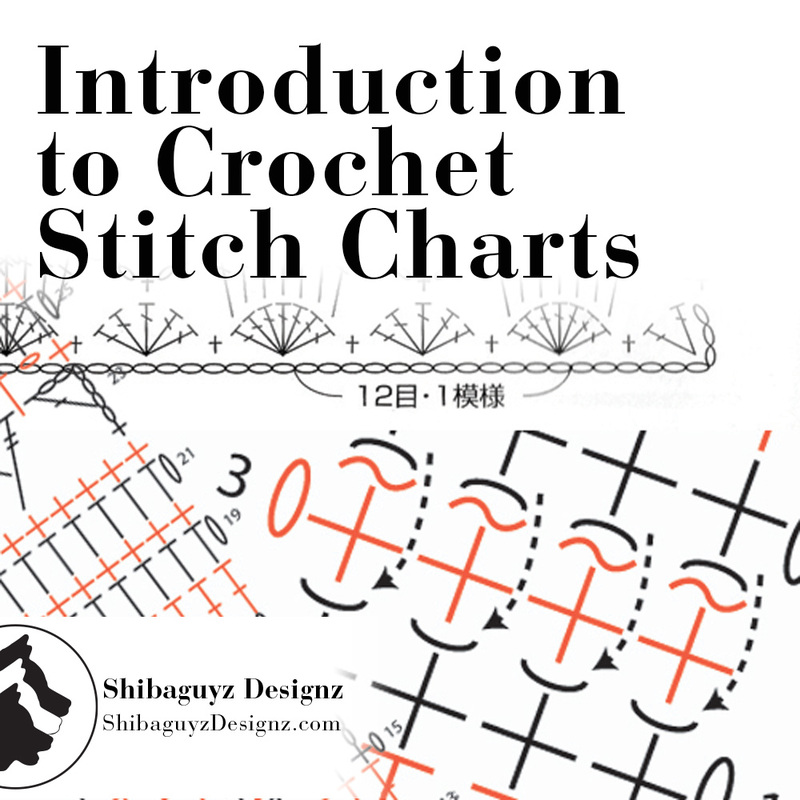 |
Crochet Stitch Charts are most helpful as a visual aid. They give a visual representation of both the written pattern and the physical stitches you make. This comes in particularly handy when learning a new stitch pattern or when one encounters a complex stitch or one that requires a lot of dense text.
When learning a new stitch pattern, Crochet Stitch Charts are helpful to make sure you are making the physical stitch the written pattern intends you to make. Again, the Crochet Stitch Chart is a visual representation of that written pattern so you can use it as a guide to make sure you are putting your stitches together correctly.
When you encounter a stitch pattern that has a LOT of dense text, Crochet Stitch Charts can be a much easier way or "reading" the pattern. For example, in the case of a complicated lace pattern, you can look at the Crochet Stitch Chart and know right where your next stitch goes without going back and forth between a dense section of text. You can look at your work and see if it matches up with the Crochet Stitch Charts and know right away if there are any errors. The same holds true for a dense set of text for a cable pattern. You can easily follow along visually with the Crochet Stitch Chart to ensure you are producing the stitches to create the finished design the written pattern describes.
No special materials or tools to make today's tutorial! All you need to do is follow along. If you want to stitch along, you can grab your favorite hook and yarn and make the stitches using the chart as we go. Doing this will definitely help develop the pathways in your brain that will make you a Crochet Stitch Chart reading MASTER!
Skillz Used
Crochet Chain
Single Crochet Stitch
Half Double Crochet Stitch
Double Crochet Stitch
| 1. Chain Stitch We'll start with the base of our chart. This is not a flying saucer. Nope… we're not going all X-Files on y'all. This little oval is a chain stitch. You will see this symbol used many ways in Crochet Stitch Charts – just as you use chain stitches in many ways when you are stitching. See a symbol, make a stitch! When you see this symbol in a Crochet Stitch Chart, you make one Chain Stitch for every one of these symbols you see. | 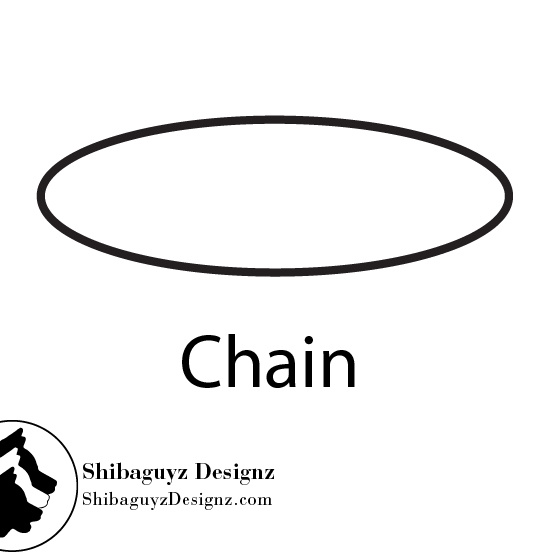 |
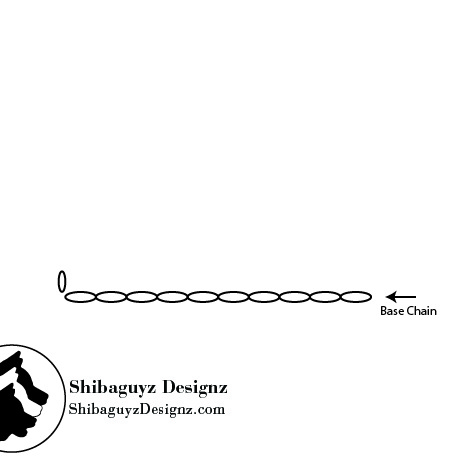 | 2. Base Chain In a typical Crochet Stitch Chart, you will see this along the bottom of the chart. This is, of course, your Starting Chain or Base Chain that starts your stitch or pattern. Now, if y'all follow along with our patterns and tutorials, you know we use a Foundation Stitch base for our stitches and patterns. Don't fret… we'll get to those and how to convert back and forth between Base Chains and Foundation Stitches in our next post. |
For this section of the Crochet Stitch Chart, you can see there are 10 chain symbols laid end-to-end horizontally. Remember: See a symbol, make a stitch! To make this part of the Crochet Stitch Chart, you will make 10 Chain Stitches.
But wait… what's that at the end??
| 3. Step Up Chain Yup… this Chain Stitch is hanging out there plain as day on the end of the Base Chain row. We're going to call this one your Step Up Chain since this is the chain that represents Chain 1 in the written pattern that allows you to step up a row to make your next row of stitches | 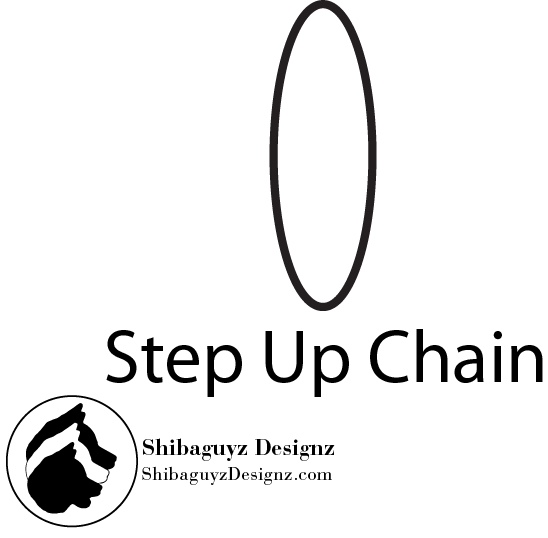 |
Which, brings us to the next step in our deciphering of the Crochet Stitch Chart…
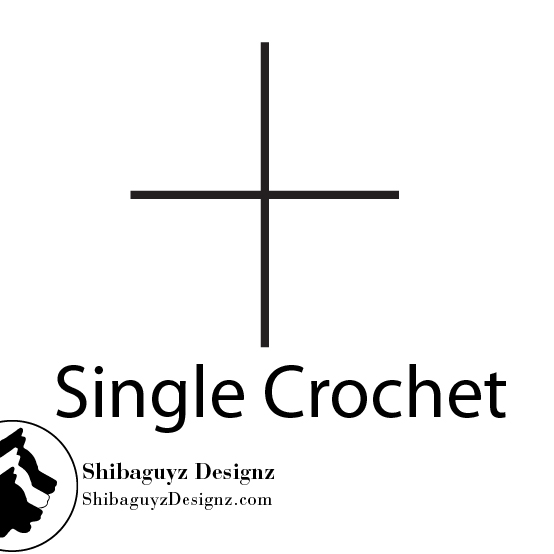 | 4. Single Crochet Whether you see this symbol as shown like a + or turned on its side like an x, the result is a same: See a symbol, make a stitch! When you see this symbol, you make a Single Crochet Stitch. |
| 5. Here in our Crochet Stitch Chart, we have moved on to Row 1, which, as you can see, is a row of Single Crochet Stitches. Ten Single Crochet Stitches to be precise. Follow along with where we are so far: First, we worked eleven Chain Stitches using the last of those as the Step Up Chain to start Row 1. Next, we turned our work to prepare to make Row 1. See those little arrows to the left and right of the symbols? Those arrows indicate the working direction of your rows. While these arrows are not always included in a Crochet Stitch Chart, there will be at least a row number on alternating sides. Don't stress about that for now… more on that in another post. For now, follow the happy little arrows! | 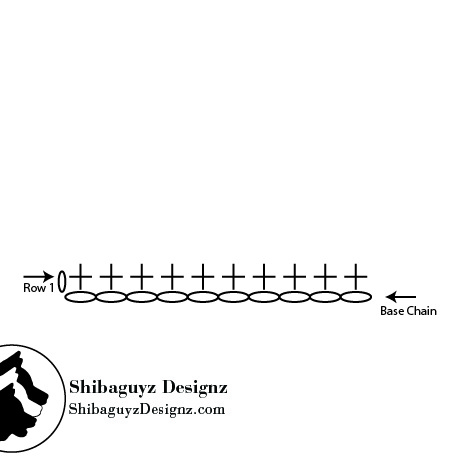 |
"…single crochet in second chain from hook, single crochet in each stitch to end of row, turn."
If you look at our Crochet Stitch Chart, you'll see each of those Single Crochet stitches are made in one of Base Chain stitches. Each of the Single Crochet stitches sets nicely on top of a Base Chain stitch indicating that is exactly where you place your hook to make your Single Crochet Stitch. See a symbol, make a stitch! See how easy that is?!?
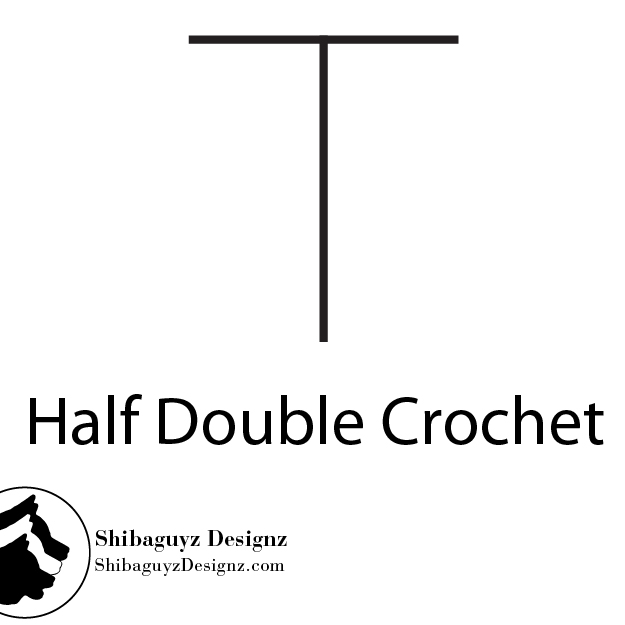 | 6. Half Double Crochet This symbol represents a Half Double Crochet stitch. See a symbol, make a stitch! When you see this symbol in a Crochet Stitch Chart, you will make a Half Double Crochet stitch. |
| 7. Back to our Crochet Stitch Chart, we are on Row 2. Check out the beginning of the row where there is a Step Up Chain telling us to chain 1 to step up to make the next row. Yes, we only make 1 chain to step up a row of Half Double Crochet stitches. Why? Because we find that is high enough for us. Also, we make a Half Double Crochet stitch in the very first stitch of the row rather than using the Step Up Chain to count as the first stitch of the row. Neat and tidy. No wonky edges that look like they've been gnawed on by demented wombats! | 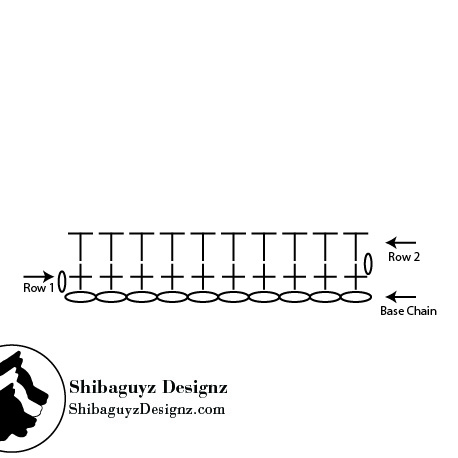 |
Just like before, you can see how each of the Half Double Crochet stitches in Row 2 are made right in the top of each Single Crochet stitch from the previous row. Here you making one Half Double Crochet stitch for every Half Double Crochet stitch symbol. That gives you a total of ten Half Double Crochet stitches in Row 2.
Easy peasy! Moving on…
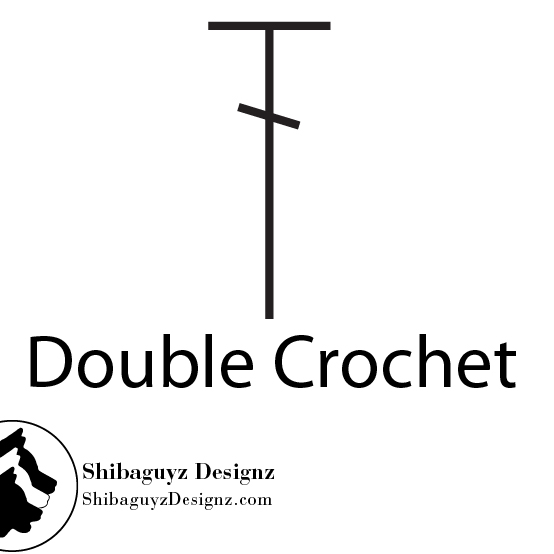 | 8. Double Crochet This symbol represents a Double Crochet stitch. See a symbol, make a stitch! When you see this symbol in a Crochet Stitch Chart, you will make a Double Crochet stitch. |
| 9. And now we've come to Row 3. Now… this is where we are going to deviate a bit from what you all KNOW is our normal way of operating. If you have spent any time with us here, you know we would never use a Chain 3 at the beginning of a row for a Double Crochet stitch. That said, we are presenting this introductory lesson on how to read a Crochet Stitch Chart in the manner of a typical stitch chart. We will get into variations on the basic chart symbols later. For now, take a deep breath and know that we haven't wandered from the path of a First-Double Crochet Stitch for starting your row. What we are showing here is how you will see a typical stitch chart. |  |
How to make the First-Double Crochet Stitch
That's the great thing about techniques… they give you options and you can employ them anytime you see fit. 'Nuff said… moving on… for now…
See a symbol, make a stitch!
You can see here that Row 3 is a total of ten Double Crochet stitches. You can also see that each of these Double Crochet stitches is made in the top of the Half Double Crochet stitch from the previous row.
TAADAA!!
That said… this is the basic intro… next time we will cover variations on the basic stacked stitches and get into some more complicated patterns. WOOHOO!!
If you are just starting out developing your crochet skillz, you now have the perfect base with which to build a more thorough knowledge for reading patterns. WOOHOO!!
If you have been reading patterns FOR-EH-VAR and never understood Crochet Stitch Charts, this is a good place to start retraining that part of your brain and increase your already FAB skill set.
As makers, we can only better ourselves when we explore different techniques and tools that help us work our craft. It might take a little patience to start from the beginning when we're already "advanced" or "have been crocheting for 120 years and never needed a chart before in my whole entire life why would I ever need such a thing?!?!?" But patience and learning pay off in a big way with increased understanding and improved skillz. And that's one of the BEST parts of being a maker… getting better at what we do!
Thanks for dropping by for another Technique Tuesday! Our goal is to build the skillz of our FAB fiber community here on the web and it's always great to hear from you all that what we are doing is helping you and your fiber friends.
Check back weekly for our Technique Tuesday features and make sure you check us out on Facebook, Twitter, and Pinterest. Those links are down there at the bottom of the post. We'd love to hear from you!
Stitch On!
S&J
Oh hey… before you go… Here are a few more pages we thought you might be interested in. Click on any of the photos below… enjoy!
This is great. I tried my first pattern where I mostly had to read the chart. I think I made a few mistakes but not major ones. It was in the round and I have a hard time finding the beginning of the round sometimes.
Thank you!
Leave a Reply.
Author
Shannon and Jason
 RSS Feed


Archives
May 2024
September 2022
June 2022
February 2022
June 2021
November 2020
September 2020
June 2020
May 2020
April 2020
March 2020
January 2020
February 2019
December 2018
November 2018
August 2018
July 2018
May 2018
April 2018
March 2018
February 2018
January 2018
December 2017
November 2017
October 2017
September 2017
August 2017
July 2017
March 2017
February 2017
January 2017
November 2016
October 2016
September 2016
July 2016
June 2016
May 2016
April 2016
March 2016
February 2016
November 2015
August 2015
July 2015
June 2015
May 2015
April 2015
March 2015
February 2015
January 2015
December 2014
November 2014
October 2014
September 2014
August 2014
July 2014
April 2014
March 2014
January 2014


Categories
All
Afghan
Aurifil
Books
Boro
Camp STITCHES
Classes
Cleaning
Clip On
Clover
Cowl
Craft
Craftsy
CraftU Classes
Crochet
Crochet Geometry
Daylight
Daylight Company
Design
Designer Crochet
Digital Download
Donate
Download
English Paper Piecing
Event
Free
Giveaway
Hand Cream
Hooks
Inspirations
International Crochet Month
Interview
Interweave
Knit
Knitting
Lamp
Marcus
Marcus Fabrics
Men
Menswear
National Craft Month
National Crochet Month
Needles
Online Classes
Ottlite
Pattern
Patterns
Paypal
Photography
Podcast
Prize
Product Review
Project
Quilt
Quilting
Recipe
Rotary Cutter
Sashiko
Season Of Giving Away
Sew Expo
Sewing
Shibaguyz
Shibaguyz Designz
Shibaguyz Designz Indie Maker Pattern
Shibaguyz LIVE
Shibaguyz Photography
Shop
Soak
STITCHES Events
Sweater
Thread
Tool School
Tools Of The Trade
Travel Lamp
Tutorials
Vogue Knitting LIVE
Walkthrough
Warm Up America
Wash
Weaving
Women
Yarn
Zoom Loom


