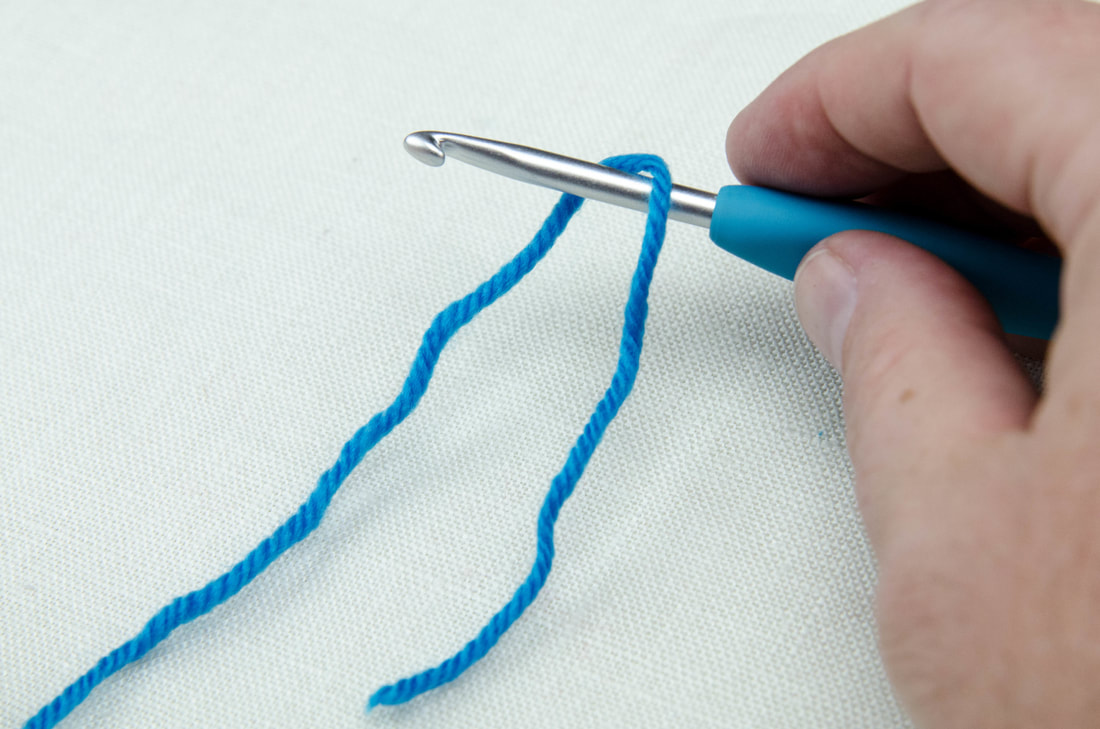
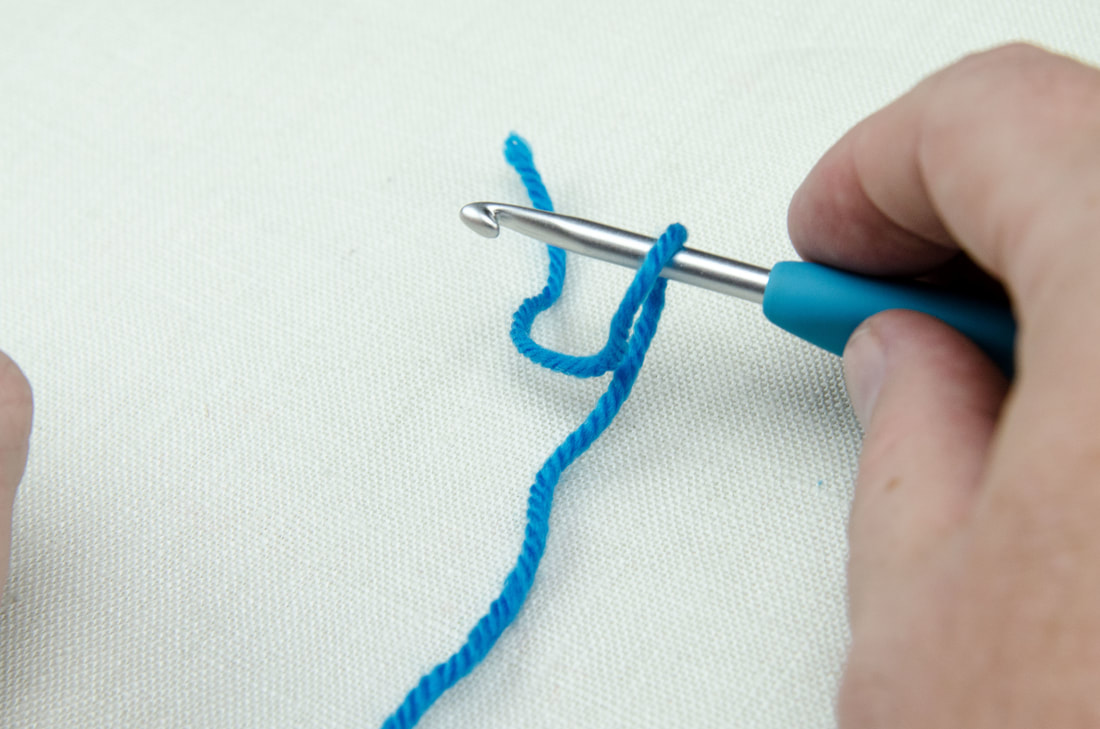
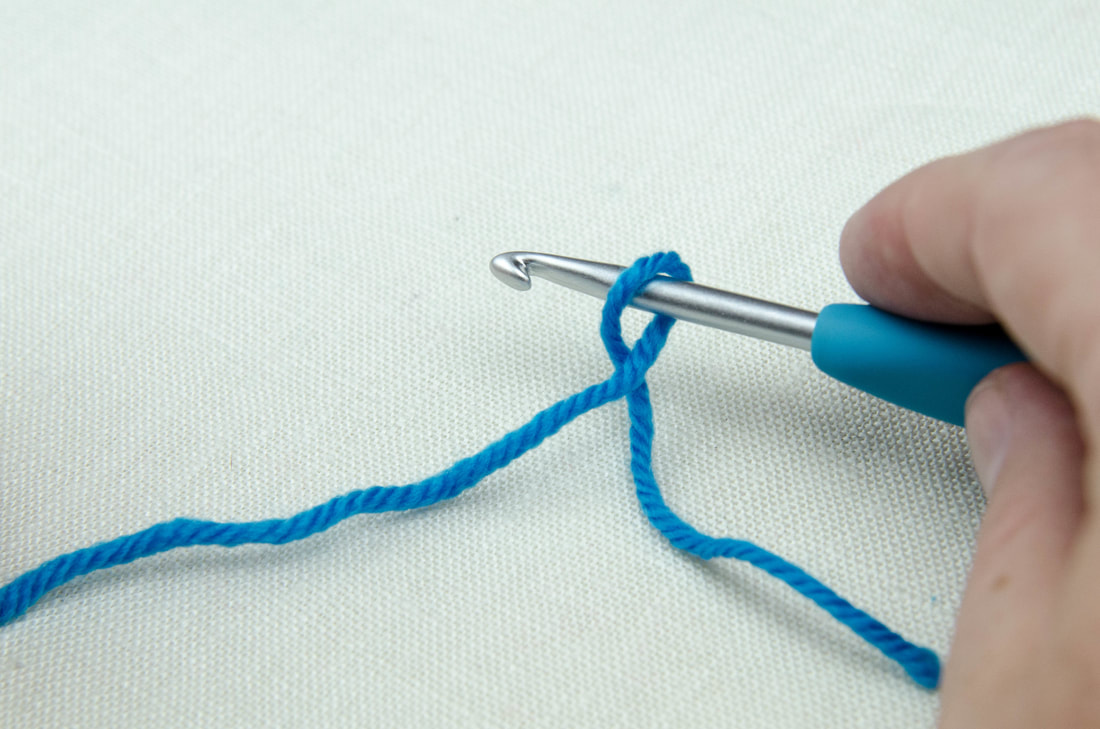
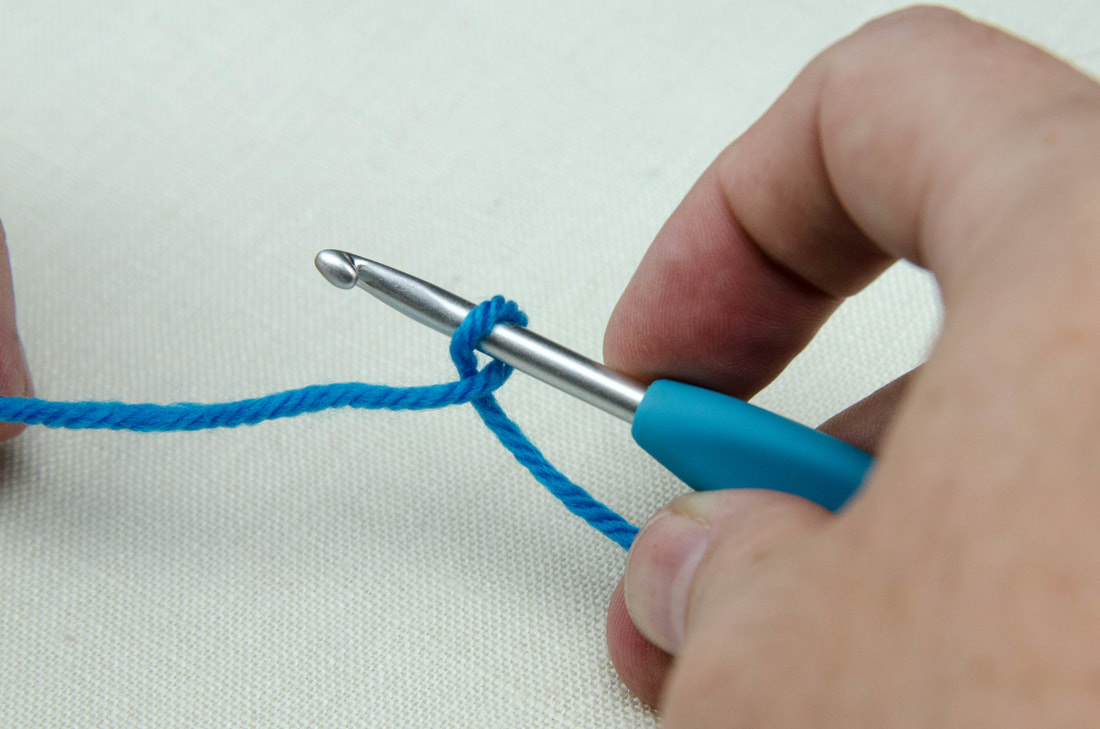
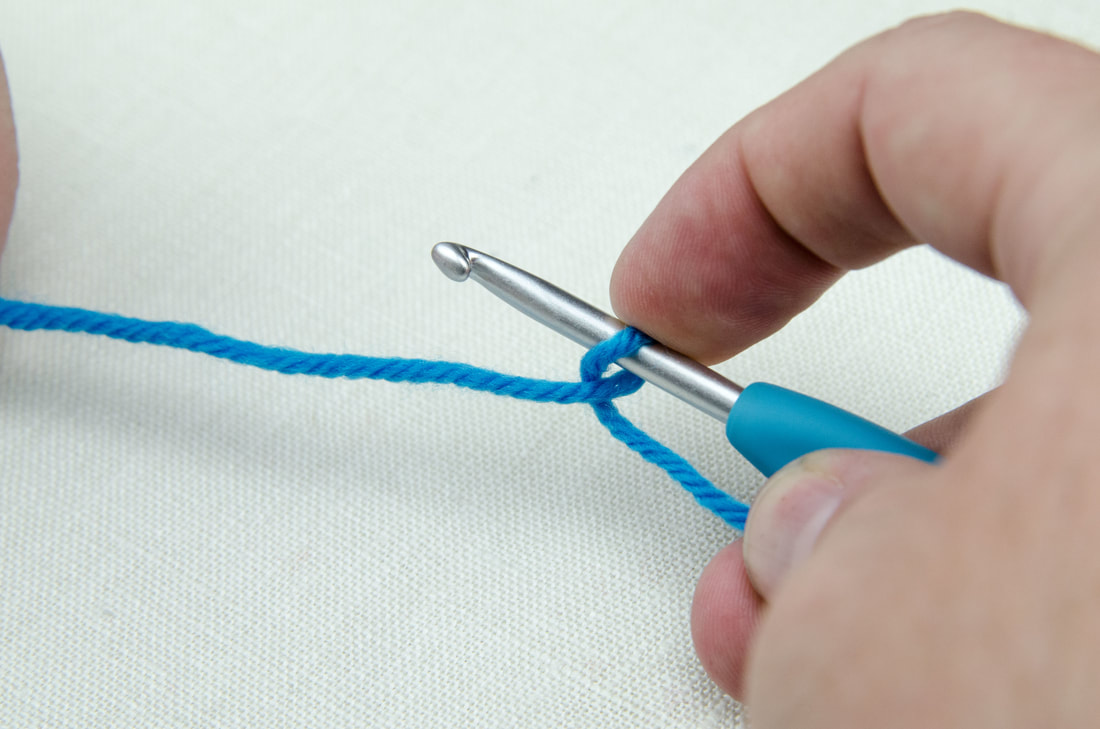
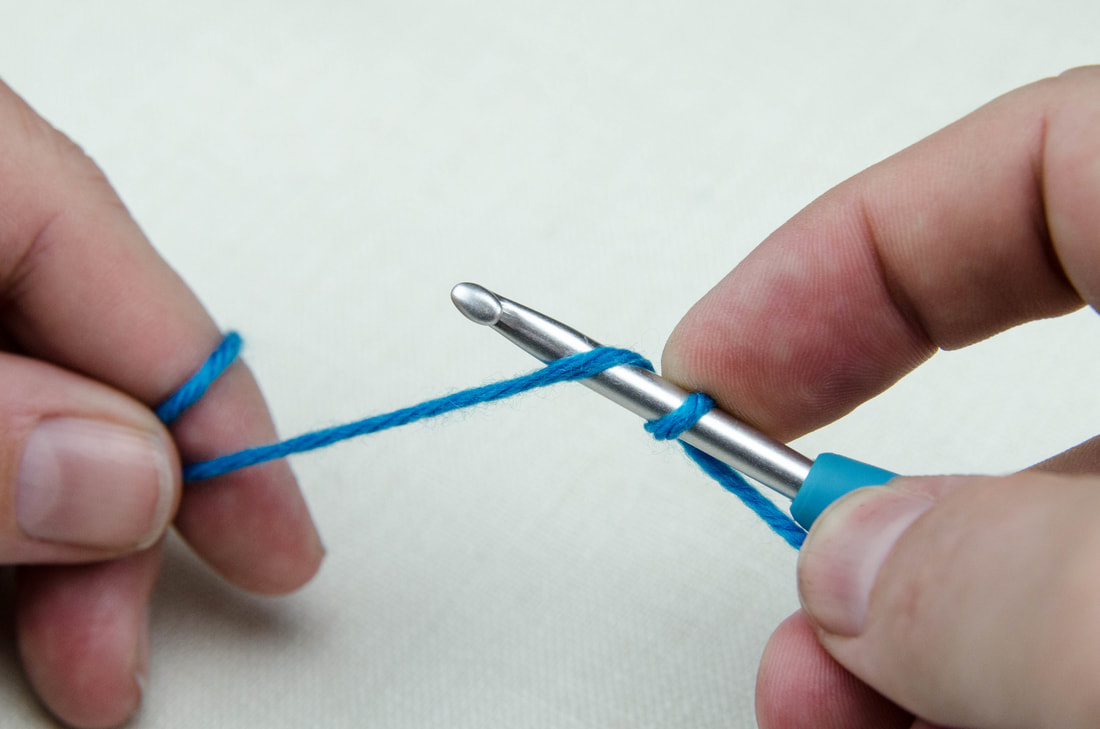
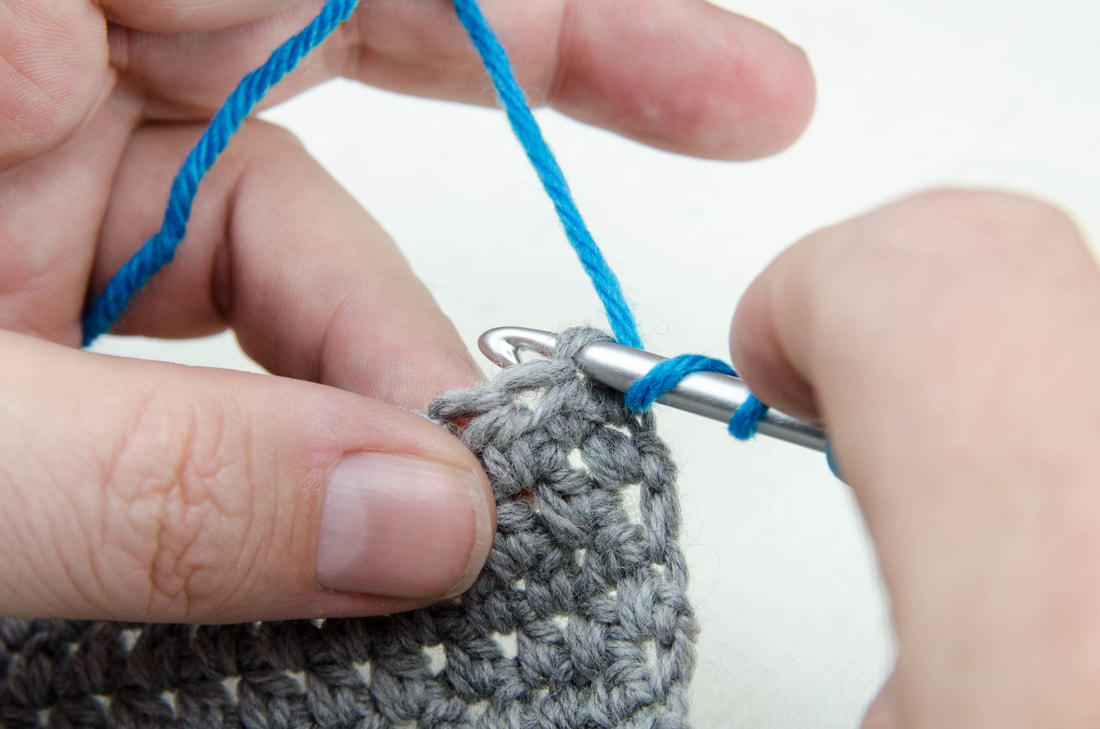
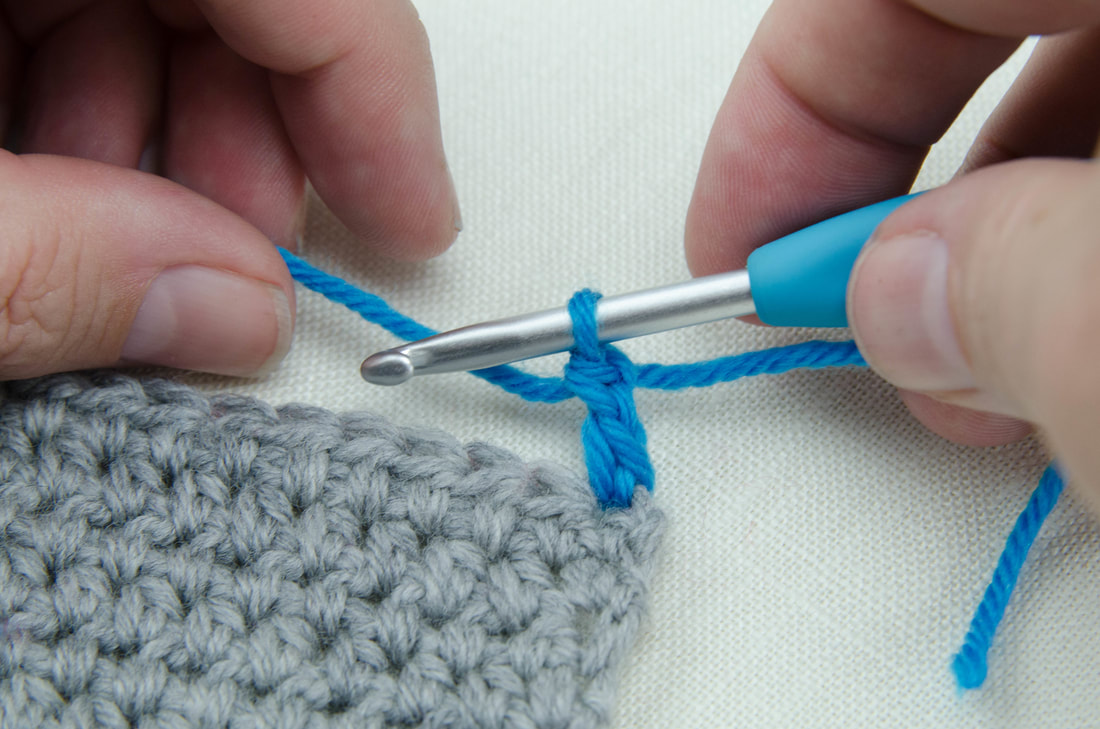
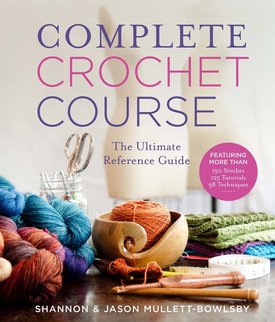
Standing First-Stitches This week we are wrapping up our series of tutorials about cleaning up those first stitches of your crochet rows. We all know what happens when we use those instructions that say "chain 3, count as first stitch of row." Yeah… the result is a wonky edge that looks like it's been gnawed on by a rabid wombat… or two. Not a good look… just sayin'… This week is all about Standing First-Stitches. Standing stitches are appropriately named because they can stand on their own without being attached to a chain-up at the beginning of a row or to a previous stitch in the middle of a row of stitches. Because of the unique way they are constructed, standing stitches are invaluable when used as first stitches when you are starting a new ball of yarn, a new color, or when you are starting a new section of a garment that is not attached to the section next to it. Anywhere you need to start a new stitch that isn’t attached to your current yarn or work, use a standing stitch! The key to making a successful standing stitch is the way you wrap the yarn around your hook to make the head of the stitch… so let's start there. In this tutorial, what we're showing is starting a new row with a new length of yarn. This would be where you need to start a new skein of yarn or maybe you are doing colorwork and need to start a new color at the beginning of your row. But this technique really shines when you are making a garment or accessory where you need to start a new section in the middle of a section of fabric. For example, if you are making one of our drape front cardigans from our books, you will work the entire garment from the bottom up making the back and two front panels all at once. Then, when you get to the armholes, you will work the fronts and back panel separately up to the shoulders. In this case, you would use the Standing Stitches technique to start the new sections of the garment without joining the new yarn with a knot. So there you have it! This ends our series of tutorials designed to clean up the first stitches of your crochet rows. Obviously we feel this is a pretty important topic. Indeed, we hear about this everywhere we go and work with crocheters… nobody likes those wonky edges! We work so hard to make our stitches and our fabrics look beautiful then we hold on to an old technique that just doesn't work simply because we don't know a better way. Well… no more! These posts should be everything you need for every situation when it comes to making those first stitches of a crochet row and you can now say "NO MORE WONKY EDGES!!" Come back soon for more tutorials that will cover topics like hand sewing, embroidery, knitting, crocheting, and even cooking! STITCH ON!! S&J Want to see more tutorials like this? We've compiled them all into one convenient page that we update as we add more tutorials to our site. Click on the link below and bookmark that page for future reference! The Standing First-Stitch is one of 125 tutorials found in our NEW book Complete Crochet Course, available now online and at book sellers. Read all about it by clicking the FAB little button below. Be sure to come by and say hey on our social media channels where we share all kinds of FAB photos
and where you can find our new LIVE series of tutorials and recipes!
DeeAnna Swanson
3/18/2018 10:35:22 am
Ordered my copy of Complete Crochet Course and it should arrive March 28th! So excited!! Love your tips and tricks!!! Comments are closed.
|
AuthorShannon and Jason Leave us a tip to help us do what we do!
Archives
May 2024
Categories
All
|

 RSS Feed

