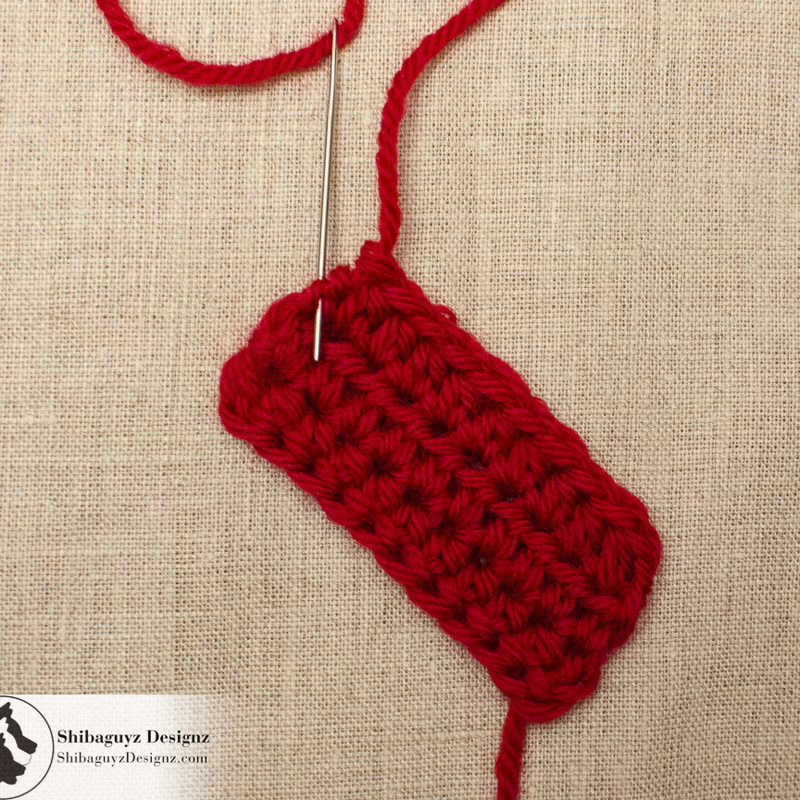
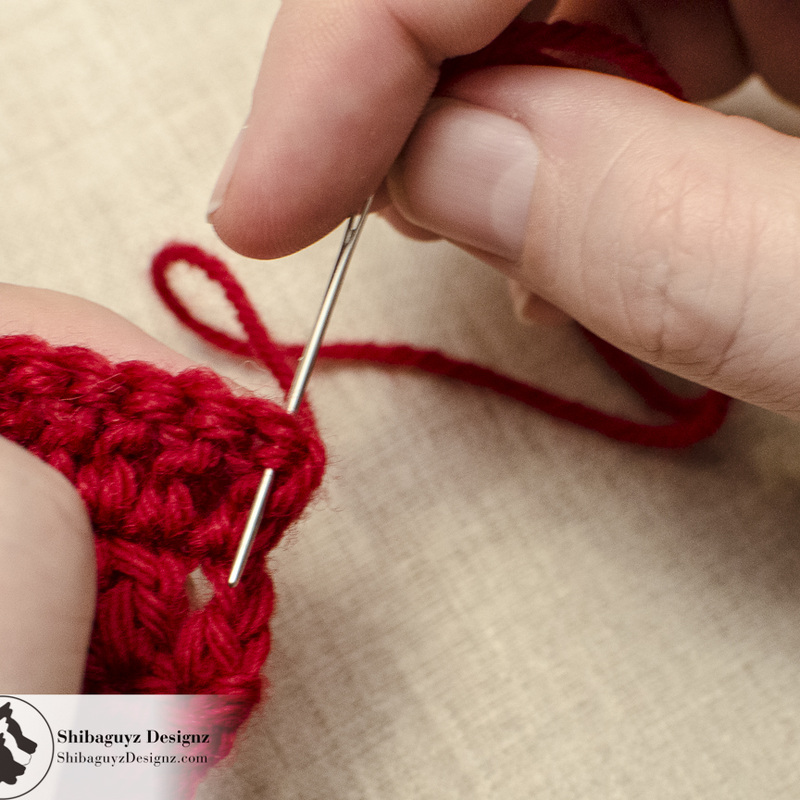
 How To Make the End Cap Finishing StitchTechnique End Cap Finishing Stitch What is it? The End Cap Finishing Stitch is a technique for weaving in that last stitch in a row of crochet.
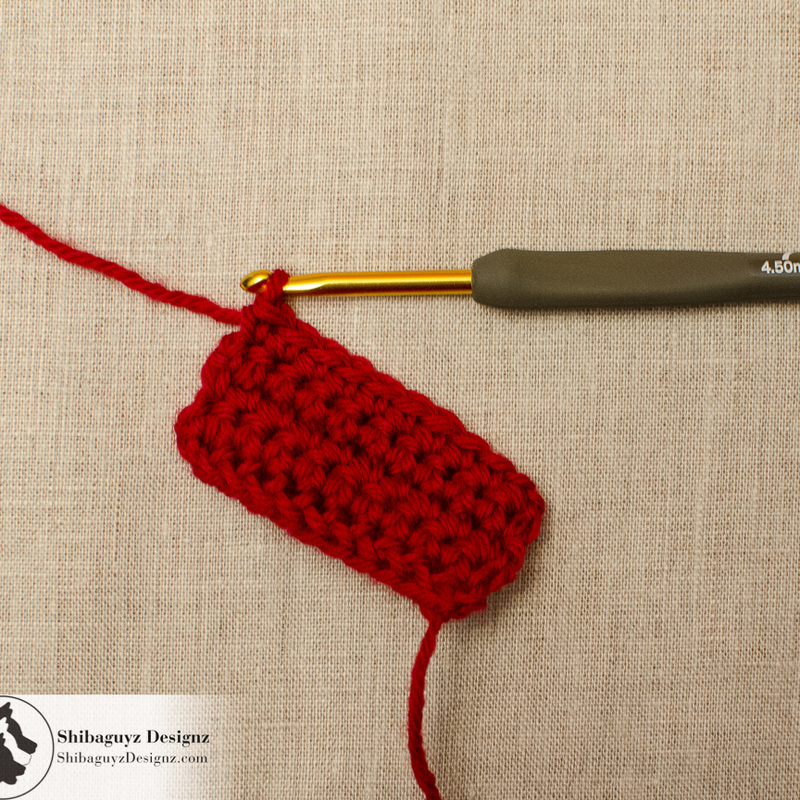
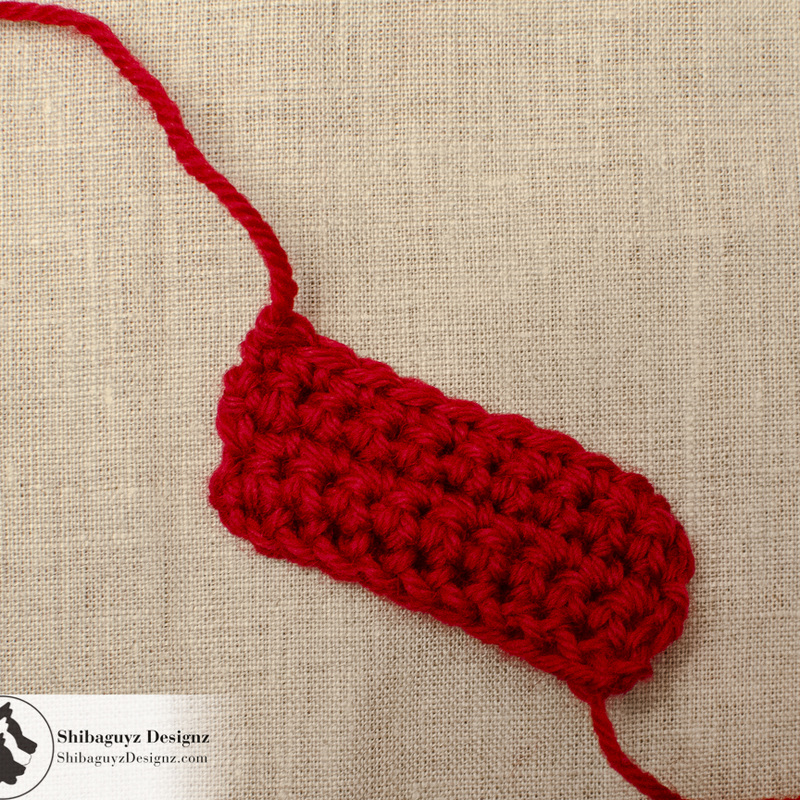
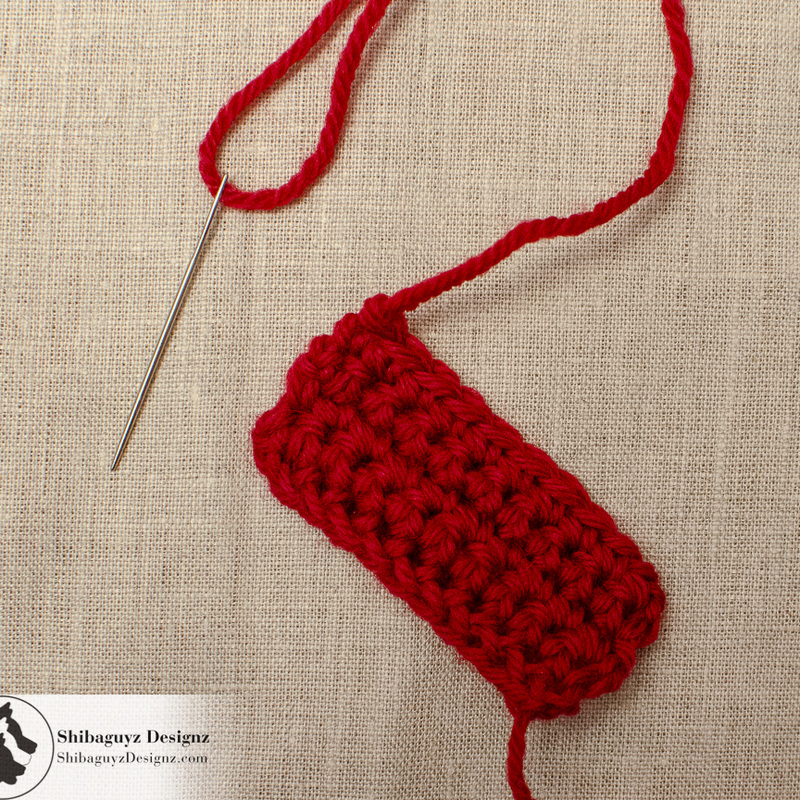
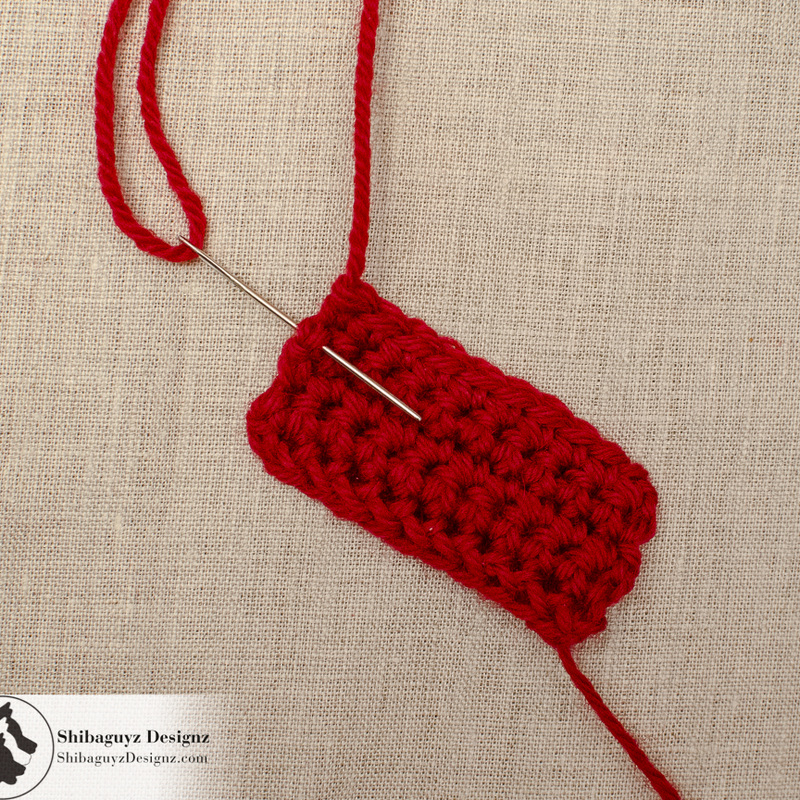
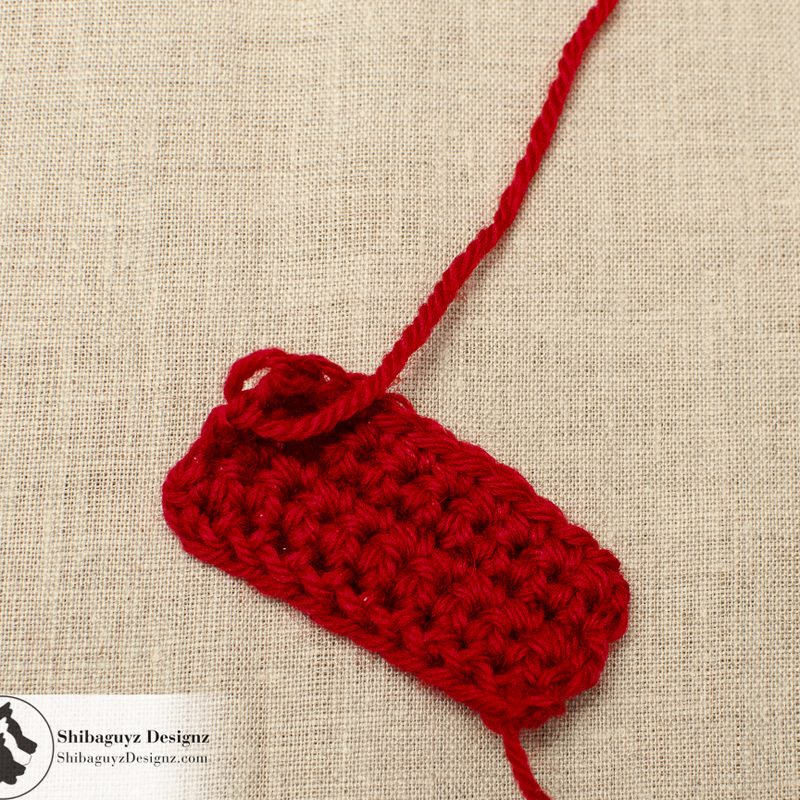
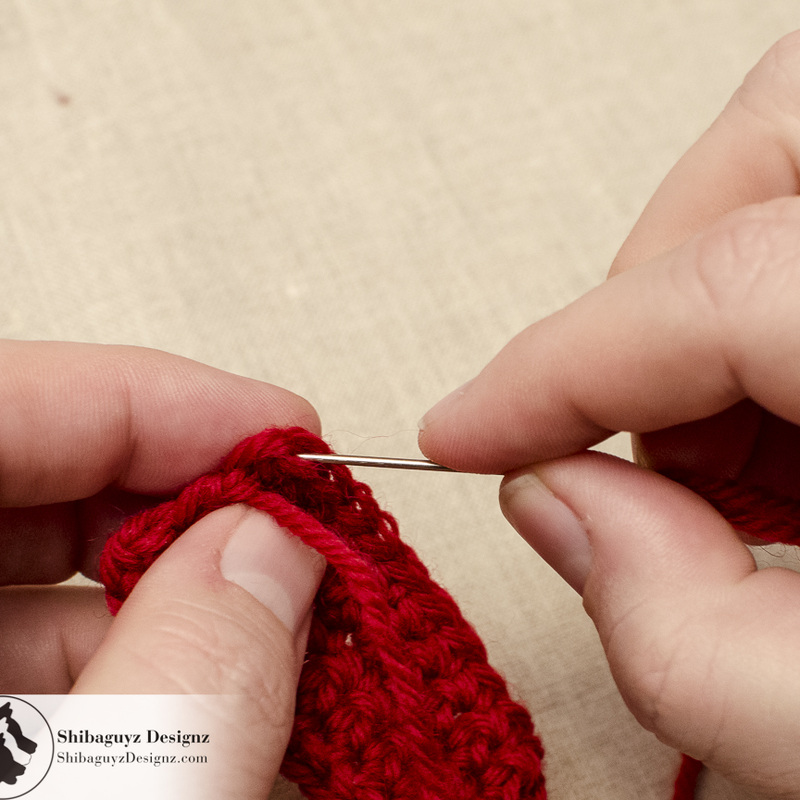
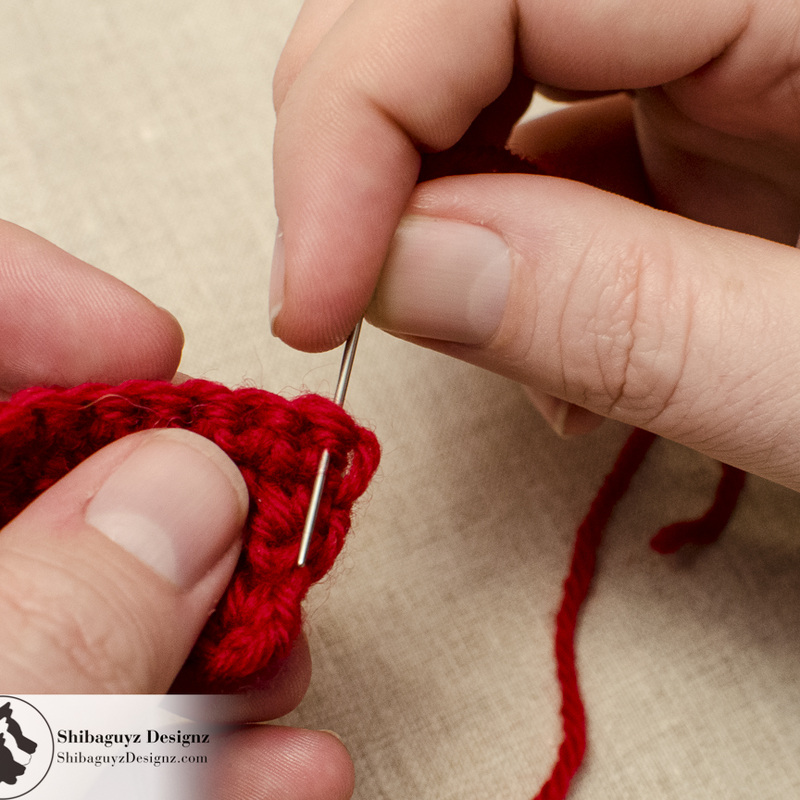
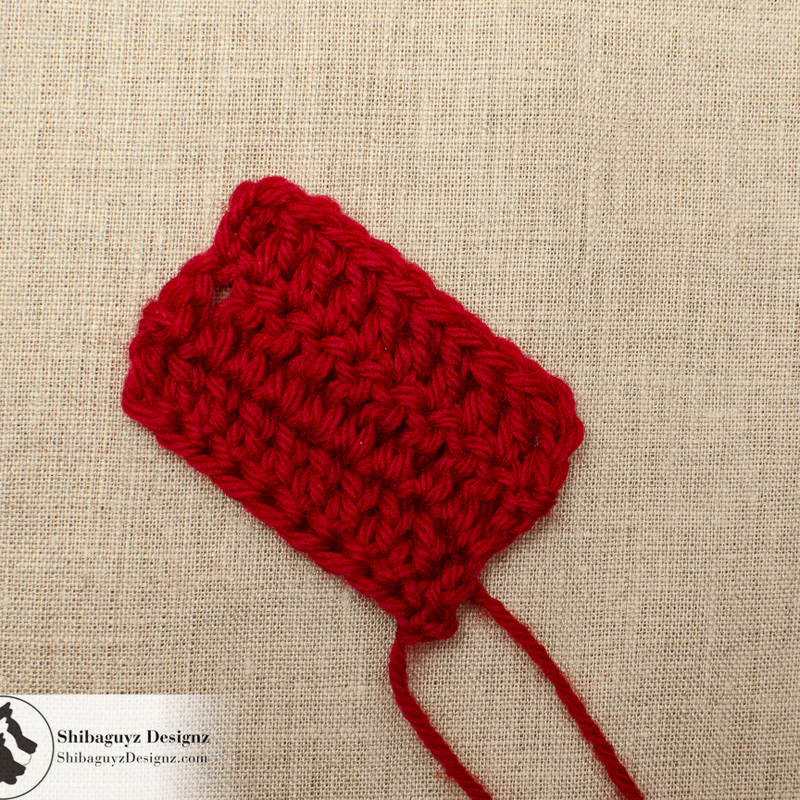
The End Cap Finishing Stitch is especially helpful when the end of your crochet row won't have a border or another piece of fabric stitched onto it and this last stitch will show as part of the finished project. The End Cap Finishing Stitch provides and neat and tidy end cap while weaving in the tail invisibly. Why use it? Because you are proud of your work and want every stitch to look as good as it possibly can. And, when a technique is this easy, who NOT use it? NOTE: The End Cap Finishing Stitch works equally well on the last stitch of a knitting row. The technique for knitting will be similar to the single crochet example we show below. Click the "Read More" link for the full tutorial. To Work Today's Tutorial Here's a list of materials we used to make today's End Cap Finishing Stitch tutorial. While you can, of course, use any materials you have on hand, these materials listed are what we recommend you use while you are learning. Yarn Used CYCA 4 Worsted Weight, 100% Pure Wool Hook Used H-8/5.00mm Crochet Hook Notions Yarn Needle Skillz Used We used three swatches for today's crochet tutorial. As is usually the case, we used foundation stitches to start our swatches. If you'd like to do the same, here are tutorials for each of those foundation stitches. Really, if you haven't tried these, you really should. Foundation Single Crochet (Fsc) – See our crochet tutorial by clicking here: How To Make The Foundation Single Crochet Stitch Foundation Half Double Crochet (Fhdc) – See our crochet tutorial by clicking here: How To Make The Foundation Half Double Crochet Stitch Foundation Double Crochet (Fdc) – See our crochet tutorial by clicking here: How To Make The Foundation Double Crochet Stitch While we are only showing the End Cap Finishing Stitch today, you will need to weave in the rest of the yarn tail. Our full tutorial for weaving in crochet ends is here: How To Weave In Crochet Yarn Tails Break It Down We're going to demonstrate this technique on three different stitches: Single Crochet (sc), Half Double Crochet (hdc), and Double Crochet (dc). NOTE: You can click on any of these photos to enlarge them. They won't open a new window or anything. Personally, I need to enlarge them to see all the details… it's easier than getting out a freakin' magnifying glass… (grumble grumble). How to Make The End Cap Finishing Stitch On A Single Crochet Stitch
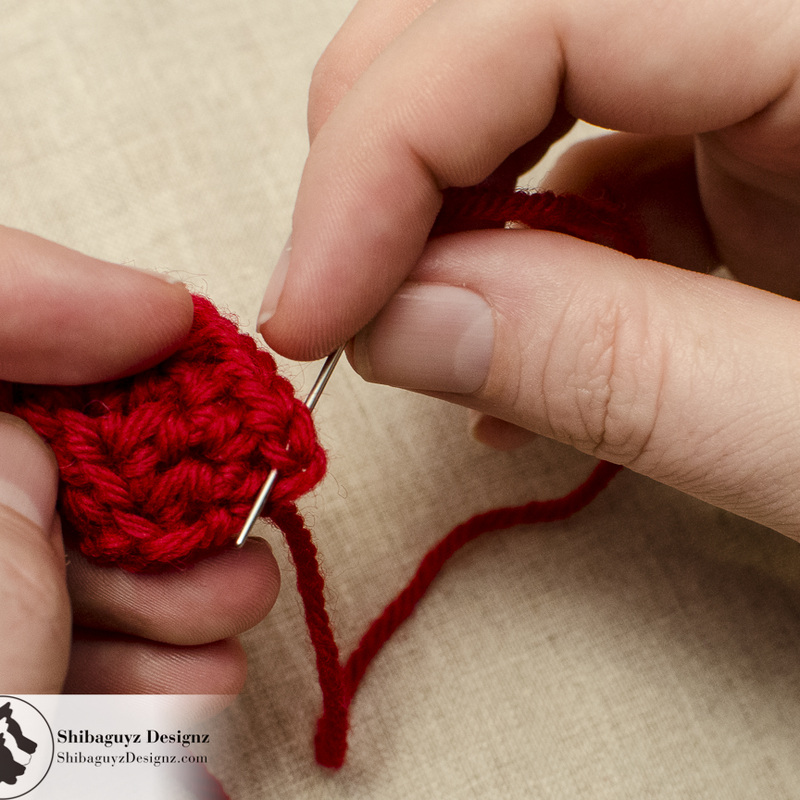
To help you visualize this stitch better, go back to the end of your single crochet row and make that last stitch, turn, chain 1, then make your first single crochet of the next row. Do this S-L-O-W-L-Y and you will see exactly where this little end stitch comes from. NOTE: When instructed to work in stitch 2 rows below, insert hook in indicated stitch in the row numbered 2 less than the row you are working. For example, if you are working Row 5, a stitch “2 row below" is in Row 5 – 2 = Row 3.
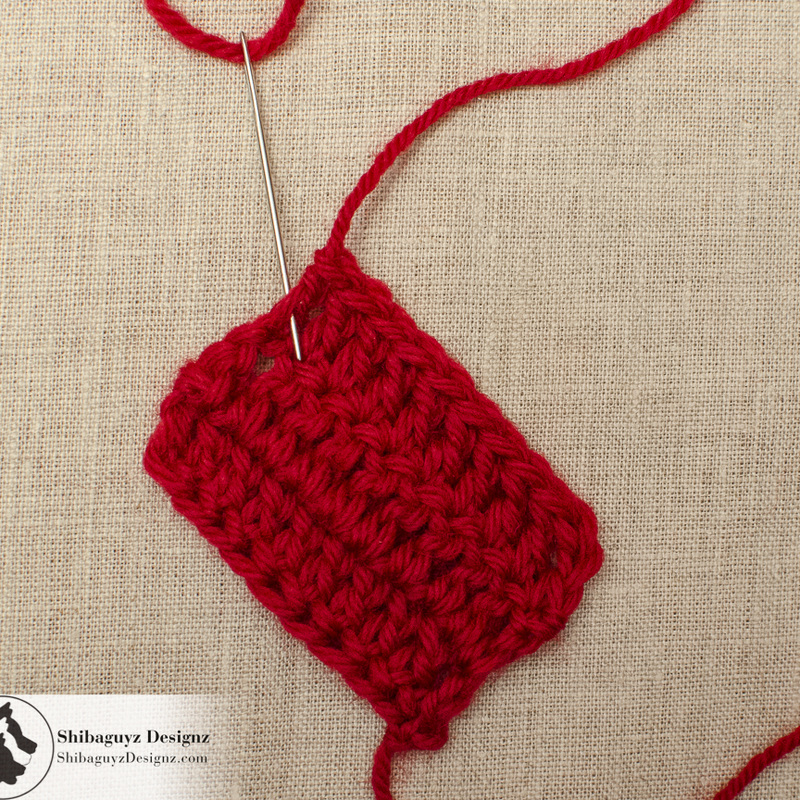
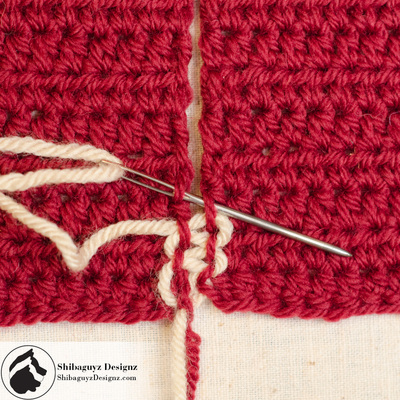
How to Make The End Cap Finishing Stitch On A Half Double Crochet Stitch Okay… now that we've done this once, the rest of these are going to be much easier. The only real difference is there you insert your needle first. Stitch on…
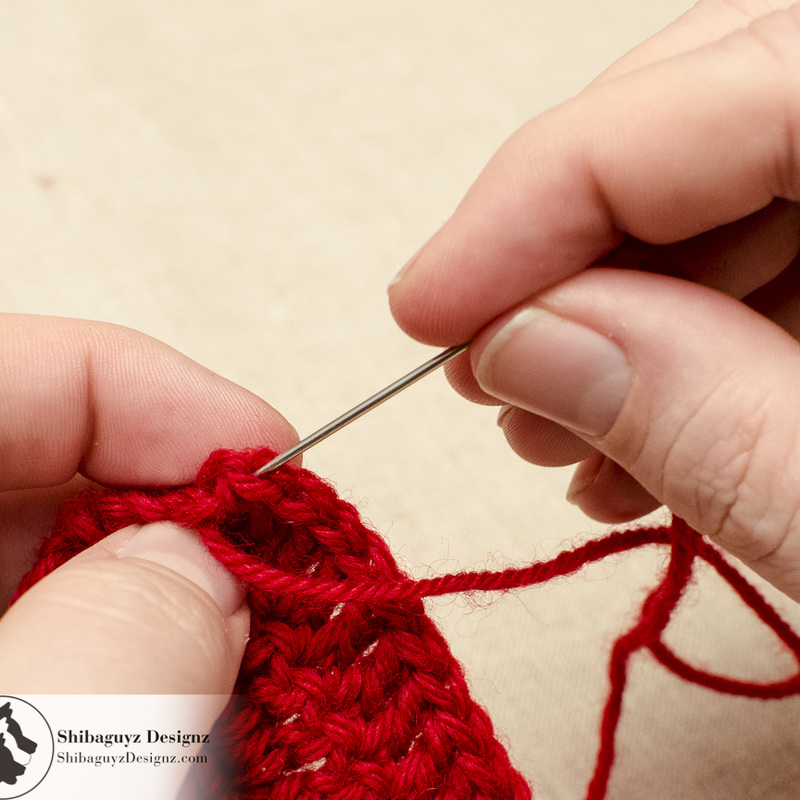
How to Make The End Cap Finishing Stitch On A Double Crochet Stitch
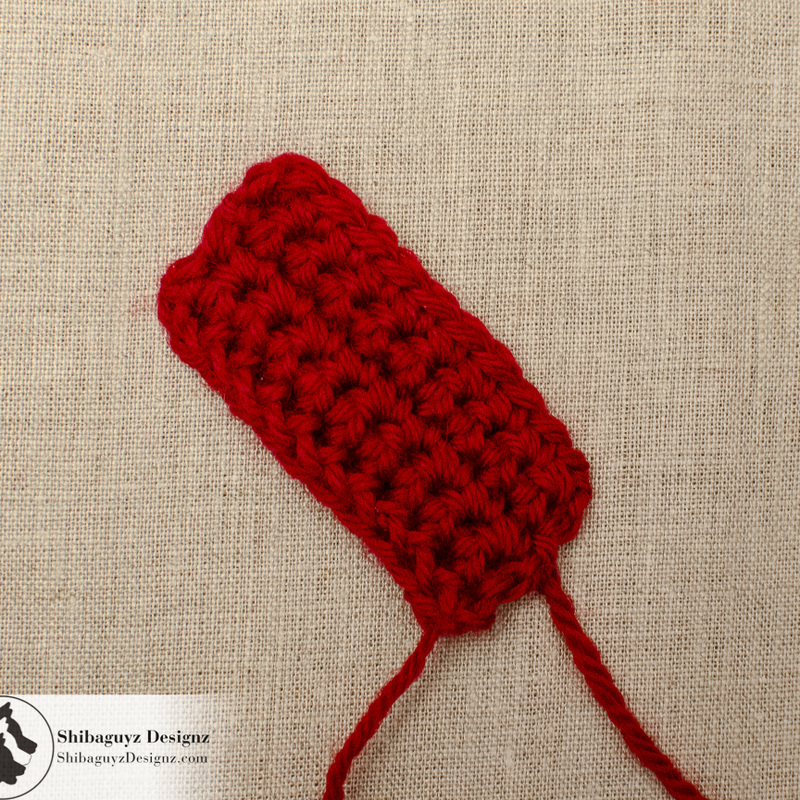
TAADAA!! A Final Word… or two… Despite how simple this technique is, that doesn't mean it is necessarily easy to do properly. As we all know, SIMPLE does not always equal EASY. Mmmhhmmm… we hear you all nodding. What makes this technique so easy is just doing it a few times. The key is to be mindful of the tension of the yarn as you make the End Cap Finishing Stitch so the resulting stitch blends in seamlessly with the rest of the fabric. Like we always say: With any new technique it takes a few times to get the muscles to coordinate so the result is flawless and effortless. That's okay… work the End Cap Finishing Stitch a few times. That's how we get better at what we do and how we make our already good crochet skills FAB! And… hey… if you aren't happy with your experiment rip it out and go again! You'll get it! Thanks for dropping by for another Technique Tuesday! Our goal is to build the skillz of our FAB fiber community here on the web and it's always great to hear from you all that what we are doing is helping you and your fiber friends. Check back weekly for our Technique Tuesday features and make sure you check us out on Facebook, Twitter, Pinterest. Those links are down there at the bottom of the post. We'd love to hear from you! Stitch On! S&J Oh hey… before you go… Here are a few more pages we thought you might be interested in. Click on any of the photos below… enjoy! And be sure to come look us up on Facebook, Twitter, and Pinterest by clicking on one of these icons.
0 Comments
Your comment will be posted after it is approved.
Leave a Reply. |
AuthorShannon and Jason Leave us a tip to help us do what we do!


Archives
May 2024
 

 Categories
All
     |


 RSS Feed
