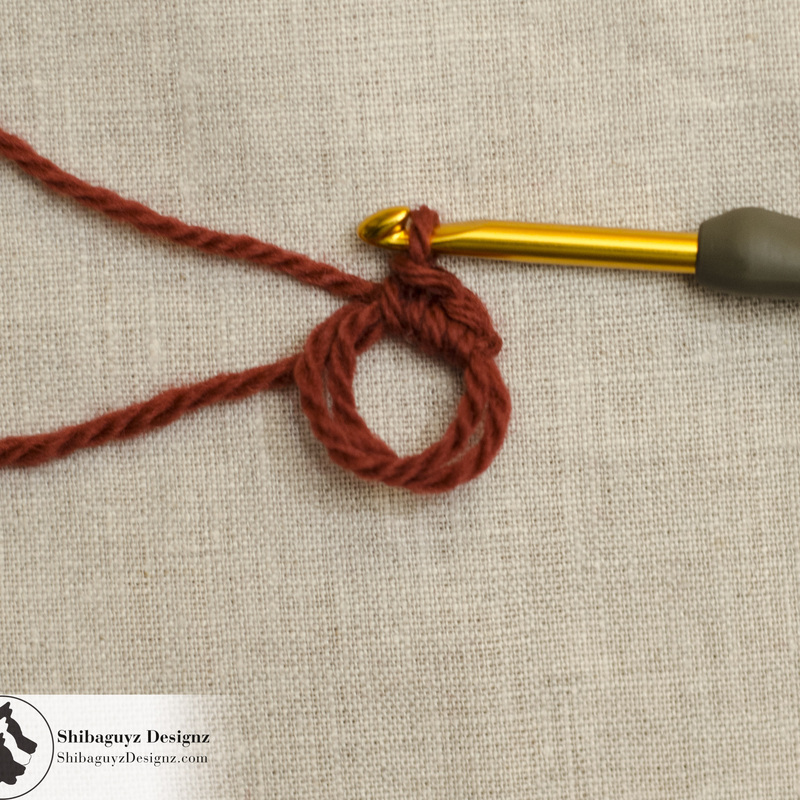
 How To Make the Adjustable Ring for Working Crochet In the Round Technique Adjustable Ring for Working Crochet In the Round
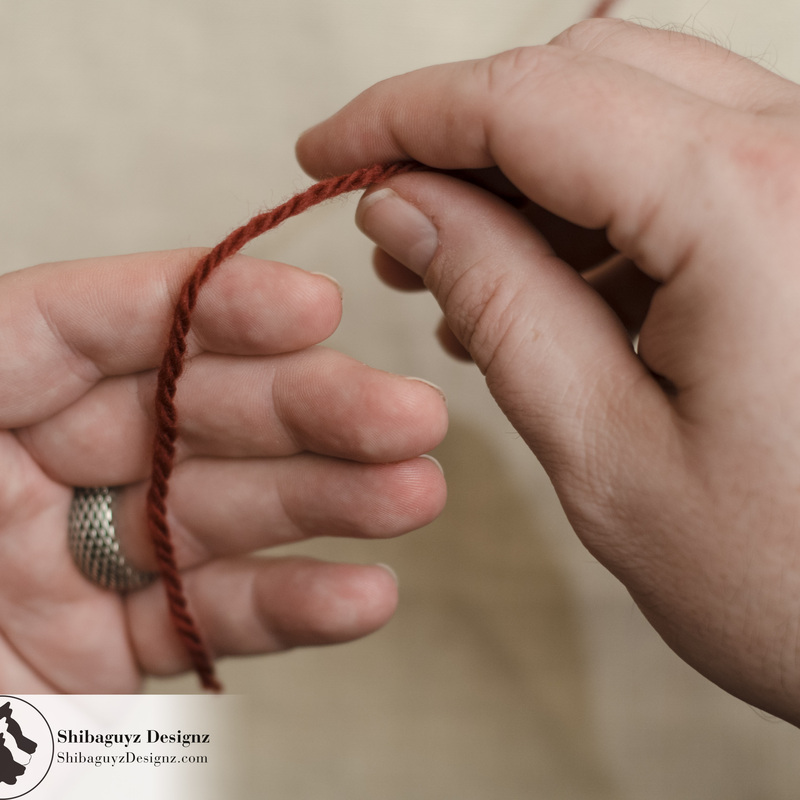
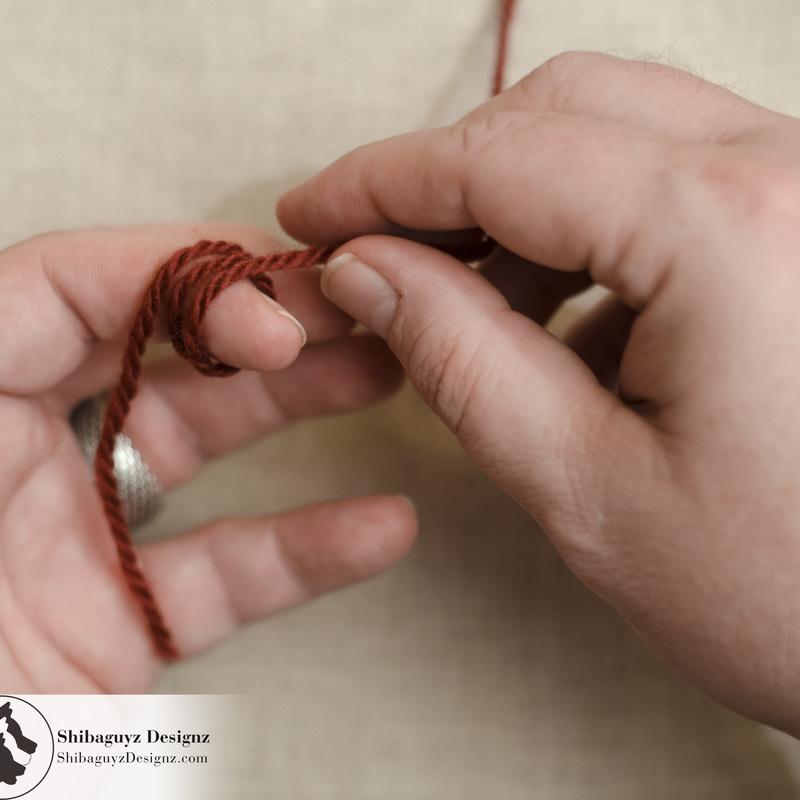
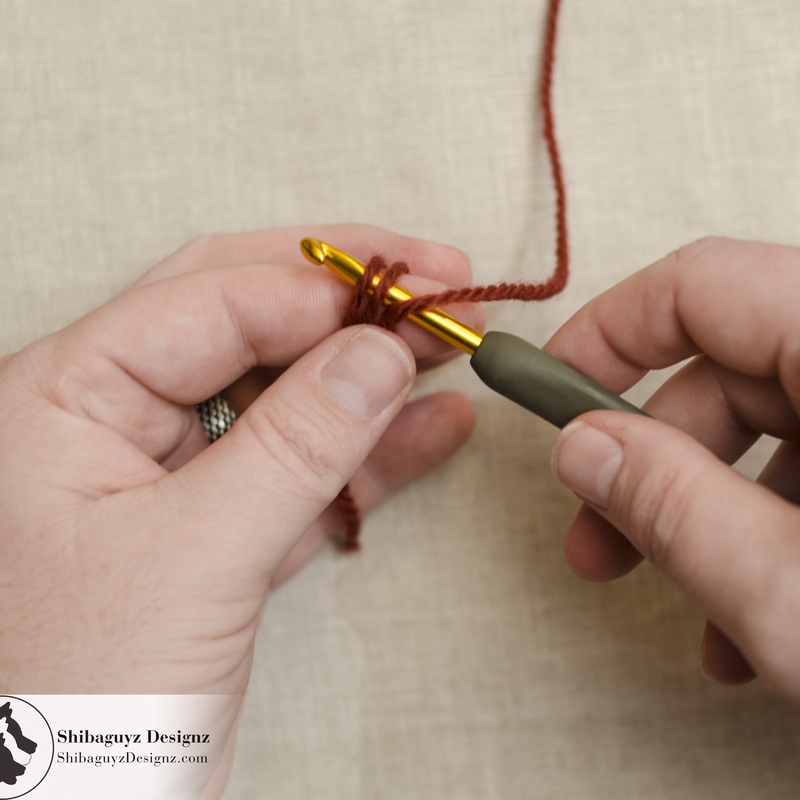
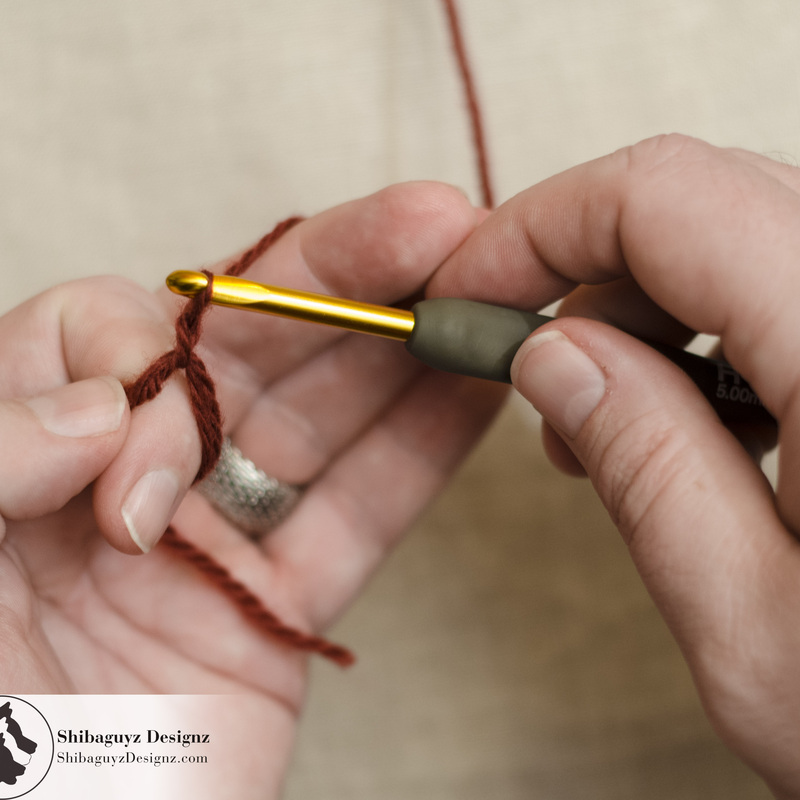
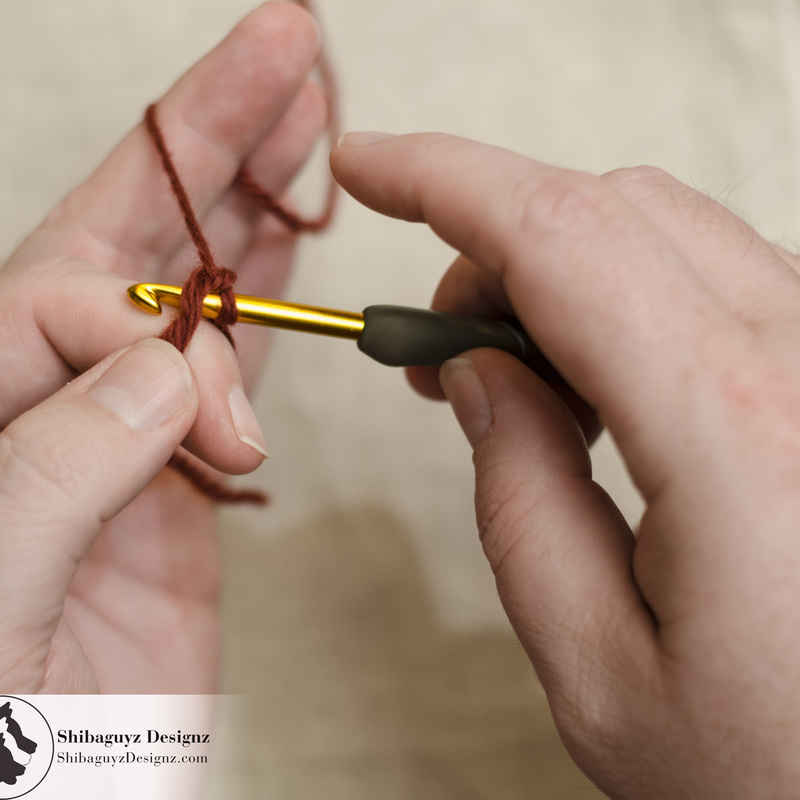
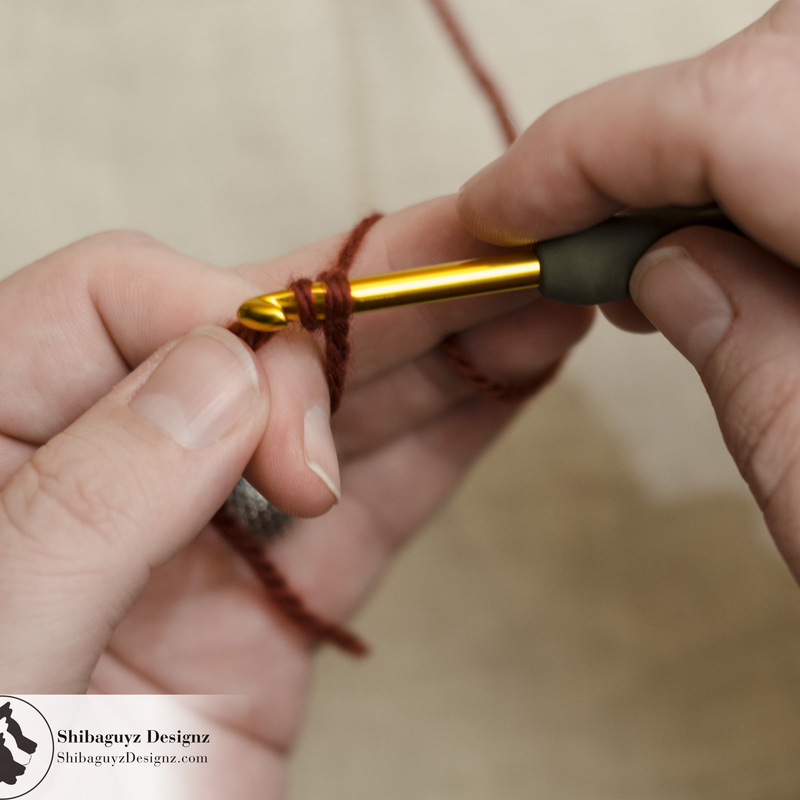
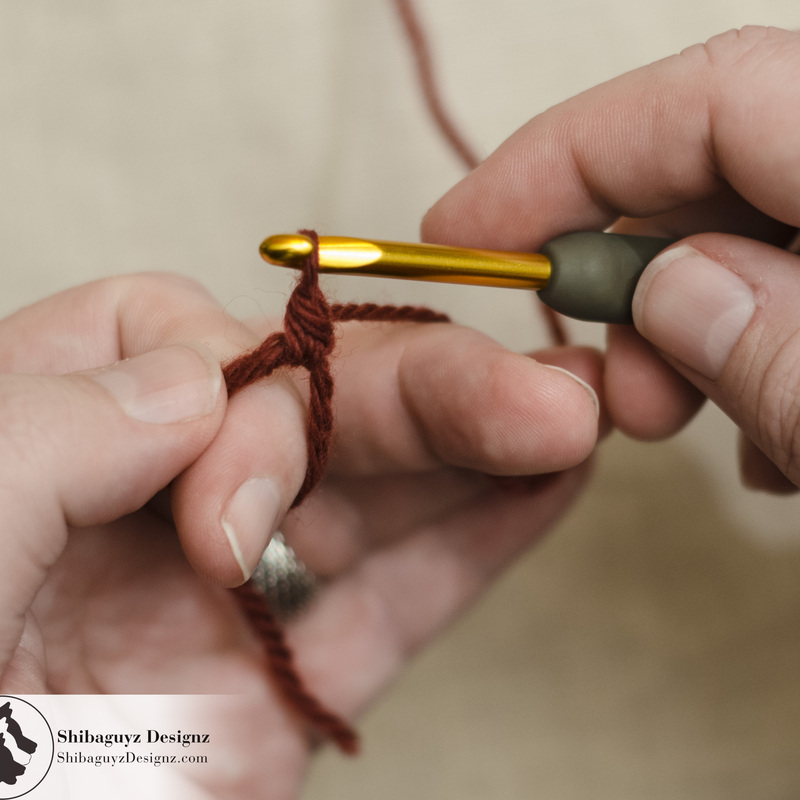
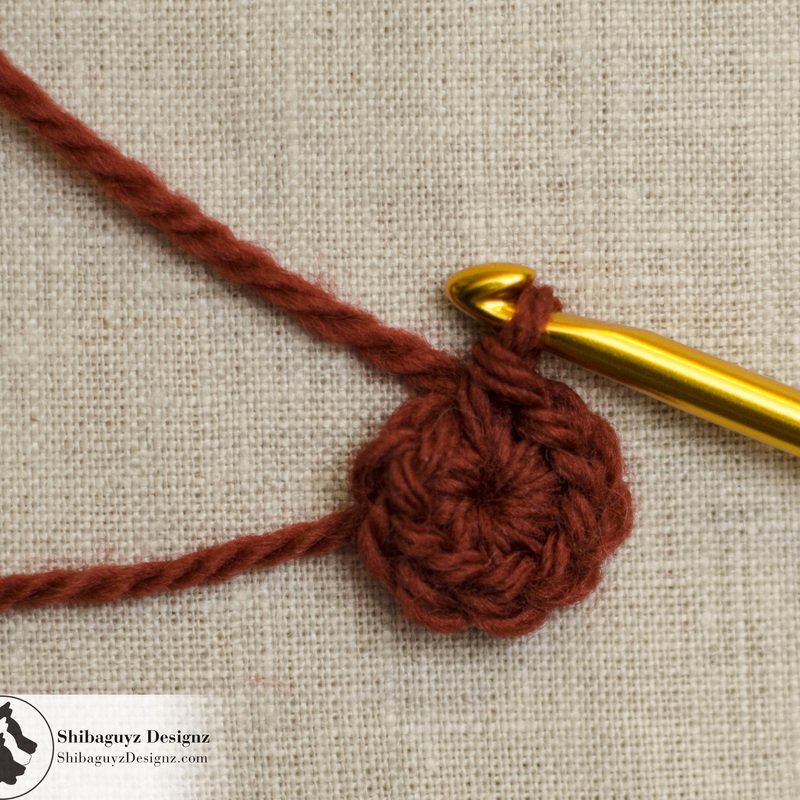
Click Read More below for the full tutorial. Why Use It? The Adjustable Ring technique for starting to crochet in the round is, of course, one of at least three common methods for starting to crochet in the round. In addition to the Adjustable Ring, there is a Slip Ring, and a Chain Ring. The advantage the Adjustable Ring holds over the other two techniques is the Adjustable Ring cuts down on your finishing time when you get to that step that says "Weave in all ends." So I guess you could say that, while there are three rings, there's really only One Ring to Rule Them All! Yup… couldn't resist it any longer… it had to be done. By working your first round of stitches over the loops of the Adjustable Ring, the Tail is pre-woven in and all you need to do is snip off the excess length of Tail. This comes in particularly handy when you have an entire garment made of motifs and are facing down 40 or 50 Tails that need woven in. And don't get us started on that kind size motif afghan you just crocheted with 230 tiny motifs… ALL THOSE TAILS!! If you use the Adjustable Ring technique for starting your motifs… you won't feel like you need to enter therapy just to face all that finishing work. NOTE: While we don't advocate the "quick and easy" approach to hand crafted items like crochet or knitted pieces, if we can save a step by utilizing a simple technique like the Adjustable Ring, you can bet yer sweet bippy we're gonna us it! The Adjustable Ring is a perfect technique for working the first round of top down hats, the toes of socks or slippers, mittens made from the fingers to the wrist, the bottom of market bags… anyplace you want a secure, tight first round, this is a FAB technique to use. To Work Today's Tutorial Here's a list of materials we used to make today's Adjustable Ring tutorial. While you can, of course, use any materials you have on hand, these materials listed are what we recommend you use while you are learning. Yarn Used CYCA 4 Worsted Weight, 100% Pure Wool Hook Used H-8/5.00mm Crochet Hook Skillz Used Adjustable Ring Single Crochet Break It Down
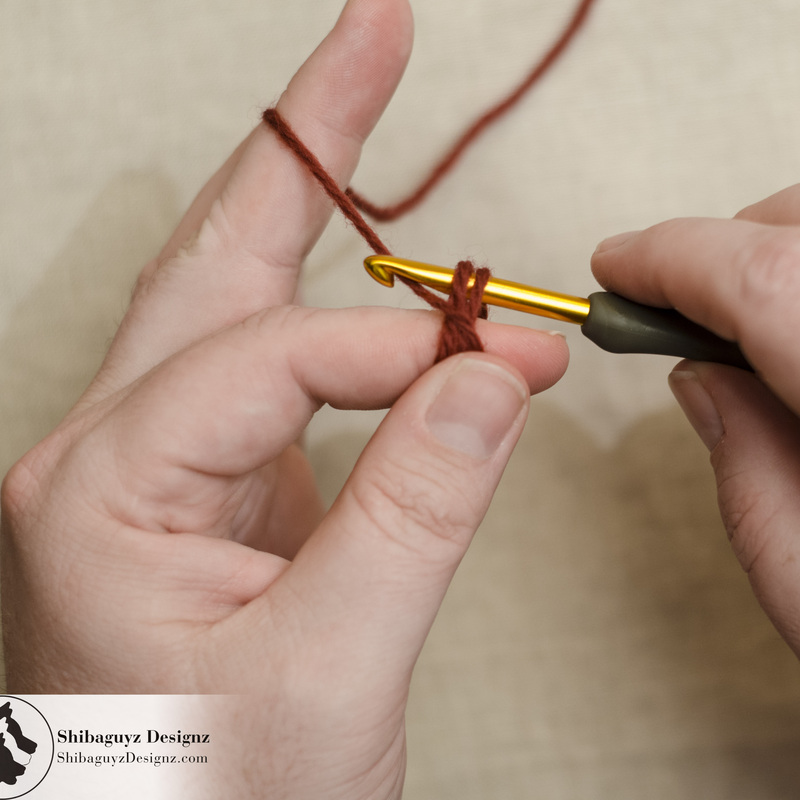
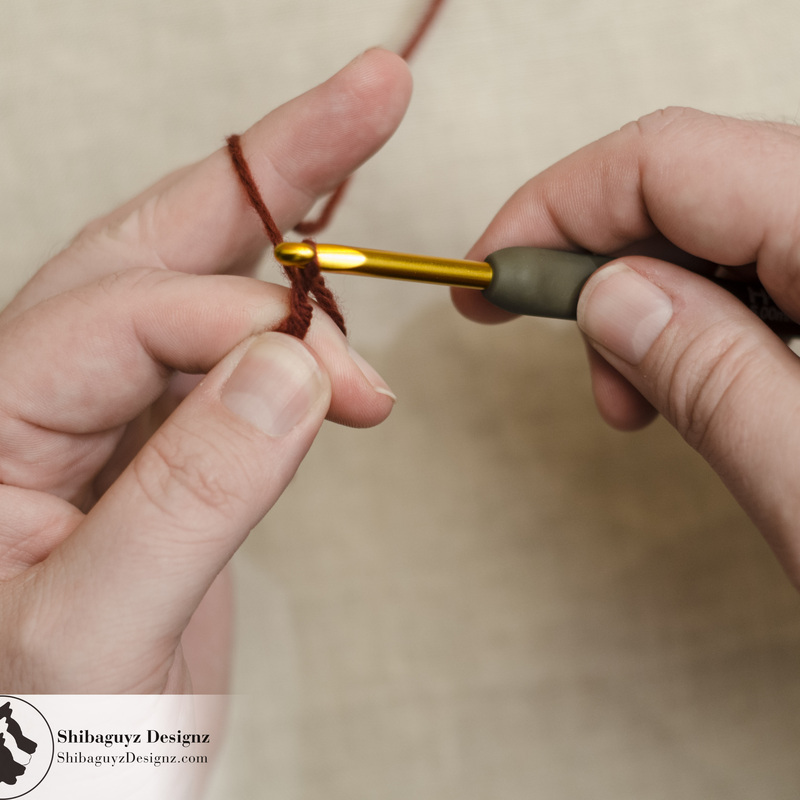
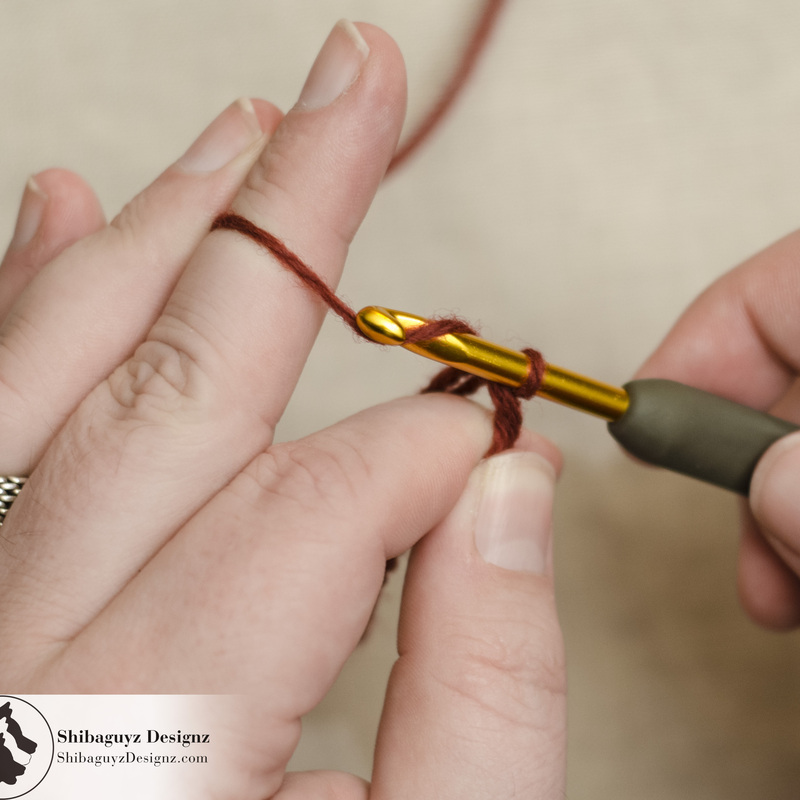
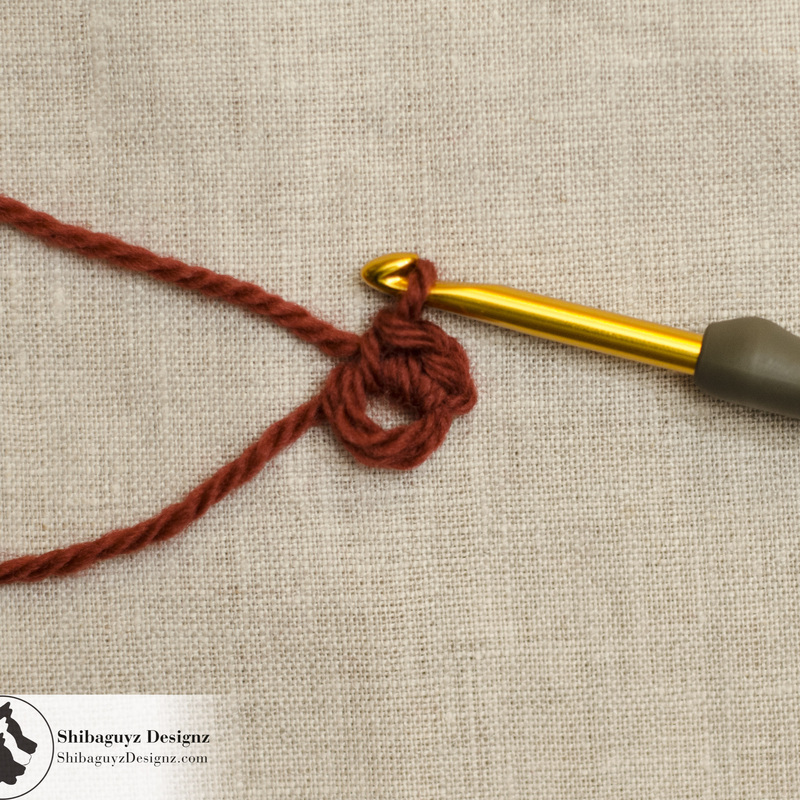
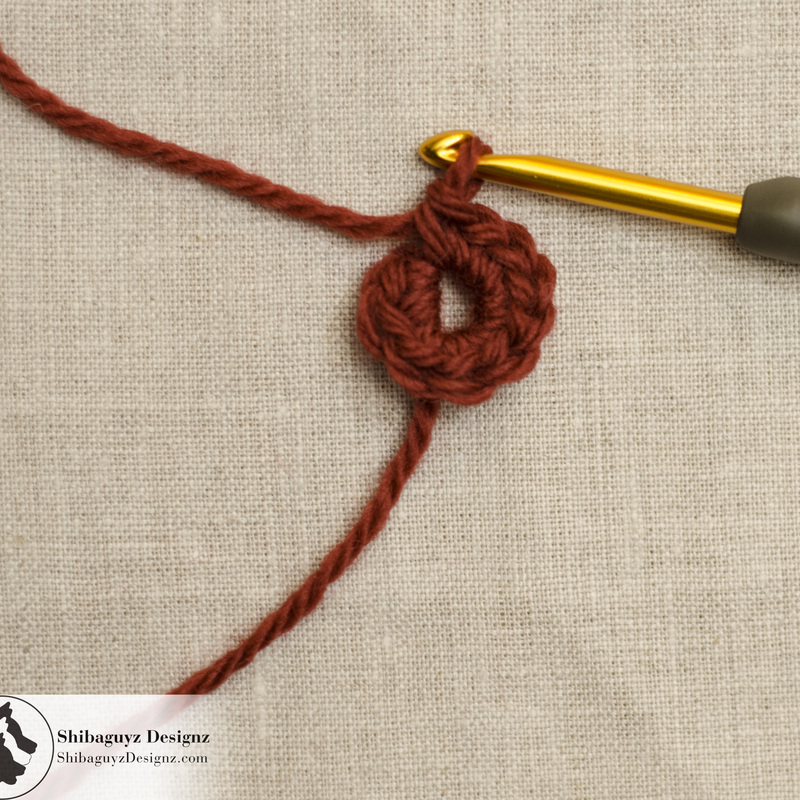
Side Note Wait… why do any of this fiddling?? Why not just wait until the end of the round to pull the Tail and close up the Adjustable Ring? Good question… When we were working with different yarns and working different stitches into the loops of the Adjustable Ring, we discovered there were times when we could wait until ALL of our stitches were worked THEN tighten the ring with the Tail. On the other hand, we found there were times when waiting until ALL of the stitches were worked into the ring THEN pulling on the Tail to snug the ring up caused a big ol' jam up and that second ring just wouldn't tighten up neat and tidy. The result was a bunch up of yarn that stuck out between the stitches of the tightened ring… it looked messy and sloppy and we just weren't happy with it. Now… that said… If you are going to leave the center of your Adjustable Ring open slightly (as some motifs call for), you might be just fine waiting until the end of your round to tighten the Tail. However, even then, we found this little fiddly bit of making the loops of the Adjustable Ring slightly smaller before we proceeded gave us better results in the end. Also, if we were working with a slick yarn that pulled easily through the first round of stitches, we were able to wait until the end of that first round to close the loops of the Adjustable Ring. Like we always say, experiment with different yarns and different stitches to see what gives you which results. In the case of this tutorial, we are using 100% wool and the fibers stick together rather than slide easily past each other. Adjusting the loops of the Adjustable Ring early on gave us better results. Okay… on to the next step…
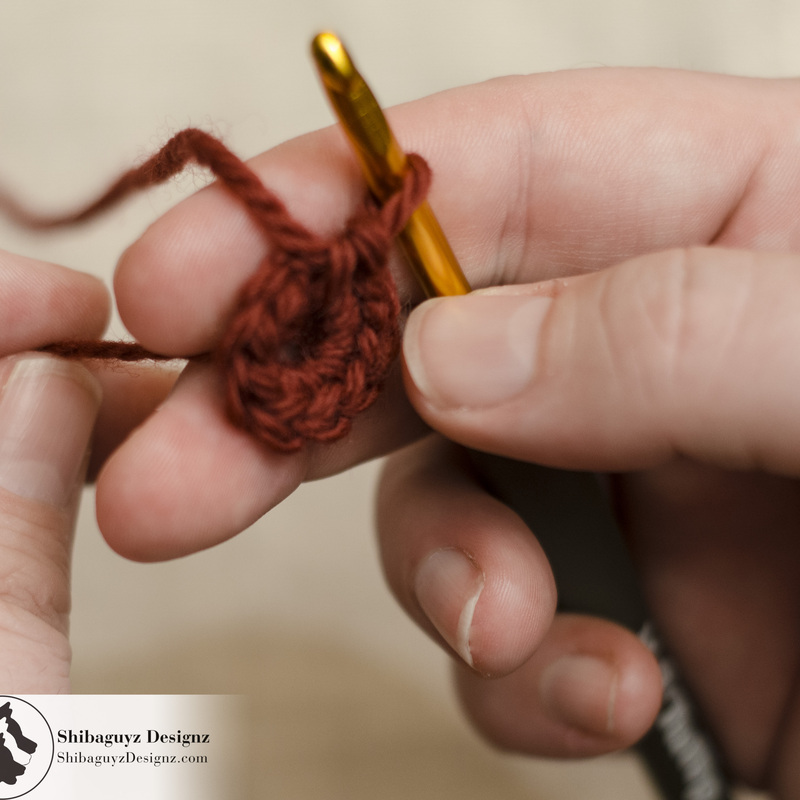
TAADAA!! (Because life needs more fanfares…) A Few Final Words Like we said earlier, there are parts of the Adjustable Ring technique that are, at first, a bit fiddly and can take a little practice to master and execute smoothly. As a matter of fact, this is a major component to a few of our classes and it usually takes folks a while before they feel confident about producing a neat and tidy first round with their Adjustable Ring. Be patient, practice, and compare your work with the photos in this tutorial. You will get it and be using the Adjustable Ring when you work your next crochet project in the round in no time! And… hey… if you aren't happy rip it out and go again! You'll get it! Also, do experiment with different yarn weights, with yarns spun differently, different stitches, and with different hook sizes. You will definitely find that different yarns and different crochet stitches in your first round will make the Adjustable part of the Adjustable Ring more or less easy to execute. Thanks for dropping by for another Technique Tuesday! Our aim is to build the skillz of our FAB fiber community here on the web and it's always FAB to hear from you all that what we are doing is helping you and your fiber friends. Check back often or, better yet, click on that RSS Feed button over there in the right-hand column of the page you are on right now. That way you will always be up to date and never miss a thing! Stitch On! S&J Oh hey… before you go… Here are a few more pages we thought you might be interested in. Click on any of the photos below… enjoy! Come look us up on Facebook, Twitter, and Pinterest by clicking on one of these icons.
1 Comment
Loreal
10/9/2015 08:44:34 am
I love you, truly I do. Thanks so much for this thorough tutorial. Your comment will be posted after it is approved.
Leave a Reply. |
AuthorShannon and Jason Leave us a tip to help us do what we do!


Archives
May 2024
 

 Categories
All
     |

 RSS Feed
