

Sashiko Fundamentals and Beyond Digital Workshop
What started centuries ago as a practical way to mend and reinforce fabric has evolved into a stunning art form that turns everyday textiles into statement pieces. Whether you're looking to rescue your favorite worn-out jeans, add intricate patterns to your next quilt, or simply want to master a meditative hand-stitching technique that's equal parts zen and impressive, this course has you covered. We'll take you from "what's a grid?" to confidently stitching iconic Japanese patterns that'll make people stop and stare in awe. No prior experience needed! Bring your curiosity, a willingness to embrace imperfection (it's kind of our thing), and maybe a pile of clothes that could use some serious glow-up energy.
Let's practice a textile art that tells a story.
-
Chapter 1
-
Lesson 1: The Tools
Get the inside scoop on everything you need to start stitching sashiko like a pro. We'll walk you through choosing the right needles, ring thimble, marking tools, and thread options.
-
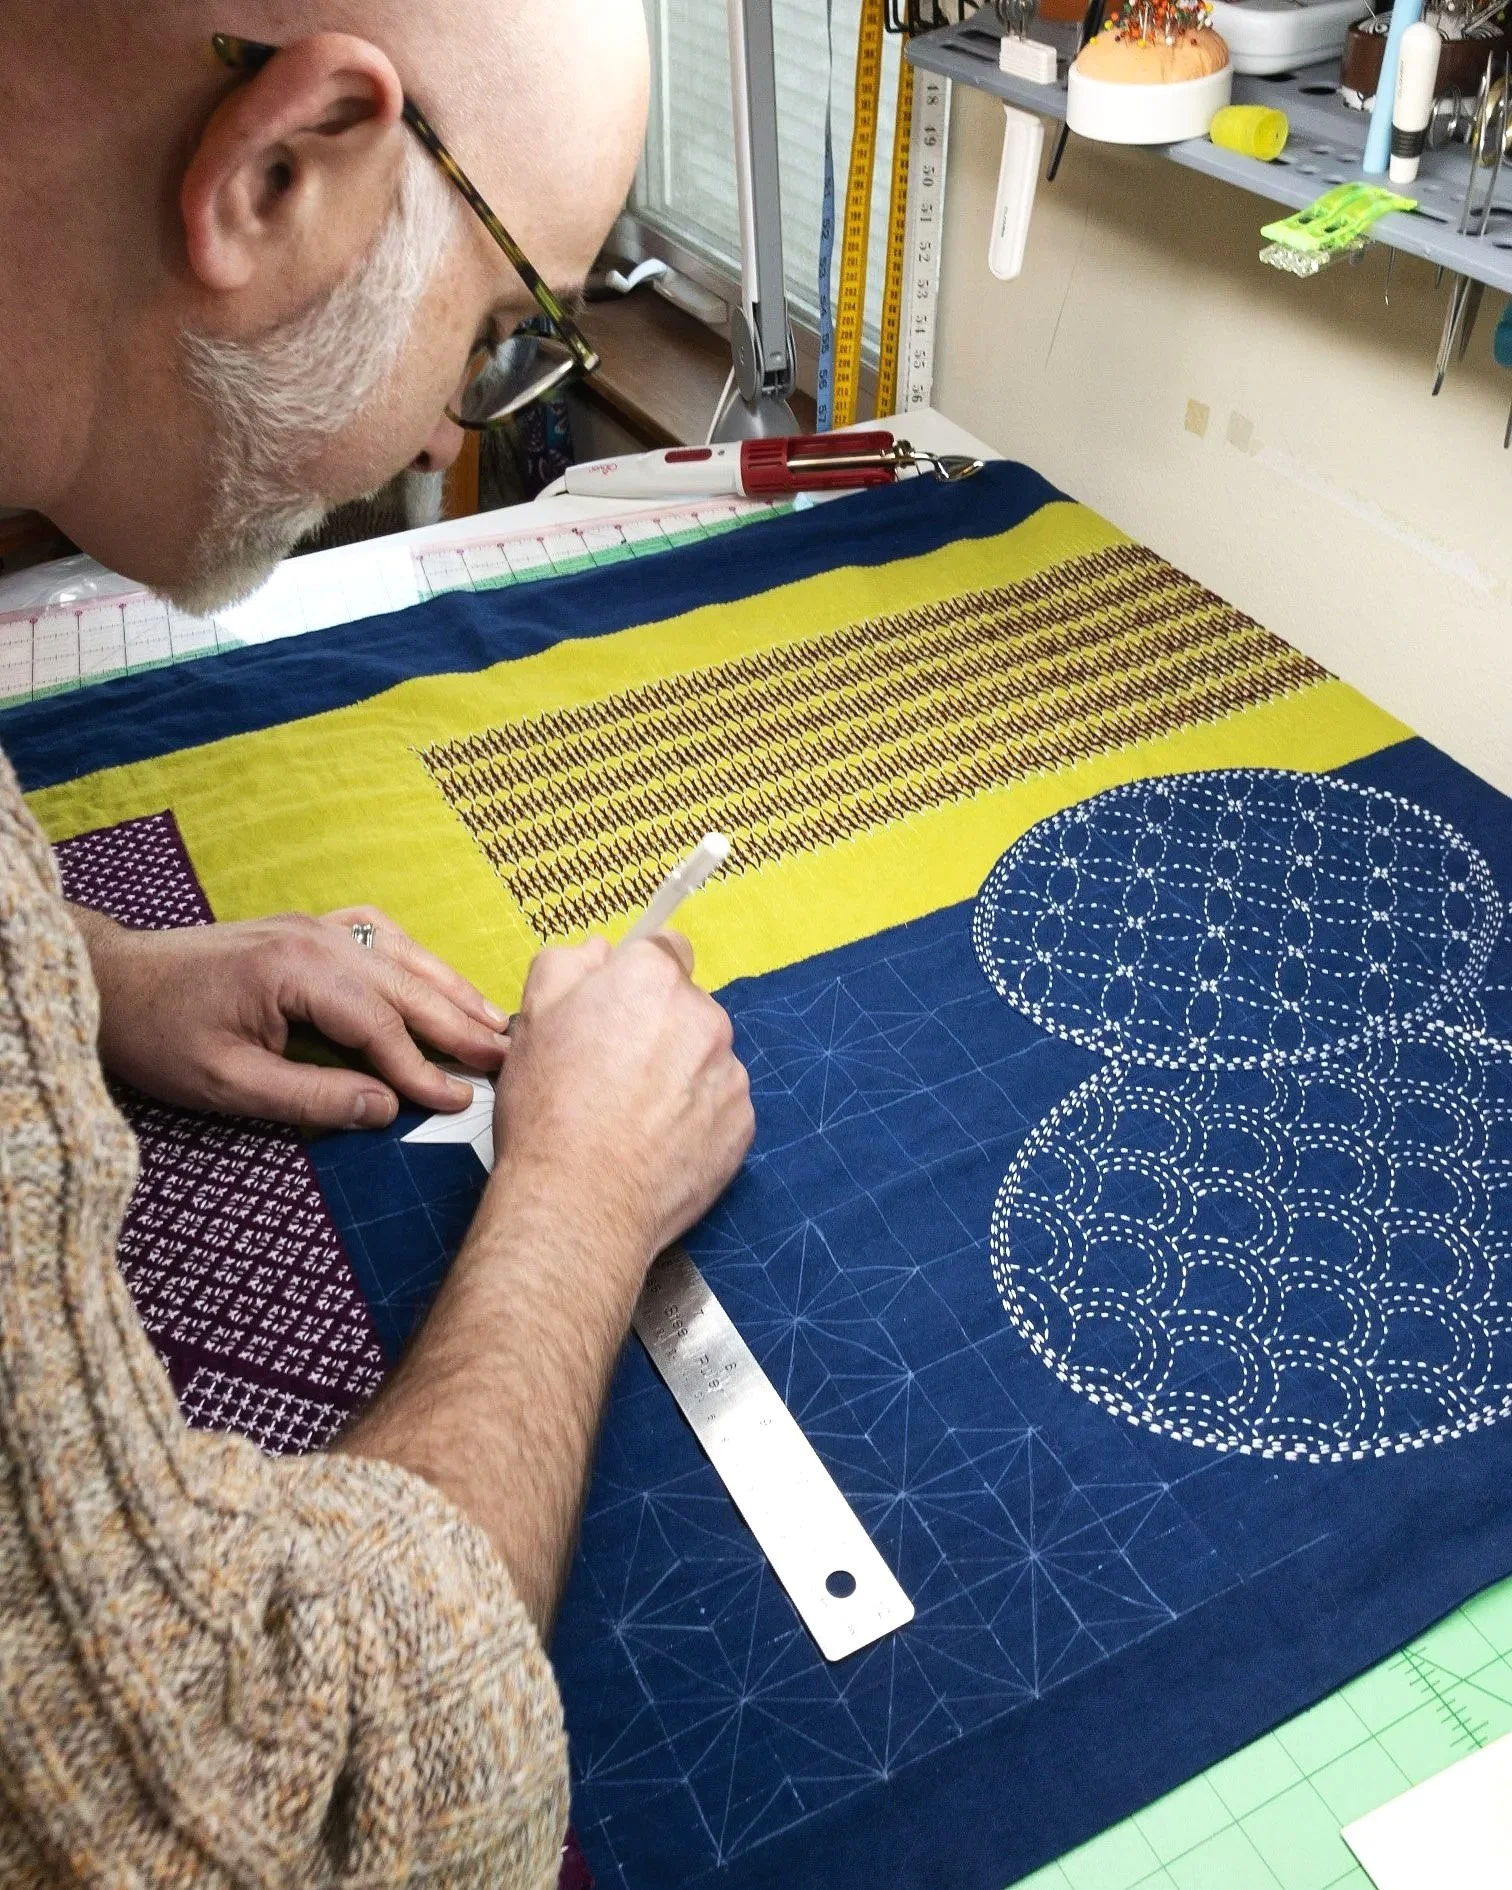
Drawing Grids
The secret to clean, professional-looking sashiko? It all starts with accurate grid work. We'll teach you how to read the charts in our book to determine exactly which grid you need, and show you real examples so you can see how grid size dramatically affects the final look of your stitching.
-
Threading the Needle
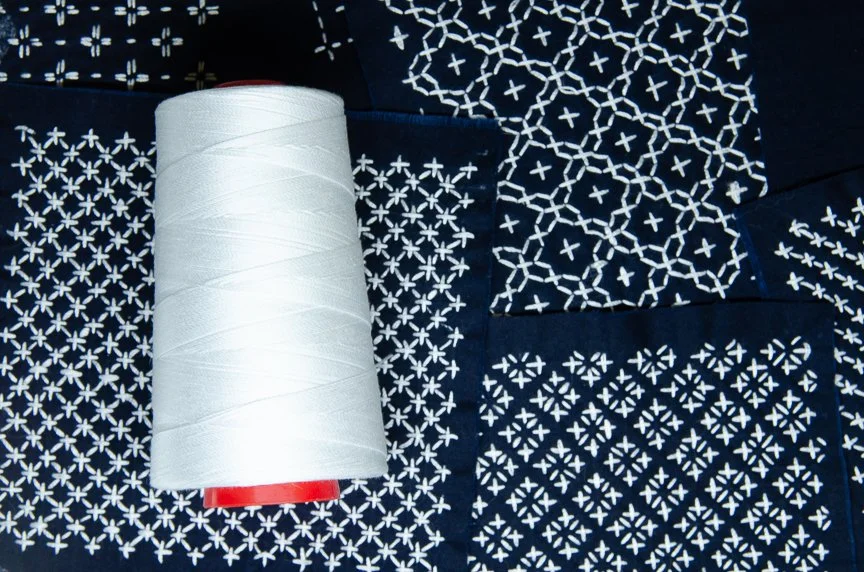
We'll show you how to measure out the right amount, and teach you the critical step that trips up beginners: threading the loop end through the needle, not one of the cut ends. Yes, we're going to make you replay that part! We'll also demonstrate how to tie a needle knot at the tail—a technique that creates a nice secure knot to keep your thread from pulling through the fabric.
-
Unshin or Handling the Needle
Unshin is a Japanese term meaning "handling of the needle". In this section we'll teach you the proper three-point brace that keeps your needle secure in the palm thimble while you work. Learn the distinctive sashiko running stitch motion: you're not stabbing or pulling, you're hand-tensioning the fabric and loading it onto the needle with a subtle rocking motion.
-
Starting and Ending with and Without Knots
-
-
Chapter 2: Basic Hitomezashi
-
Lesson 1: Reading Hitomezashi Charts
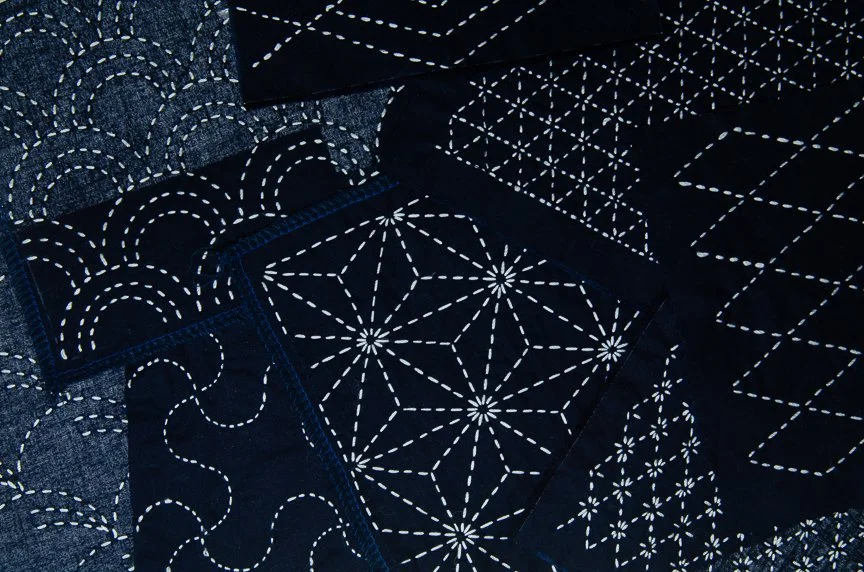
Decode those stitch charts! Learn how blue lines show your grid and black lines show stitches on fabric. Master the working order: horizontals first, verticals second, then diagonals both ways. Discover how one change creates totally different patterns—offset crosses, rice stitch, or iconic persimmon flower. Understand "stacked" vs "offset" rows and why basic "over one, under one" stitching creates endless variations.
-
Lesson 2: Stitching Hitomezashi Sashiko
Introduce your lesson with an optional, short summary. You can edit this excerpt in lesson settings.
-
-
Chapter 3: Basic Moyouzashi
-
Lesson 1: Reading Moyouzashi Patterns
Moyouzashi follows different rules: rectangular 1:2 grids (or square 1:1 for some patterns) and point-to-point stitching with consistent stitch counts. No "over one, under one"—instead, maintain your chosen count (5 or 7 stitches) from point A to point B. Learn to identify grid types, determine logical stitch order, and master foundational diamonds before progressing to woven bamboo and complex curves.
-
Lesson 2: Stitching Moyouzashi Sashiko
Master curves with key techniques: shared center stitches worked straight up/down, matching placement across rows, perpendicular stitches on curves, nearly horizontal top stitches. Use curve templates with hash marks for accuracy. Learn specific working orders for ocean waves, flowing grasses, and iconic shippo tsunagi. Never stitch through the same hole, tiny negative spaces create perfect-looking corners while protecting fabric.
-
Lesson 3: Modern Moyouzashi Lines
Use moyouzashi running stitch for boro patchwork and creative freedom. Secure patches with offset "brick-stacking" lines that overlap slightly—no appliqué needed, edges stay fray-resistant for years. Traditional rules relax: stitches can cross for functional work. Use household objects as curve templates. Perfect for pictorial work—cranes, fans, chrysanthemums, abstract art. Draw guidelines or work freehand!
-
-
Chapter 4: Advanced Sashiko
-
Lesson 1: Isometric Hitomezashi Sashiko
Master triangle-based grids that create stunning basket-weave patterns. Learn the minimal-line drawing trick: "up one on sides, over two on top/bottom" for diagonals, then add verticals to form hexagons. Stitch in order: horizontal offset rows (skip every other!), then diagonal fills both directions. Keep stitches slightly short of lines—negative space creates mesmerizing spirals within the weave. Perfect reversible patch stitch!
-
Lesson 2: Moyouzashi Isometric Grids
Transform square grids into triangular isometric grids using corner-to-corner diagonals. Master "draw two, skip two" rhythm for armor plates and geometric patterns. All lines span exactly two triangles. Alternate stacked and offset rows. Pro tip: Draw every line before stitching—don't work from memory! Practice on isometric grid paper. Scale up for gorgeous quilting or down for intricate detail work.
-
What you’ll learn

-
Learn how to choose the right needles, thread and thimble for stitching sashiko easily and quickly.
-
One-stitch sashiko, including drawing grids, handling the needle, and tips for reading stitch patterns.
-
Flowing lines and curves of moyouzashi sashiko. Learn to draw these patterns, and the basic rules to follow when stitching.
Course FAQ
-
A: Nope! We designed this course for complete beginners. If you can thread a needle (or are willing to learn), you're qualified. We'll walk you through everything from choosing your first supplies to mastering those iconic patterns. Whether you've never picked up a needle or you've been stitching for years, you'll find something valuable here.
-
A: The beauty of sashiko is its simplicity! You'll need sashiko needles, sashiko thread, fabric, and a marking tool. We'll give you detailed guidance on choosing the right tools in the course, including our favorite brands and where to find them. You don't need to break the bank—basic supplies are surprisingly affordable and readily available online, like our sashiko kits…
-
A: Forever! Seriously. You get lifetime access to all the videos and course handouts, so you can learn at your own pace and come back whenever you need a refresher. Binge it all in a weekend or take your time over months—it's entirely up to you. And if you get stuck or have questions down the road, we're always here to help.
-
A: Honestly? Almost anything! Sashiko is incredibly versatile. Use it to mend and reinforce clothing (hello, visible mending trend), add stunning decorative elements to quilts, embellish bags and accessories, create wall art, or breathe new life into tired textiles. Once you learn to read the stitch charts and master the foundational techniques, you'll be able to apply sashiko to whatever wild and wonderful projects your creative brain dreams up.