

Flower of Life Furoshiki Workshop
Create your own heirloom-quality Flower of Life Furoshiki, a beautiful, reusable Japanese wrapping cloth. With this course you will master the fundamentals of sashiko stitching and gain the confidence to apply these skills to all your future projects. More than just a finished item, you will possess a functional piece of art steeped in tradition and symbolism, ready to be used as elegant gift wrap, a carrying bag, or a unique piece of home décor.
-
-
-
Lesson 1 Fabric Setup
Part One is the essential foundation for your Flower of Life Furoshiki. You'll learn the precise art of marking the design onto your 26-inch fabric square. We guide you through drawing the center lines, border squares, and the quarter-inch grid needed for the intricate corner design. This ensures perfect alignment for your sashiko stitching. You'll finish by setting up the first rows of offset running stitches, giving you the perfect start to this traditional technique.
Part One is the essential foundation for your Flower of Life Furoshiki. You'll learn the precise art of marking the design onto your 26-inch fabric square. We guide you through drawing the center lines, border squares, and the quarter-inch grid needed for the intricate corner design. This ensures perfect alignment for your sashiko stitching. You'll finish by setting up the first rows of offset running stitches, giving you the perfect start to this traditional technique.
-
Lesson 2 Drawing The Flower of Life
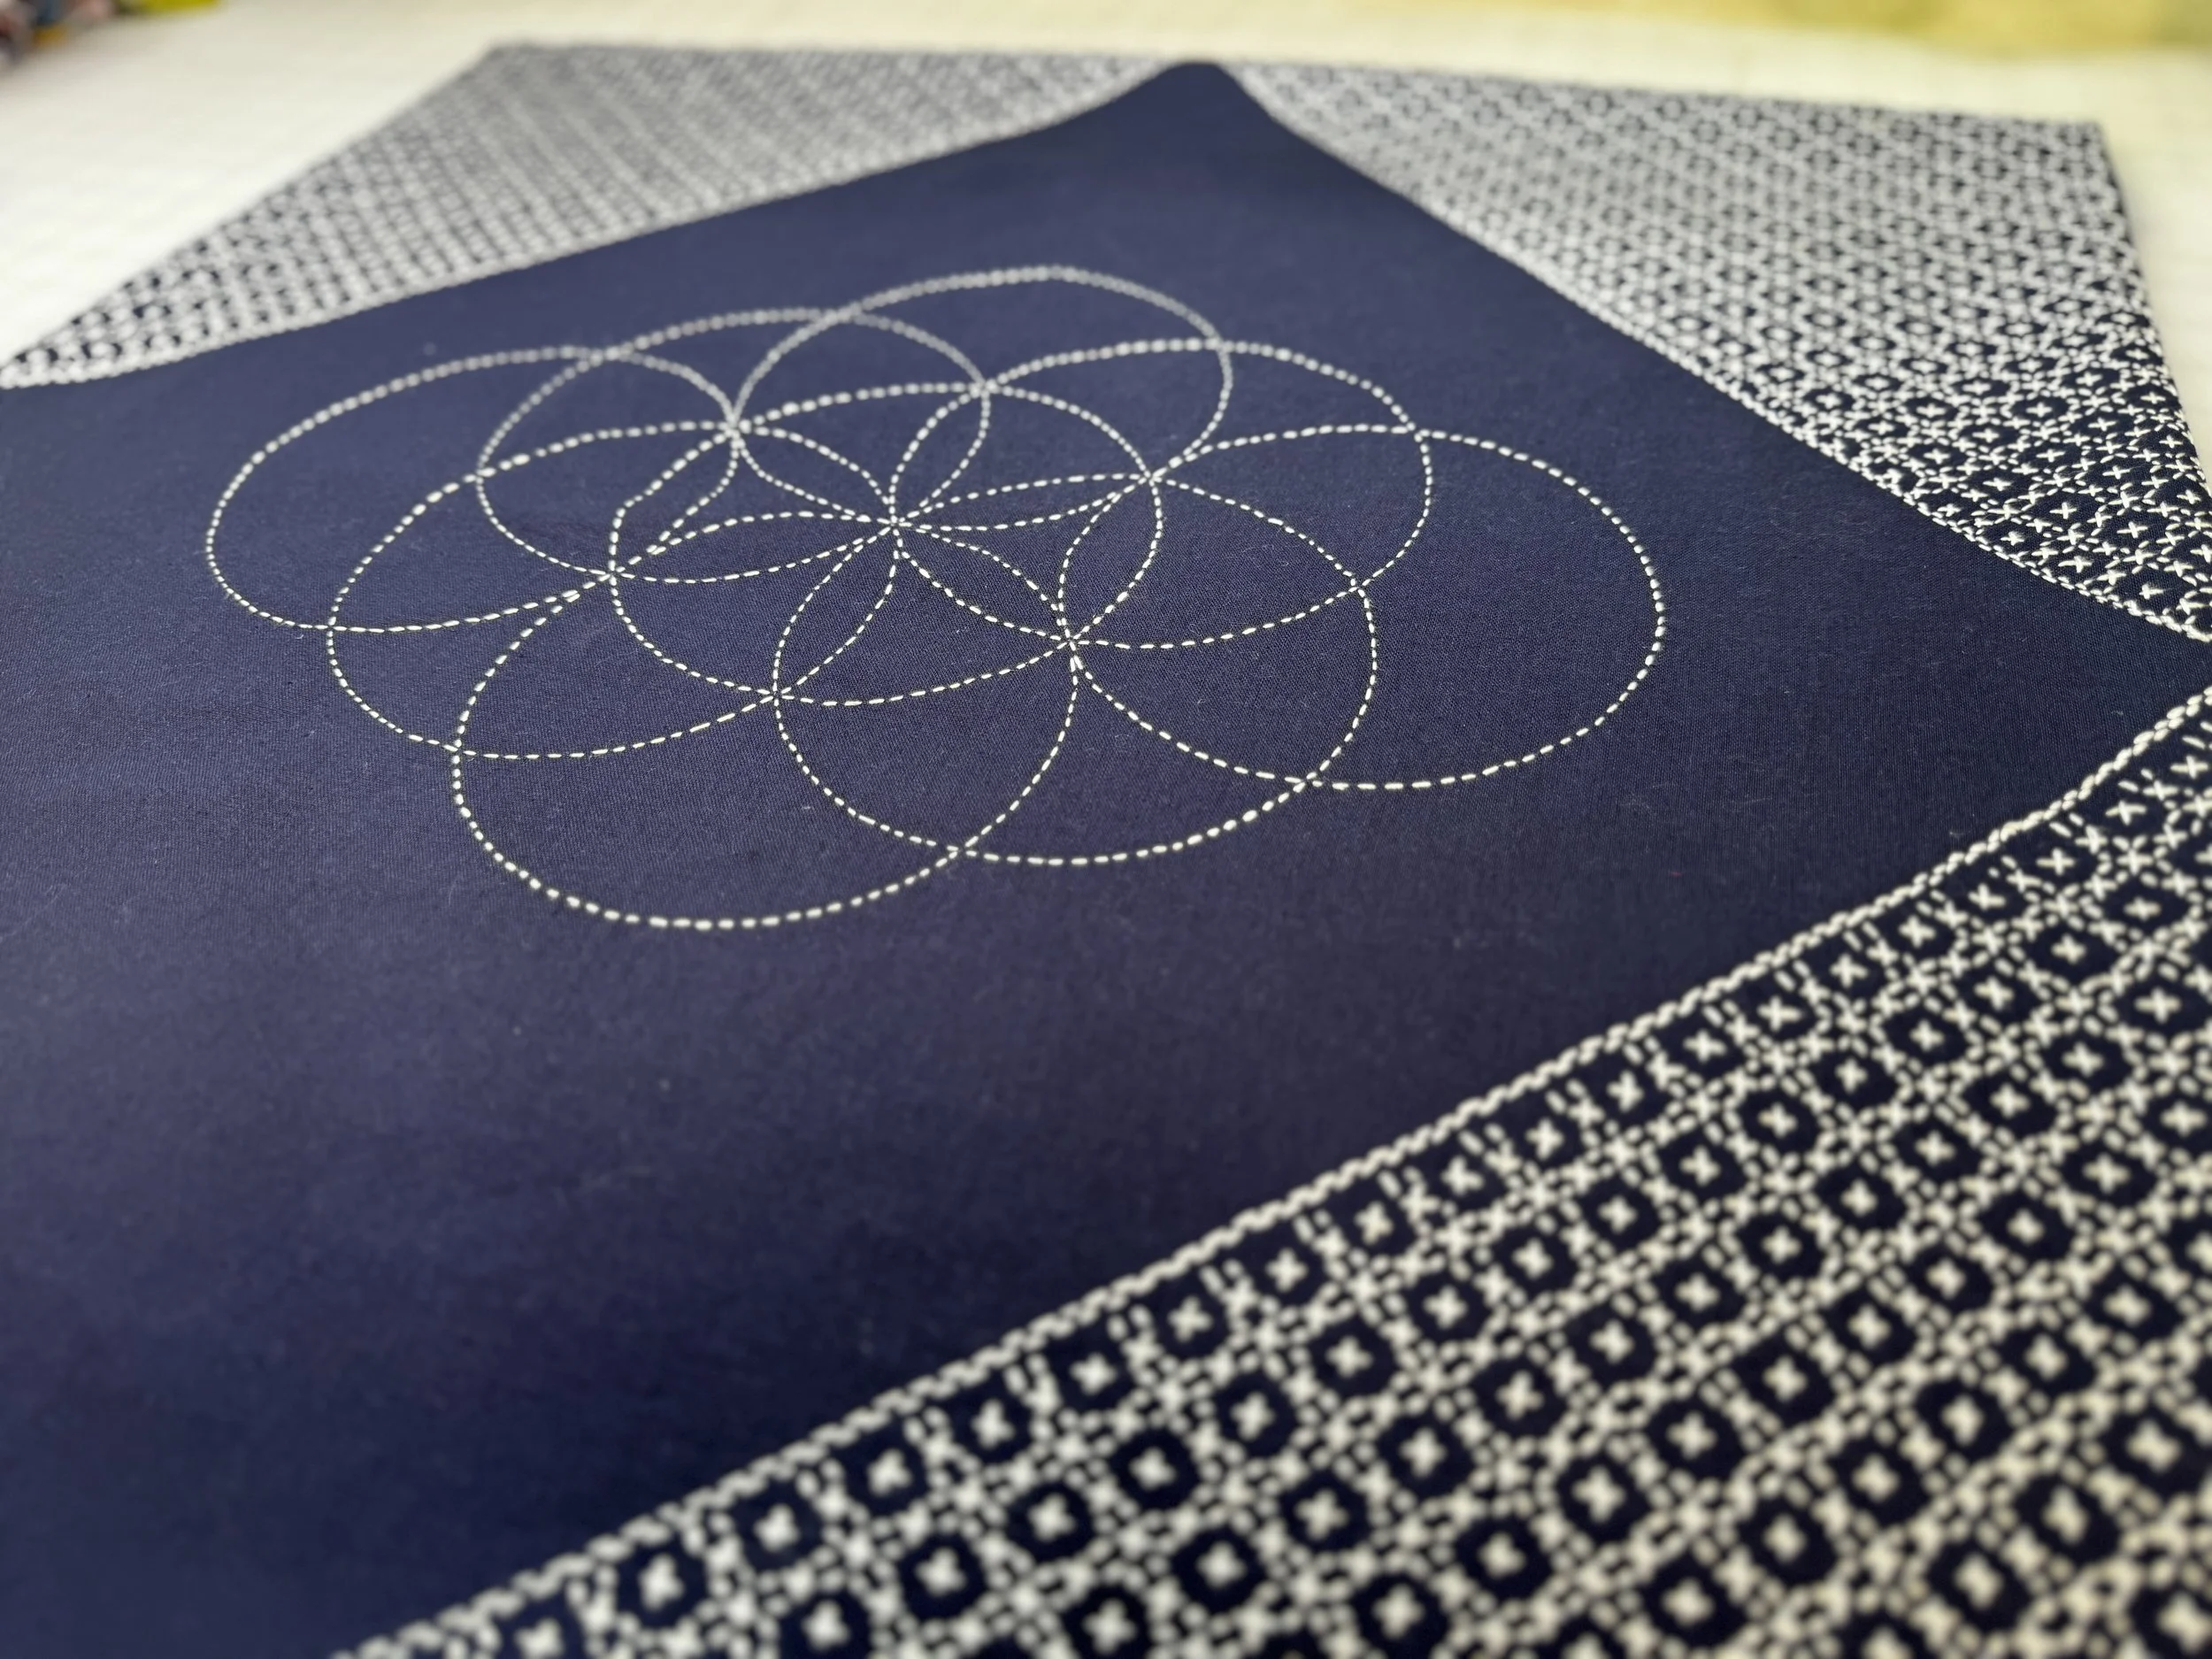
Part Two of the workshop details the process of marking the central Flower of Life design onto the fabric. Using a 5.5-inch template and a marked center point with crosshairs, you are guided through drawing the complex, overlapping circles. The key focus is on precision, ensuring each new circle's center aligns perfectly with the intersection points of the previous circles to accurately form the complete geometric pattern, transitioning the preparation phase to the actual stitching.
Part Two of the workshop details the process of marking the central Flower of Life design onto the fabric. Using a 5.5-inch template and a marked center point with crosshairs, you are guided through drawing the complex, overlapping circles. The key focus is on precision, ensuring each new circle's center aligns perfectly with the intersection points of the previous circles to accurately form the complete geometric pattern, transitioning the preparation phase to the actual stitching.
-
Steps and tricks for adding fusible backing to your furoshiki
-
Apply the backing and use the pillow method for turning.
-
Last thoughts on the process and how to reach us for questions
-
-
FAQs
-
The Flower of Life Furoshiki uses the standard sashiko tools: needle, palm thimble, thread, farbic. You will also need backing fabric if you want to cover your back stitches (not required but looks great) and a long clear ruler like a 24” quilting ruler.
-
That depends on your stitching. There is a lot of Hitomezashi sashiko on the corners that will take some time. It’s not difficult stitching.
-
We consider this an intermediate pattern due to the amount of stitching and the drawing of the Flower of Life. We recommend students practice the hitomezashi pattern and making moyousashi lines first.
-
Typically furoshiki were used to wrap gifts, or fold and tie into bags. Your finished furoshiki can be used for that or do as we do and turn it into a art piece to hang on an accent wall!