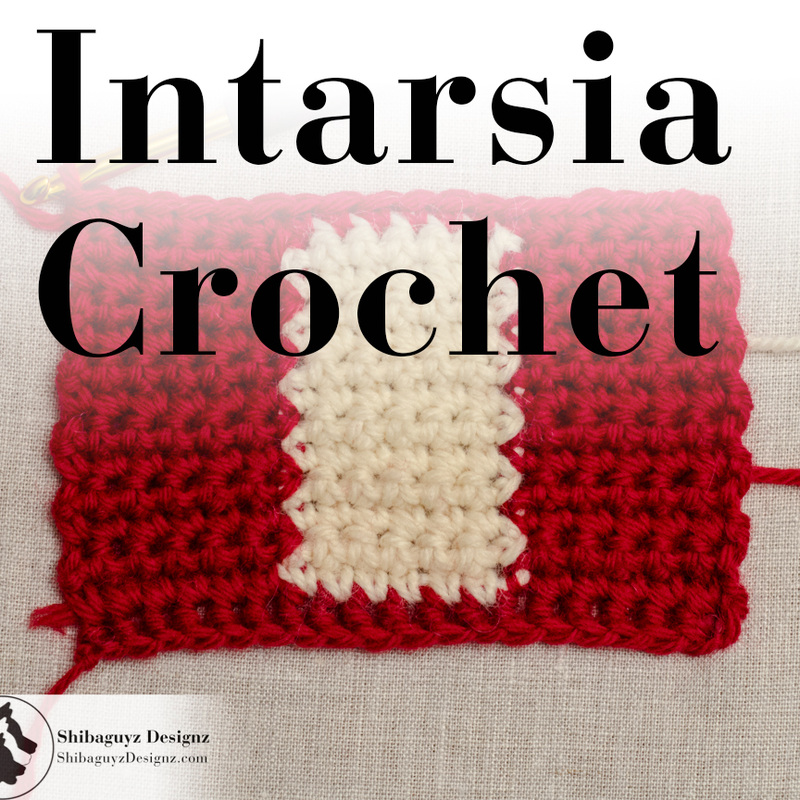
 An Introduction to How To Work the Intarsia Crochet Colorwork Technique Technique Intarsia Crochet
Click "Read More" link below for the full post.
8 Comments
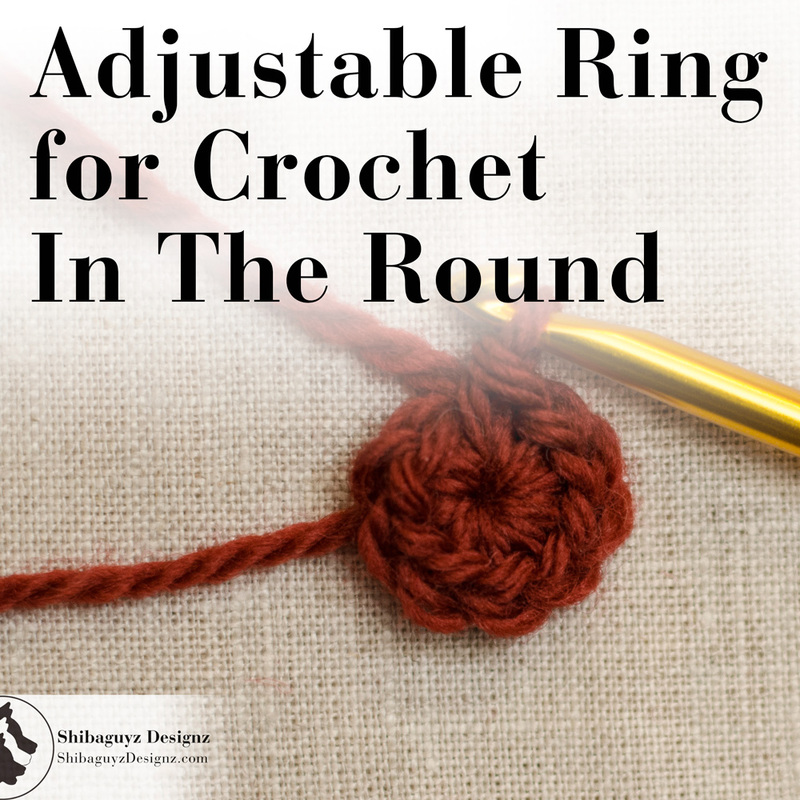
 How To Make the Adjustable Ring for Working Crochet In the Round Technique Adjustable Ring for Working Crochet In the Round
Click Read More below for the full tutorial.
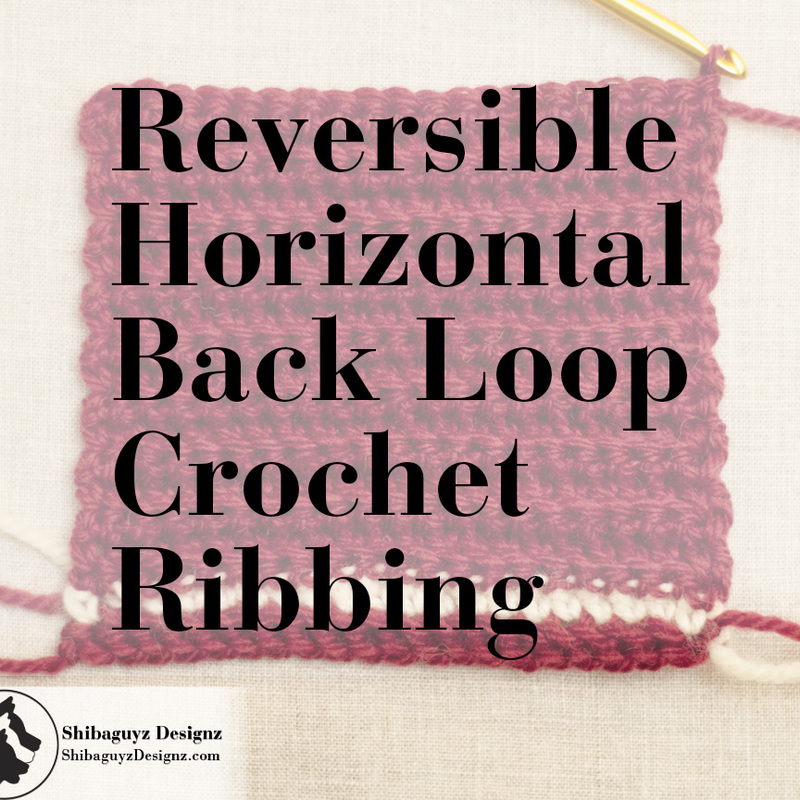
How To Make Reversible Horizontal Back Loop Crochet Ribbing
What is it? Reversible Horizontal Back Loop Crochet Ribbing is the only non-post stitch technique for making Crochet Ribbing. Reversible Horizontal Back Loop Crochet Ribbing looks the same from both sides and is constructed horizontally by working ONLY in the Back Loops of the crochet stitches of each row. As the name indicates, Reversible Horizontal Back Loop Crochet Ribbing is made horizontally which means the wales (the raised ridges) and the troughs (the contrasting lower lines) are created by working from side to side in relation to the way we normally see ribbing – in vertical lines. The Reversible Horizontal Back Loop Crochet Ribbing technique for making crochet ribbing is very different from the previous methods we have covered here for making crochet ribbing. Reversible Horizontal Back Loop Crochet Ribbing is made by working every row of stitches in the Back Loops ONLY of the previous row of crochet stitches. Working in the Back Loop only of the stitches leaves the front loops standing out against the surface of the crochet fabric with makes the lines of wales needed to create ribbing. While we have used Slip Stitch, Single Crochet, and Half Double Crochet stitches for making Reversible Horizontal Back Loop Crochet Ribbing, today we will be demonstrating with Single Crochet stitches. For your first attempts, Single Crochet Through the Back Loop (sc tbl) will give you the best results. That said… DEFINITELY try Half Double Crochet Through the Back Loop (hdc tbl) then try Slip Stitch Through the Back Loop (sl st tbl). You will love both results although, sl st tbl does take a little practice and some patience to master… maybe we'll cover that one in a post all by itself… later… Click "Read More" link below for the full post.
Technique Tuesday Moved For This Week OnlyWe know… y'all came here today looking for our usual Technique Tuesday tutorial post. Well, we've had to move Technique Tuesday to Thursday this week. We got a little caught up in editing our NEW book of crochet patterns, Designer Crochet, and the time just got away from us. Fear not! We're only moving Technique Tuesday this one time this one week. We'll be back on Tuesday next week like usual and all will be right with the world. As a consolation prize, here is a sneak peak of Designer Crochet (that new book of crochet patterns we have been editing) from our publisher's website. Our editor, Connie Santisteban, gives you a brief description of the crochet patterns in Designer Crochet and shares exclusive sneak peek photos AND there is a preorder link with a FAB preorder price for y'all. WOOHOO!! Click the link below to be whisked away to the Lark Publishing blog and see this FAB sneak peek and preorder link. Sneak Peek of Designer Crochet by Shannon Mullett-Bowlsby of Shibaguyz Designz 
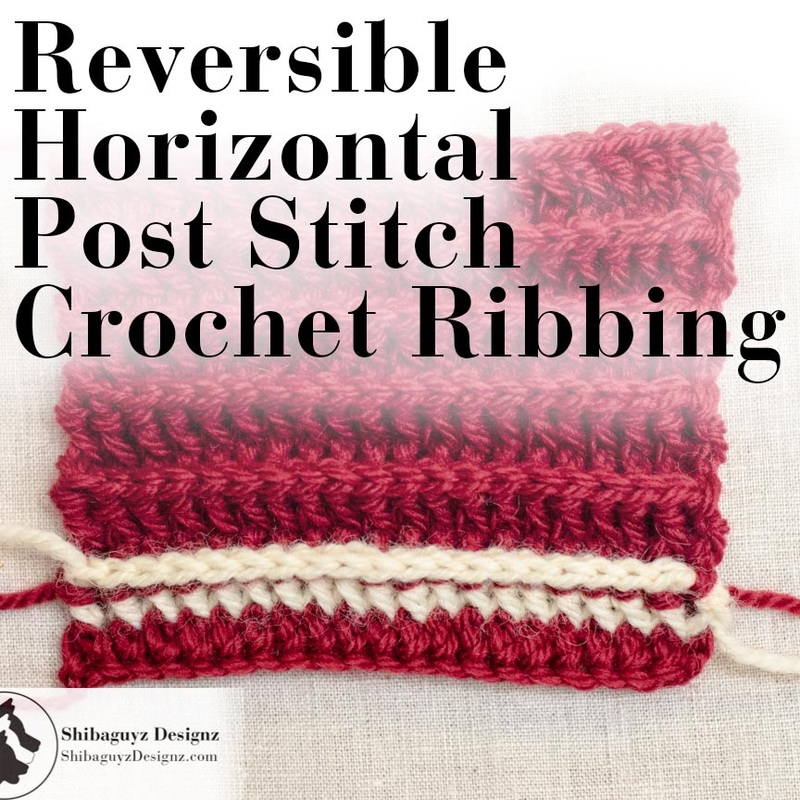
Oh yeah… you can still get your Technique Tuesday fix by clicking on the Tutorials category over there in the right-hand column of our page. To make it even easier, here's a direct link: Shibaguyz Designz Tutorials Category Thanks for stopping by! See y'all back here on Thursday for Technique Tuesday… ummm… Technique Thursday? How about Temporary Technique Thursday?? Anyway… see you on Thursday. And enjoy the exclusive sneak peek of Designer Crochet! Stitch On! S&J Come look us up on Facebook, Twitter, and Pinterest by clicking on one of these icons. How To Make Reversible Horizontal Post Stitch Crochet Ribbing 
Click "Read More" link below for the full post.
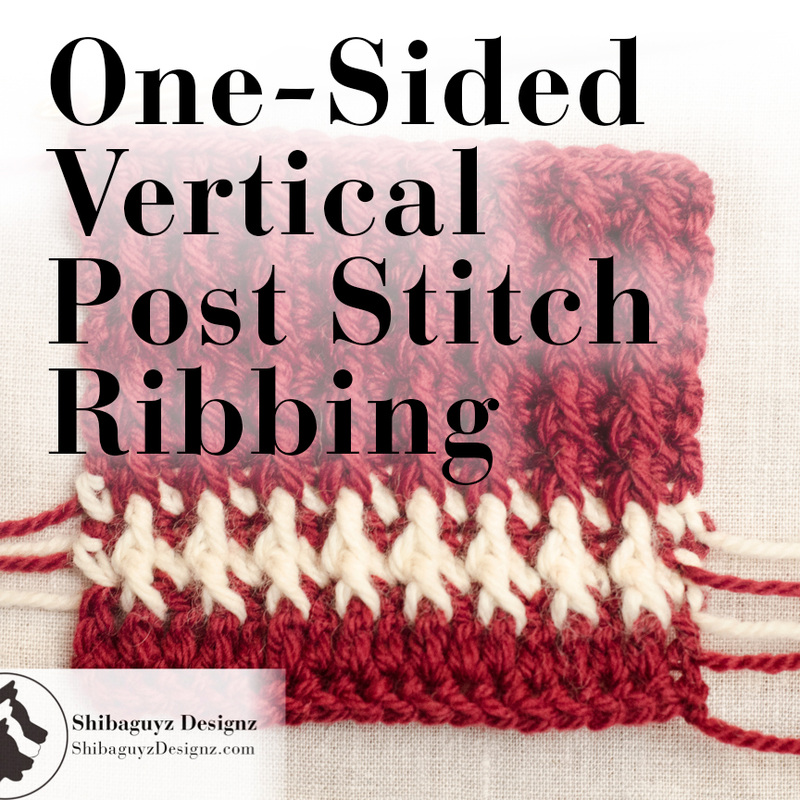
How To Make One-Sided Vertical Post Stitch Crochet Ribbing 
What is it? We started our discussion of crochet ribbing last week with a quick definition of ribbing. Simply put, Ribbing is a series of raised ridges – called wales – and contrasting low troughs. While there are a number of ways to create combinations of wales and troughs using crochet stitches, over the course of a few posts, we will be dealing with four main methods of creating crochet ribbing: Reversible Vertical Post Stitch Ribbing – the technique discussed in last week's post One-Sided Vertical Post Stitch Ribbing – our topic today! Horizontal Post Stitch Ribbing – future post Horizontal tbl Ribbing – future post… stay tuned! As you can see, we can create crochet ribbing by working post stitches either vertically or horizontally and by working horizontally using only the back loop of our stitches. While we will get to the back loop ribbing technique on a future post, today we are working on our post stitch ribbing. A quick reminder here that post stitches are worked around the post of a crochet stitch resulting in a stitch that is raised to the front or the back of our working row depending on whether we work a Front Post Crochet Stitch or a Back Post Crochet Stitch. Click "Read More" link below for the full post.
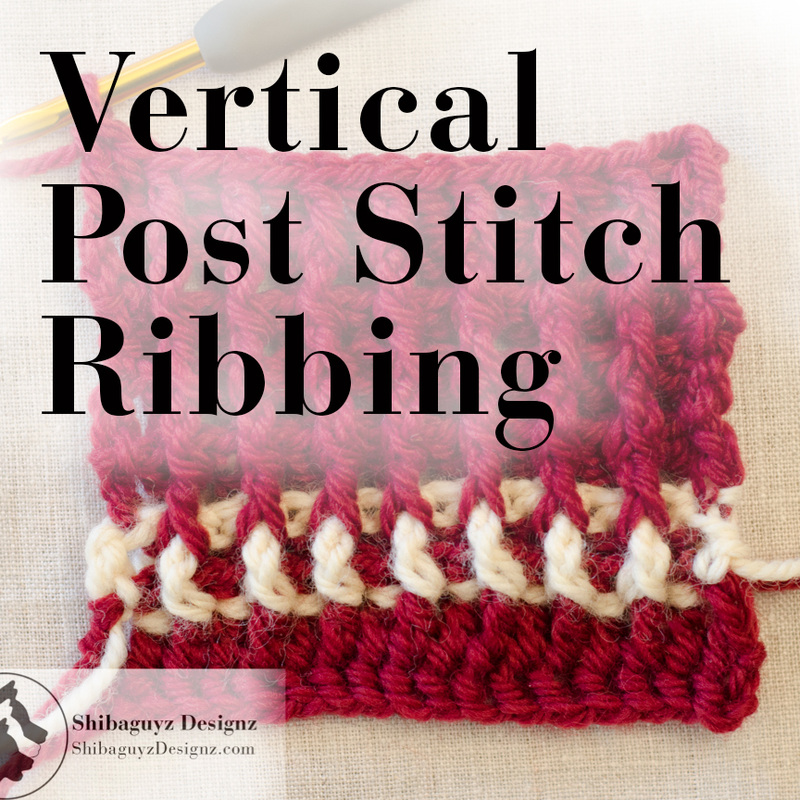
How to make Reversible Vertical Post Stitch Crochet Ribbing
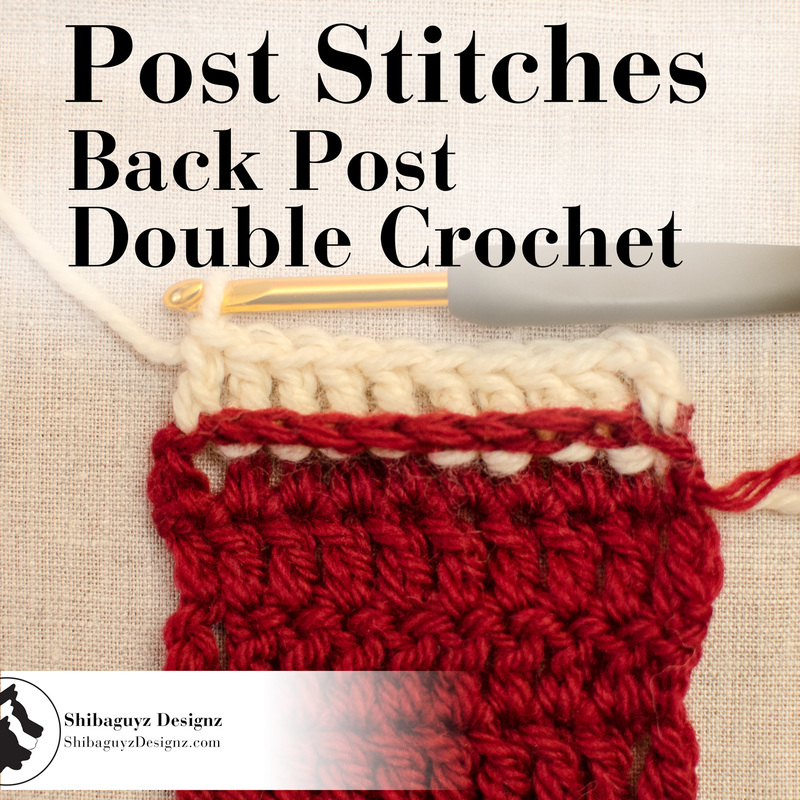
What is it? First, let's give a quick definition of ribbing. Simply put, Ribbing is a series of raised ridges – called wales – and contrasting low troughs. That said, there are a number of ways to create combinations of wales and troughs using crochet stitches. In fact, we have: Reversible Vertical Post Stitch Crochet Ribbing One-Sided Vertical Post Stitch Crochet Ribbing Horizontal Post Stitch Crochet Ribbing Horizontal tbl Crochet Ribbing We will be covering ALL of these in future Technique Tuesday articles but, for today's Reversible Vertical Post Stitch Crochet Ribbing tutorial, we are creating a reversible vertical post stitch ribbing with wales on both sides of the fabric through the use alternating Front Post Double Crochet Stitches and Back Post Double Crochet Stitches. Remember: Post stitches are worked around the post of a crochet stitch creating a stitch that is raised to the front or the back of our working row depending on whether we work a Front Post Crochet Stitch or a Back Post Crochet Stitch. Reversible Vertical Post Stitch Crochet Ribbing creates a series of wales and troughs that are made vertically in relation to the working direction of our crochet fabric. That is, we start at the top or bottom of the fabric and create wales and troughs by working rows of alternating Front and Back Post Stitches. These alternating Front Post Crochet Stitches and Back Post Crochet Stitches build off of one another in successive rows creating the vertical wales and troughs – Ribbing! For a quick review of crochet post stitches check out these tutorials: Front Post Double Crochet Stitch Tutorial Back Post Double Crochet Stitch Tutorial then come right back! We'll wait… Okay… back now? Good… let's carry on… Click "Read More" link below for the full post.

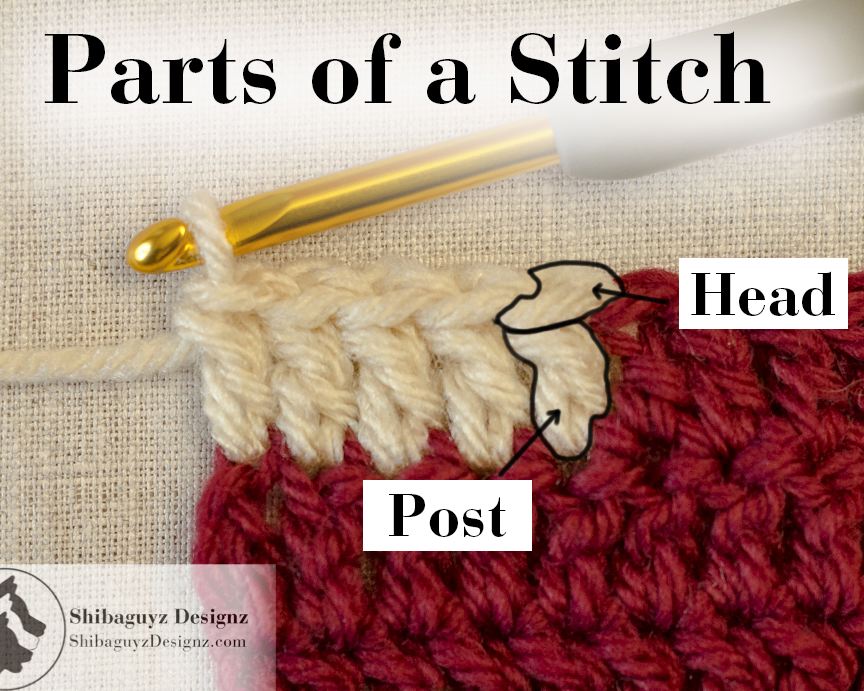
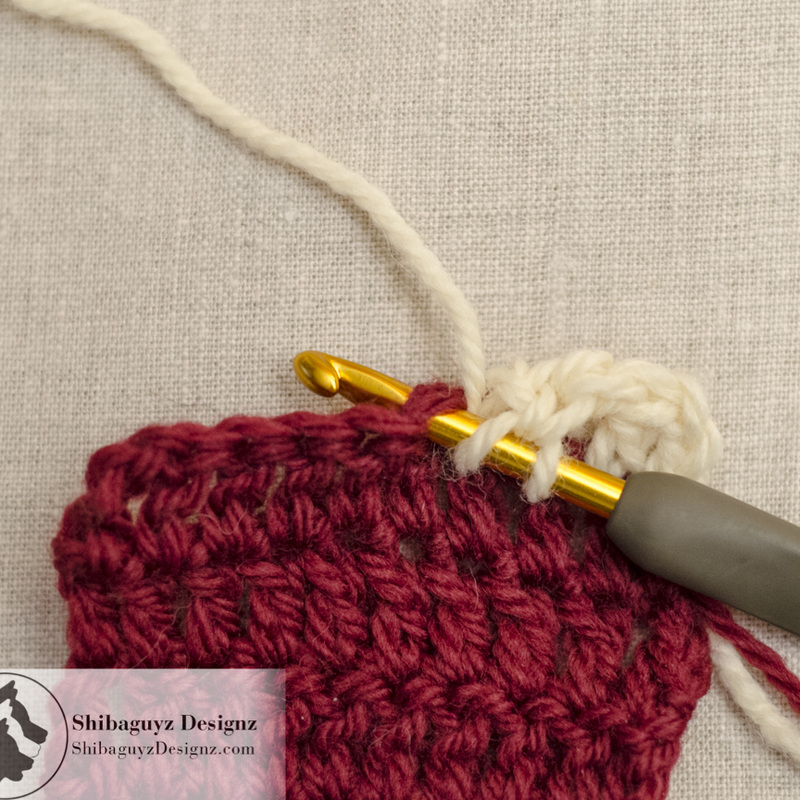
What is it? Last week, we started our discussion about post stitches with a brief overview of what a post stitch is. You can find that post here: Technique Tuesday - Post Stitches: How to make the Front Post Double Crochet stitch. Let's do a quick review… Post stitches are just like any other crochet stitches only the stitches are worked around the "post" of a crochet stitch rather than through the loops of the "head" of a crochet stitch. Click "Read More" link below for the full post.
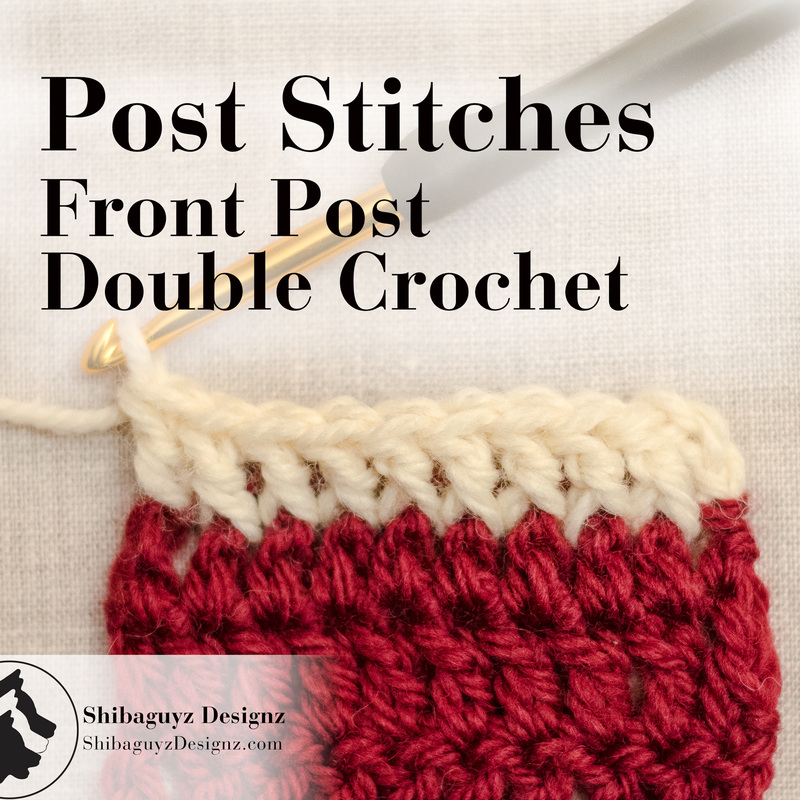
How to Make the Front Post Double Crochet Stitch
What is it? Let's talk briefly about what a Post Stitch is… Post stitches are just like any other crochet stitches only the stitches are worked around the "post" of a crochet stitch rather than through the loops of the "head" of a crochet stitch.
Click "Read More" link below for the full post.
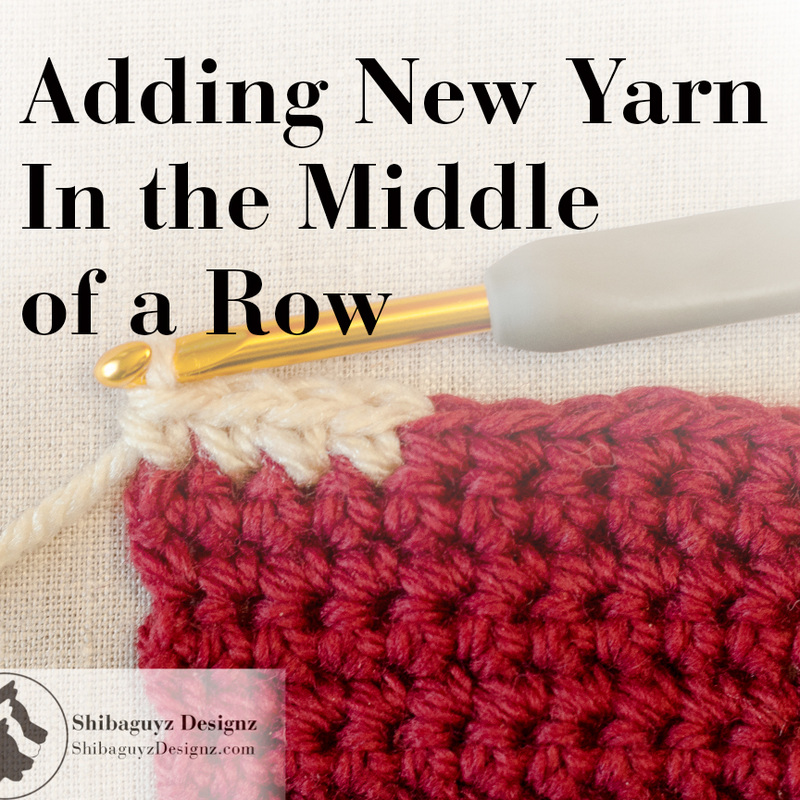
How To Add New Yarn In The MIddle Of A Row Of Crochet Stitches Technique Adding New Yarn In the Middle Of A Row
Now, my personal preference is to always change to a new working yarn at the ends of rows. Unfortunately, when I am working with a limited supply or with a particularly pricey yarn, that isn't an option. Click "Read More" link below for the full post.
The Top 10 Most Popular Pages on Shibaguyz Designz for The Week Of September 7-13, 2014You clicked it… that picked it! These are the top 10 articles, tutorials, and patterns from the pages of Shibaguyz Designz. Click on the title or the preview photo to see the full page. Thanks for coming around this week… see y'all next week!
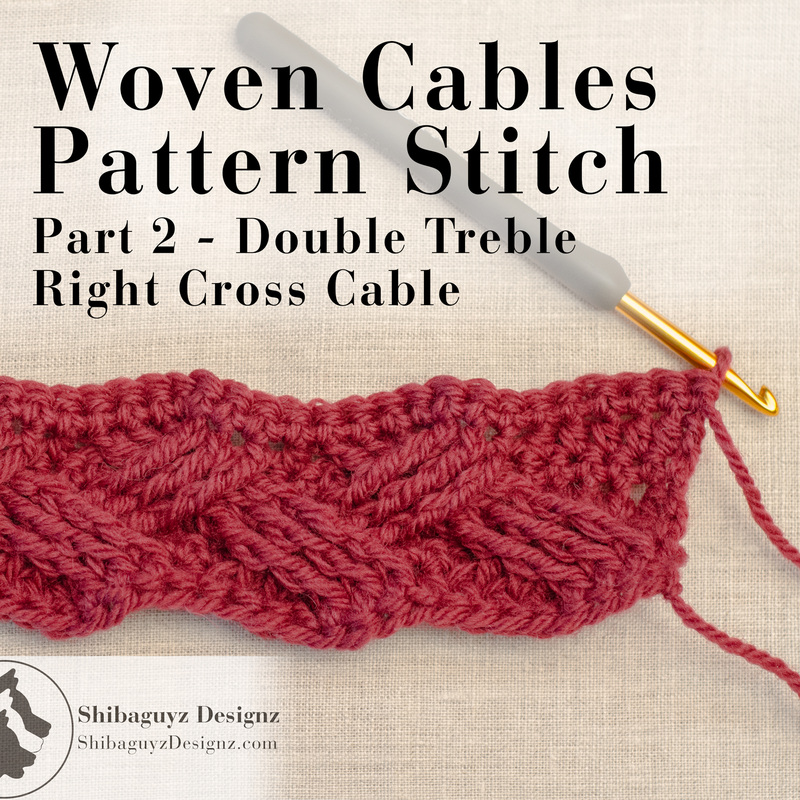
Technique Tuesday – Woven Cables Pattern Stitch Part 2: Double Treble Right Cross Crochet Cable9/9/2014 How To Make The Double Treble Right Cross Crochet Cable for the Woven Cables Pattern Stitch Technique Double Treble Right Cross Cable (Dtr R Cross)
What is it? The Double Treble Right Cross Cable is a crochet cable stitch worked over seven stitches. Click "Read More" link below for the full post.
Technique Tuesday - Woven Cables Pattern Stitch Part 1: Double Treble Left Cross Crochet Cable9/2/2014  How To Make the Double Treble Left Cross Crochet Cable for the Woven Crochet Cables Pattern StitchTechnique Double Treble Left Cross Cable (Dtr L Cross)
What is it? The Double Treble Left Cross Cable is a crochet cable stitch worked over seven stitches. Click "Read More" link below for the full post.
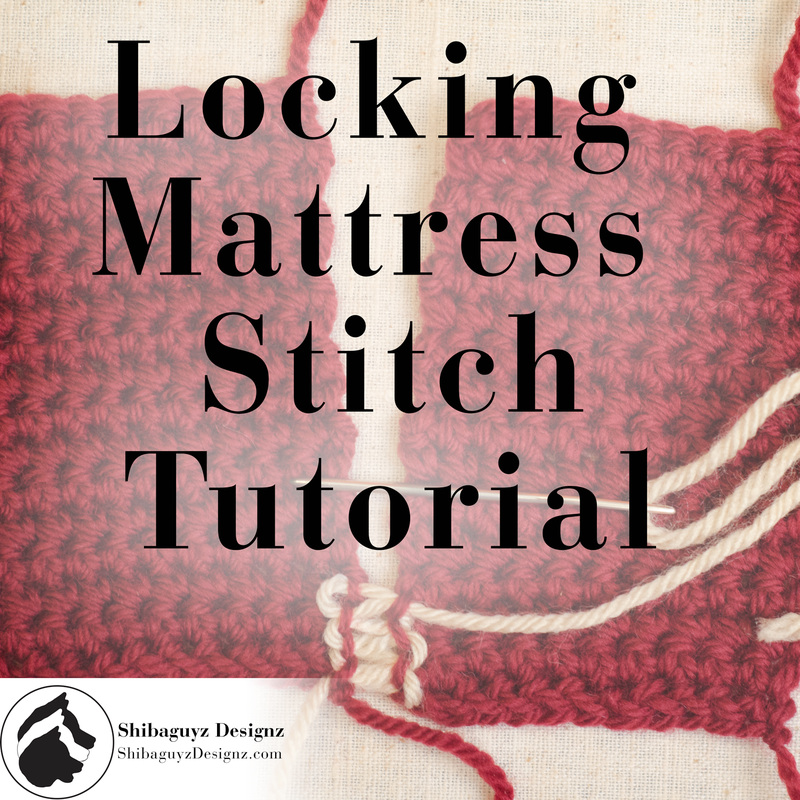
How To Make the Locking Mattress Stitch for Crochet Fabric TECHNIQUE Locking Mattress Stitch (for Crochet Fabric) NOTE: Although the Locking Mattress Stitch works FAB with both crochet and knitted fabrics, today's Technique Tuesday article will be addressing the use of this seaming technique with crochet fabrics. Look for a future article for seaming knit fabrics using the Locking Mattress Stitch.
Why use the Locking Mattress Stitch? The Locking Mattress Stitch leaves a nearly invisible seam in crochet and knitted fabrics. It's really that simple. The seam is sewn using minimally invasive needle work and the stitches snug together in a neat and tidy way that leaves a seam on the inside of the fabric with no noticeable bulk and leaves the outside of the fabric looking… well… seamless! (Pun intended… thanks.) Click "Read More" link below for the full post.
How To Make the First Double Crochet Stitch TECHNIQUE First Double Crochet (First-dc)
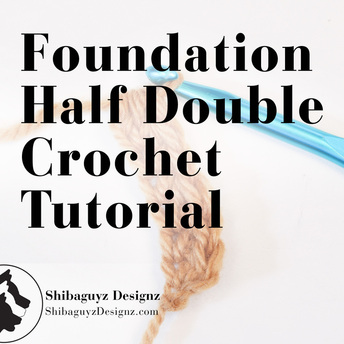
We've all seen the instructions at the beginning of a row of double crochet stitches that says: Ch 3, dc in next st. For me, this left a lot of questions in my mind. 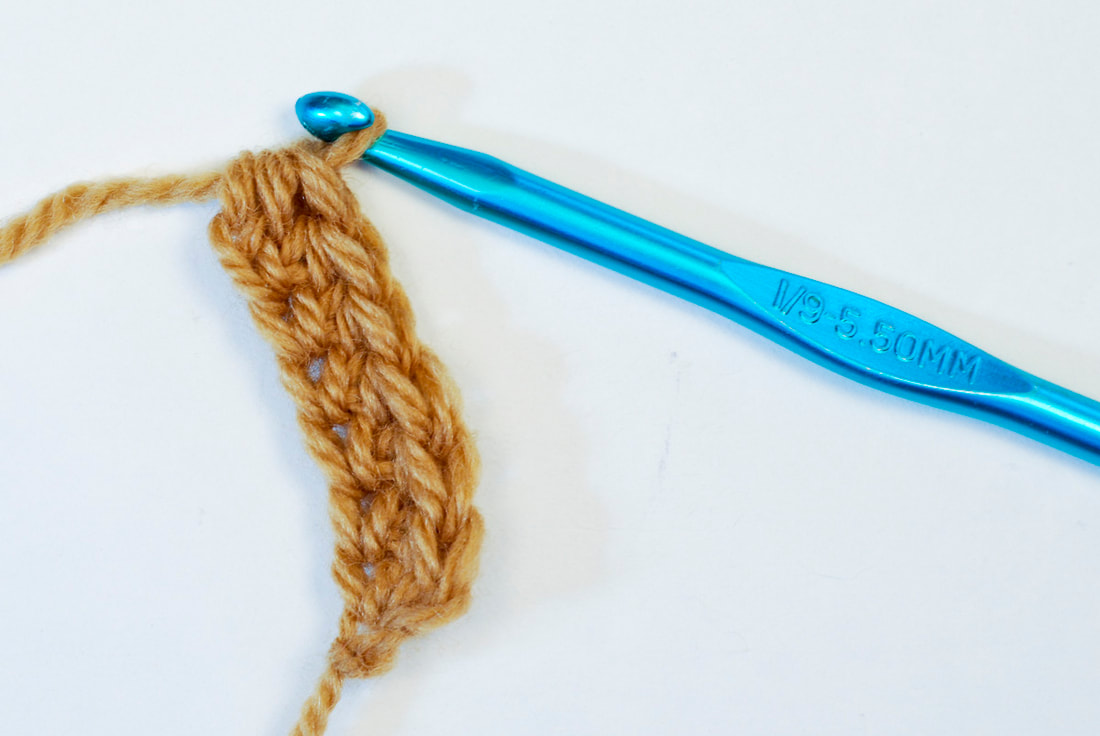 Foundation Half Double Crochet (Fhdc) WHAT IS IT? The Foundation Half Double Crochet stitch technique (abbreviated Fhdc) is an alternative to the instructions at the beginning of a crochet pattern that tell you to chain a certain number of stitches. This technique simultaneously creates a row of "chain" stitches AND a row of half double crochet stitches (abbreviated hdc) without making two passes. Basically, it takes the place of two rows of stitches: the "chain" row that makes up the beginning base and the next row of half double crochet that is worked into that row of chains.
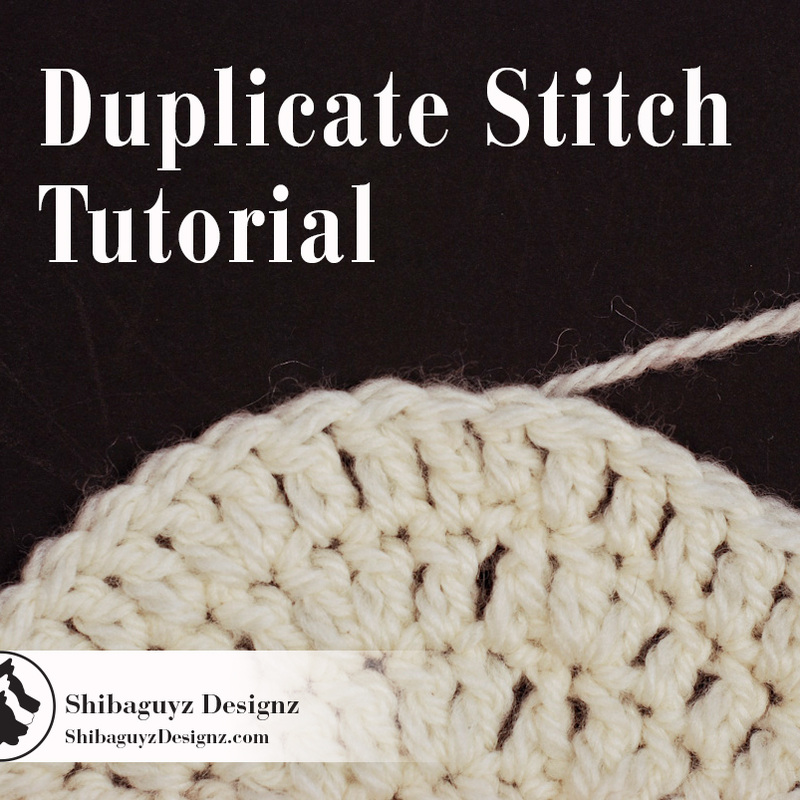
Once you've practiced a bit with this stitch and create it comfortably, take a close look at the "chain" part of the stitch as you are making it. You will see how the "chain" is not, in fact, a chain at all but a clever doppelganger of the chain. It serves the purpose of looking like a base row of chain stitches but it is made in such a way that it is more elastic. Which brings us to our next point…  Technique Duplicate Stitch What is it? The Duplicate Stitch technique is used to join the last stitch of a round to the first stitch of a round by creating a "duplicate" top on the skipped stitch it is worked over. The tail of the yarn is woven over the first stitch of the round in such a way that the front and back loops of that first stitch are duplicated. This creates a clean finish for the final stitch of a round and makes a nearly invisible join. Why use the Duplicate Stitch? Duplicate Stitch is a FAB method for finishing or binding off circular crochet and knitting projects. Who amongst us has not gotten to the end of a crochet motif and been a little stumped by what to do to finish off that last stitch? How to make it look neat and clean without looking like we just reached the end of our project and tied a big ol' knot in it?
The bottom line is, anywhere we work in the round or in a spiral and end with an open tube of some sort (hats, sock and sleeve cuffs, hems), we need to fasten off or bind off in such a way that the edge of our finished project doesn't look like it was gnawed on by a demented badger.
The Right Tools for the Right Job 
 Technique Foundation Single Crochet (Fsc) What is it? This technique simultaneously creates a row of "chain" stitches AND a row of single crochet stitches (abbreviated sc) without making two passes. Basically, it takes the place of two rows of stitches: the "chain" row that makes up the beginning base and the next row of single crochet that is worked into that row of chains.
 So your project is finished but it didn’t turn out exactly like you thought it was going to. In fact, this object you are holding in your hands is a little lumpy (in all the wrong places), the fabric is tight and might feel like it could stand up on its own, and it really doesn’t look anything like the sample in the picture on the pattern. If your FO (finished object) is a garment, it might be a bit misshapen and, hey, why is this sleeve a different length than the other one? And what person in their right mind would call THIS a size large?? GAH!! WHAT DID I DO WRONG??? Frustrating, right? We know… |
AuthorShannon and Jason Leave us a tip to help us do what we do!


Archives
September 2022
 

 Categories
All
     |


 RSS Feed
